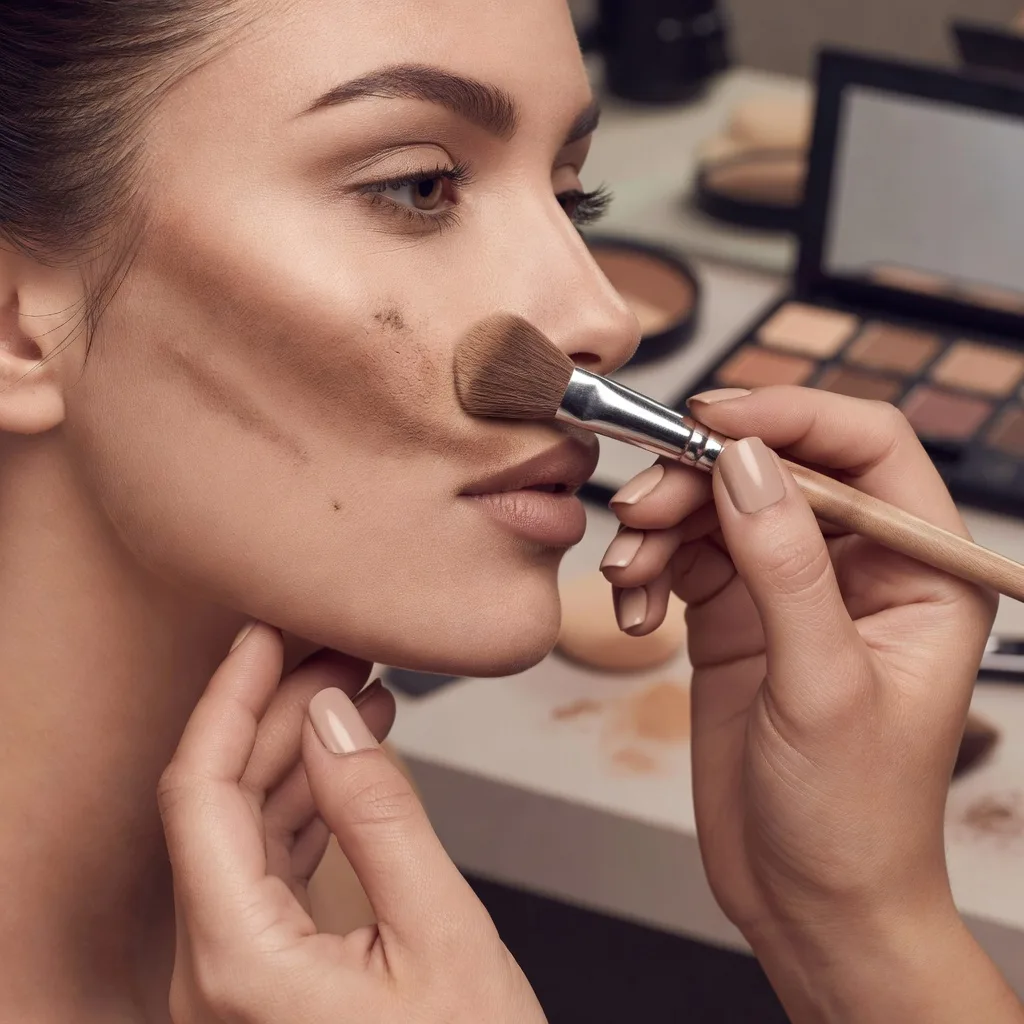
How to Fix Patchy Contour: Causes, Quick Fixes and Better Blending
Contour is meant to look like a soft, natural shadow. When it goes wrong, it looks like a muddy stripe, a blotchy patch or a streak that sits on top of the foundation rather than melting into it. Patchy contour is one of the most common makeup frustrations, and it can happen with both cream and powder products.
Part of our guide to makeup how-to. Start with: How to Find the Right Shade of Makeup: Undertone, Depth and Testing
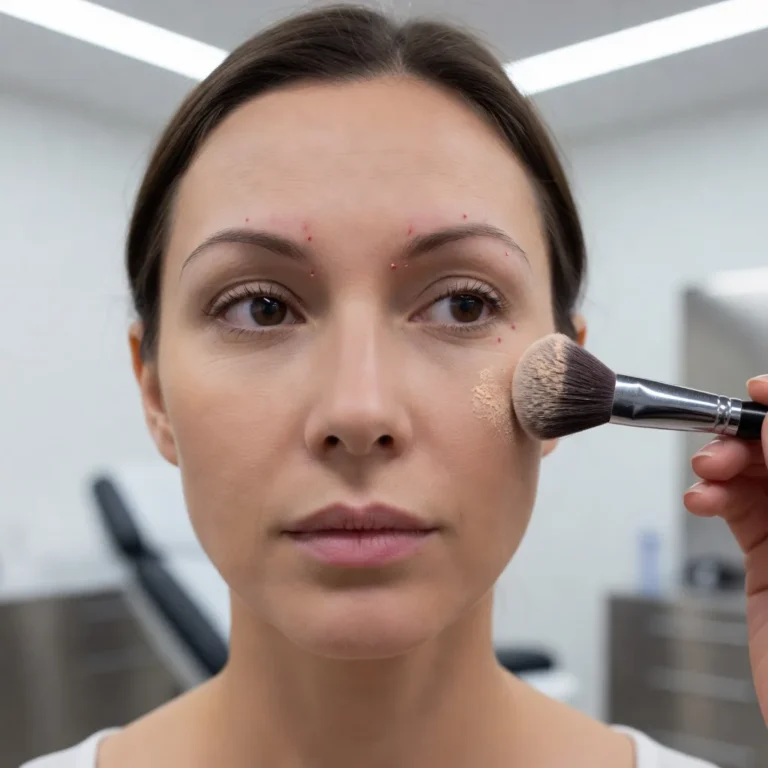
Contour goes patchy when the product cannot blend evenly into the base underneath. The usual causes are dry or flaky skin, contour applied over foundation that has already set or been powdered, mixing cream contour over powder, too much product in one place, a shade that is too warm or too dark, dirty or dense brushes and rubbing instead of blending. To fix it, soften the edges with a clean brush or damp sponge, press a little foundation or concealer over harsh spots and re-set lightly. To prevent it, prep skin well, apply cream contour over unset liquid foundation, set powder contour only after powdering and build colour in thin layers.
The golden rule of layering is cream on cream and powder on powder. Most patchiness comes from breaking that rule or from working on an uneven surface.
Skin prep matters as much as technique. The American Academy of Dermatology recommends applying moisturiser soon after washing to lock in hydration, and well-hydrated skin gives contour a much smoother surface to blend into.
This guide explains why contour goes patchy, how to fix it on the spot and how to apply it so it blends smoothly from the start.
Shopping these picks?
Amazon Prime members get fast, free shipping on eligible items, plus Prime Video, Amazon Music and member deals. New members can start with a free trial.
Start a free Prime trialAged 18 to 24? Prime for Young Adults comes with a longer free trial and a lower price after it.
Affiliate link: we may earn a commission at no extra cost to you.
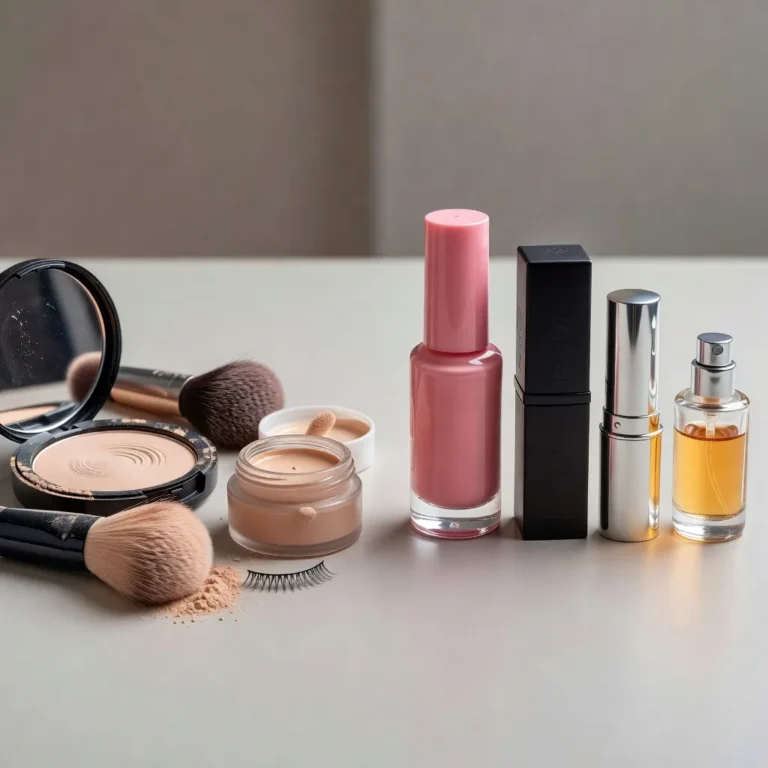
Recommended Contour Products and Blending Tools




Key Takeaways
- Cream contour goes over unset liquid or cream base.
- Powder contour goes over powdered skin.
- Dry, flaky skin makes any contour look patchy.
- Thin layers blend better than one heavy stripe.
- Choose a cool, soft shade one or two shades deeper than your skin.
- Clean, fluffy or flat-top brushes blend more evenly.
- Soften harsh spots with foundation or a damp sponge.
In This Guide
- Why Contour Goes Patchy
- Prep: The Step Most People Skip
- How to Apply Contour So It Blends Smoothly
- Quick Fixes for Patchy Contour
- Placement Mistakes That Look Patchy
- Contour for Different Skin Types
- Cream vs Powder Contour
- Choosing the Right Shade
- Brushes and Tools That Help
- Dos and Don’ts
- Honest Limits
- When to See a Dermatologist
- Questions People Ask
- Final Word
Why Contour Goes Patchy
| Cause | What you see | Fix |
|---|---|---|
| Dry or flaky skin | Contour clings to dry patches | Hydrate and gently exfoliate before makeup |
| Cream over powder | Streaky, dragging, lifted foundation | Use powder contour over powder, or apply cream before setting |
| Foundation already set | Contour will not blend and sits on top | Apply cream contour while foundation is still slightly tacky |
| Too much product | Dark, stripy or muddy patches | Start with a small amount and build slowly |
| Wrong shade | Orange, muddy or grey look | Choose a cool-toned, soft shade close to a natural shadow |
| Dirty or wrong brush | Uneven, blotchy application | Use a clean, dense but soft brush or damp sponge |
Foundation finish plays a part too. Very matte, long-wear foundations set quickly and give cream contour little time to blend, while very dewy foundations can make powder contour grab and go patchy. A satin or natural finish is the easiest base to contour over. Often several of these combine. For example, powder contour pressed hard onto dry cheeks with a dirty brush is almost guaranteed to look blotchy.
Oily areas cause a different kind of patchiness: the contour looks fine at first, then fades or breaks up as oil builds. Our guide on why foundation separates by midday explains how oil affects every layer of your base.
Prep: The Step Most People Skip
Contour sits on top of your skin and base, so any texture underneath shows through. Flaky patches catch powder, while tight, dry skin drags cream products and stops them blending.
- Moisturise well and give it a few minutes to absorb.
- Gently exfoliate once or twice a week if you get flaky patches.
- Use a smoothing or hydrating primer on dry areas.
- Keep foundation thin where you will contour.
The AAD’s tips for relieving dry skin include moisturising straight after washing and using gentle, fragrance-free products, which all help makeup sit more evenly.
If your skin is oily, a thin layer of mattifying primer on the cheeks and forehead helps powder contour grip evenly and last longer.
How to Apply Contour So It Blends Smoothly
Prep and apply a thin base
Moisturise, prime and apply foundation in a thin layer.
Choose your contour texture
Use cream contour if your base is still wet; use powder if you have already set with powder.
Place contour lightly
Tap small dots or a soft line under the cheekbones, along the jaw and at the temples.
Blend upward and outward
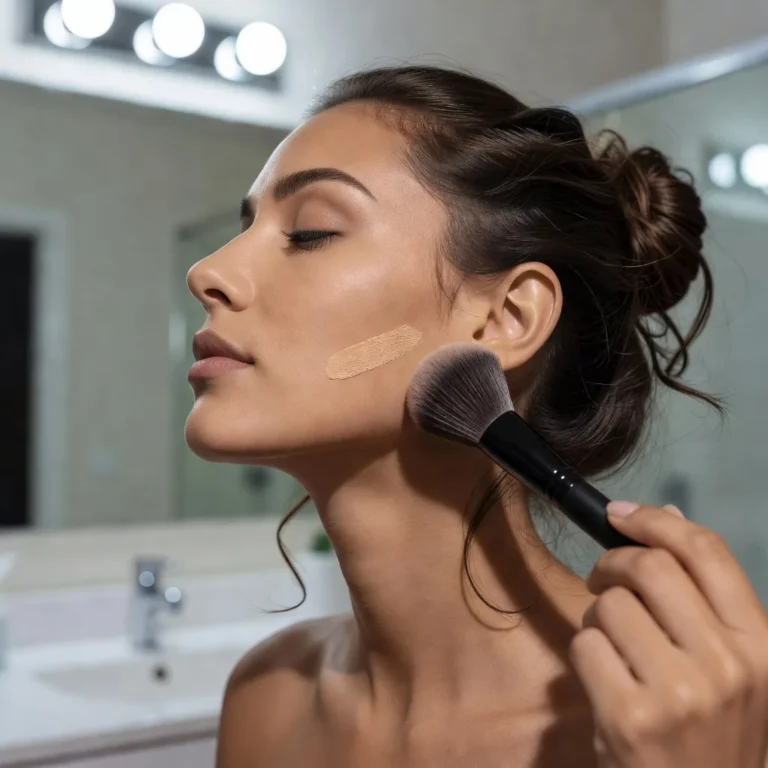
Use a damp sponge or flat-top brush for cream, a fluffy angled brush for powder.
Build in layers
Add a little more only where you need depth.
Set carefully
Press translucent powder over cream contour with a light hand.
Check in daylight
Look for harsh edges or patches and soften them.
Tap off excess powder from your brush before touching your face. Most harsh stripes come from the first, heavily loaded contact.
Quick Fixes for Patchy Contour
If your contour already looks patchy, you do not need to start again.
| Problem | Quick fix |
|---|---|
| Harsh edge | Buff the edge with a clean fluffy brush or a damp sponge using small circles. |
| Too dark | Press a little foundation or a translucent powder over the area to soften it. |
| Blotchy cream contour | Tap a damp sponge over the area to blend and lift excess. |
| Patchy powder on dry skin | Mist lightly with a hydrating spray, then press with a damp sponge. |
| Wrong shade looking orange | Tone down with a little of a cooler bronzer or a touch of foundation. |
When softening contour, press rather than rub. Rubbing moves foundation underneath and can create a bare patch that is harder to fix.
Avoid piling more powder on top to hide patches. Extra layers usually make contour look heavier and more obvious, not smoother.
Placement Mistakes That Look Patchy
Even a perfectly blended contour can look patchy if it sits in the wrong place. A few placement habits cause most of the trouble.
Too low on the cheeks. Contour placed well below the cheekbone can look like a dirty mark rather than a shadow, and it drags the face down. Find the hollow by feeling for the underside of the cheekbone, then blend upward towards it. Too close to the mouth. Contour that runs almost to the corner of the lips looks harsh. Stop roughly in line with the outer corner of the eye. A hard line on the jaw. Jaw contour needs to be blended down onto the neck as well as up onto the face, or it can look like a tidemark. Heavy nose contour. The nose is a small area with fine texture, so thick product quickly looks stripy. Use a small brush, very little product and blend thoroughly. Uneven sides. Contouring one side much more heavily than the other can look patchy from a distance. Apply to both sides before building either one further.Contour for Different Skin Types
Dry skin: cream contour over a hydrating base looks smoothest. Keep powder to a minimum and mist with a hydrating spray at the end. Oily skin: powder contour over a mattifying primer and lightly powdered base lasts longer. For extra hold, layer a thin cream contour under powder contour. Combination skin: cream contour on drier cheeks and powder on the oilier forehead and jaw often works best. Mature skin: cream formulas and soft, diffused placement look more natural than strong powder stripes, which can settle into fine lines. Textured or acne-prone skin: sheer, matte formulas and pressing rather than sweeping help contour sit more evenly over bumps.Cream vs Powder Contour
Cream contour looks the most natural and suits normal to dry skin. It must go over liquid or cream foundation before powder. Blend with a damp sponge or dense brush, then lightly set with powder if needed. Powder contour is easier for beginners and suits oily skin. It goes over powdered skin. Use a fluffy angled brush and build slowly. Layering both gives the longest wear: cream contour first, then set with a light layer of powder contour in the same area. This is especially useful in hot weather or for long events.Mixing textures in the wrong order is the most common cause of streaks. Our guide on silicone versus water-based cosmetics explains why some products fight each other on the skin.
Choosing the Right Shade
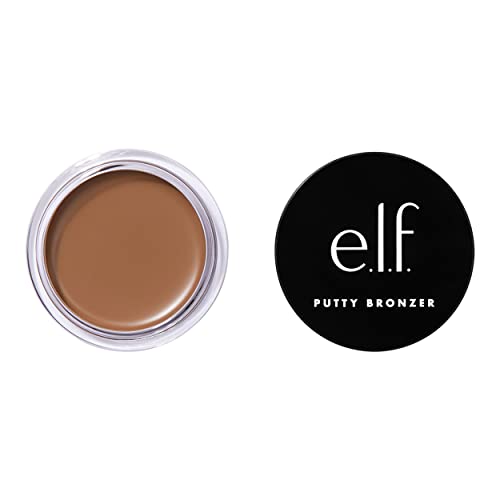
Contour is meant to mimic a shadow, so it usually works best in a cool or neutral shade one to two shades deeper than your skin. Warm, orange-toned bronzers can look muddy when used to contour, especially on fair skin. Bronzer and contour do different jobs: bronzer adds warmth where the sun would naturally hit, while contour adds shadow where the face naturally recedes. Using a warm bronzer as contour is a common reason the result looks patchy or dirty rather than sculpted.
On deeper skin tones, look for rich, neutral browns that do not turn grey or ashy. Swatch on the jaw in natural light to check.
Sheer, buildable formulas are more forgiving than intensely pigmented ones. Our guide on filler versus pigment explains why highly pigmented products can be harder to blend.
Brushes and Tools That Help
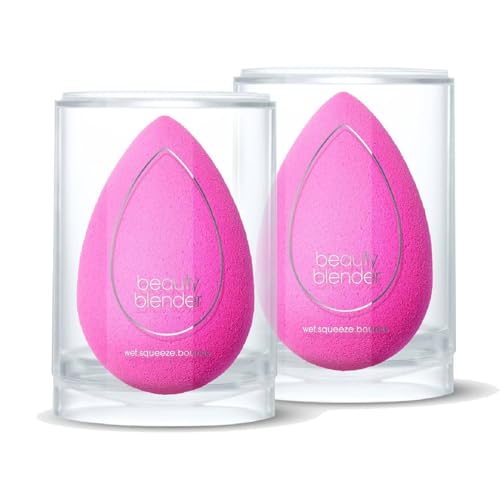
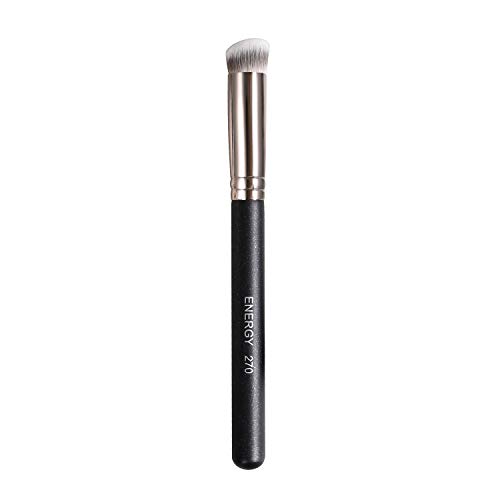
Flat-top or dense kabuki brushes blend cream contour smoothly. Fluffy angled brushes diffuse powder contour into a soft shadow. Small tapered brushes work well for the nose and precise areas. Damp sponges melt cream contour into the base and soften edges.Using a separate brush for contour, rather than the one you use for blush or bronzer, stops colours mixing and keeps the shade true.
Clean tools make a big difference. Product build-up on bristles deposits colour unevenly. Our guide on how to sanitize makeup tools covers cleaning brushes and sponges.
Dos and Don’ts
Worth Doing
- Moisturise and prep before makeup
- Layer cream on cream and powder on powder
- Build contour in thin layers
- Choose a soft, cool shade
- Blend upward and outward
Skip It
- Apply cream contour over set powder
- Press heavy powder onto dry patches
- Draw one dark stripe
- Use dirty brushes
- Rub over patches to fix them
Honest Limits
Very dry, flaky or textured skin may always make contour a little harder to blend. Improving skin texture with consistent skincare helps more than any single product or technique.
Lighting changes how contour looks. Something that looks soft in a bathroom mirror can look harsh in daylight or flash. Checking in natural light is the most reliable test. Taking a quick photo without flash in daylight can also reveal patches you might not notice in the mirror, since the camera shows your face from a slightly different angle.
Contour placement depends on your face shape, and there is no single correct method. Soft, subtle contour tends to suit more people and is easier to fix if something goes wrong.
When to See a Dermatologist
- You have persistent dry, flaky patches that moisturiser does not improve.
- You get redness, itching or a rash after using makeup.
- Makeup regularly causes breakouts along the cheeks or jaw.
- You have rough, scaly patches that do not heal.
This article is for general information and does not replace professional medical advice. See a dermatologist for persistent skin concerns.
Questions People Ask
Why does my contour look patchy?
Usually dry skin, mixing cream over powder, too much product or a set base.
How do I fix patchy contour?
Soften edges with a clean brush or damp sponge and press a little foundation over harsh spots.
Should cream contour go before or after powder?
Before powder, over unset liquid or cream foundation.
Why does my contour look muddy?
The shade may be too warm, too dark or applied too heavily.
What brush is best for cream contour?
A flat-top kabuki or dense brush, or a damp sponge.
What brush is best for powder contour?
A fluffy angled brush.
Can dry skin cause patchy contour?
Yes. Contour clings to dry, flaky patches.
How do I stop contour fading on oily skin?
Use a mattifying primer and layer cream then powder contour.
Is bronzer the same as contour?
Not quite; bronzer adds warmth, contour adds cool shadow.
How do I make contour look natural?
Use a soft shade, thin layers and blend upward and outward.
Final Word
Patchy contour usually comes from dry skin, mixing textures in the wrong order, too much product, the wrong shade or dirty tools. Most patches can be softened with a clean brush, a damp sponge or a little foundation pressed on top.
Prep skin well, keep cream on cream and powder on powder, choose a soft, cool shade and build contour in thin layers. Blended upward and outward, contour should look like a natural shadow rather than a stripe.

Written by
Registered pharmacist and founder of Facial Adviser. Rakib's pharmacy training covers how skincare actives work and interact; a later course in cosmetology turned that into a focus on facial treatments and skincare products. He plans, researches and edits every guide on the site and checks health claims against sources such as the American Academy of Dermatology, the FDA and the NIH. He is not a dermatologist; see the Editorial Policy and Medical Disclaimer.
About · Editorial policy · How we choose products · Medical disclaimer · Contact
Keep reading: Foundation, BB cream and base
- How to Find the Right Shade of Makeup: Undertone, Depth and Testing
- How to Apply Blush for a Round Face: Placement That Lifts and Defines
- Layering Cream and Powder Products: The Right Order for Smooth Makeup
- How to Make Pressed Powder Last Longer: In the Compact and on Your Face
- How to Avoid Flashback in Photos: Why Makeup Turns White and How to Fix It
- Why Concealer Creases Easily and How to Stop It for Good
- What Can You Use to Make Your Makeup Stay On All Day? 9 Products and Tricks
- How to Get Started as a Freelance Makeup Artist: Training, Kit and Clients