How to Apply Blush for a Round Face: Placement That Lifts and Defines
A round face has soft curves, full cheeks and a similar width and length, which many people find youthful and approachable. Blush placement can either enhance that softness or add a little lift and definition, depending on the look you want.
Part of our guide to makeup how-to. Start with: How to Find the Right Shade of Makeup: Undertone, Depth and Testing
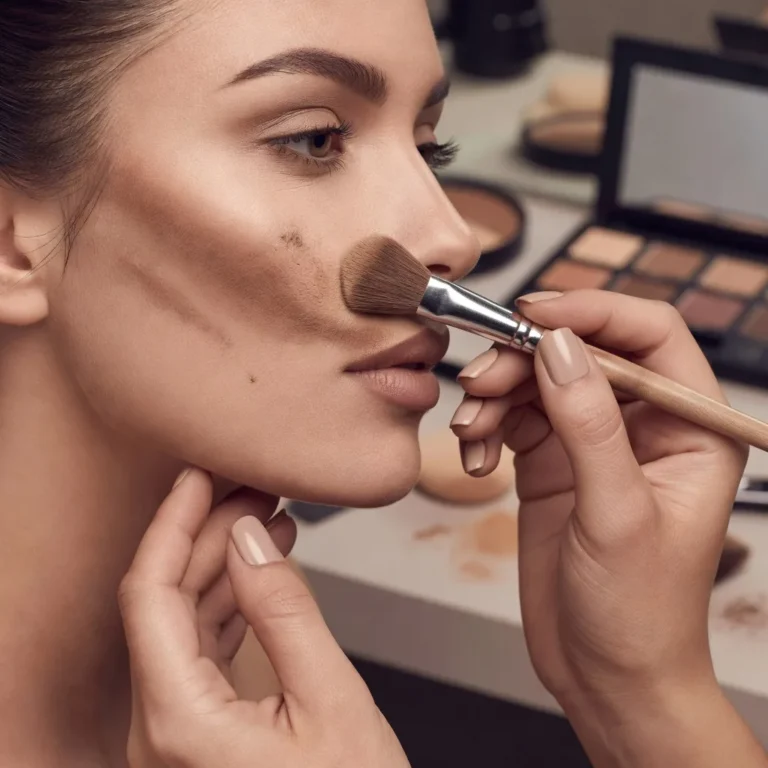
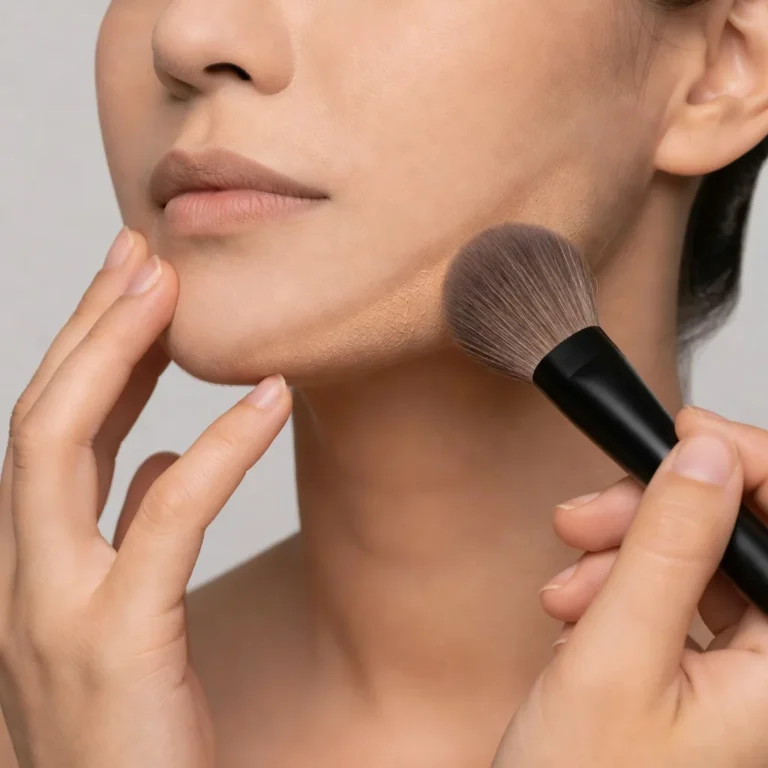
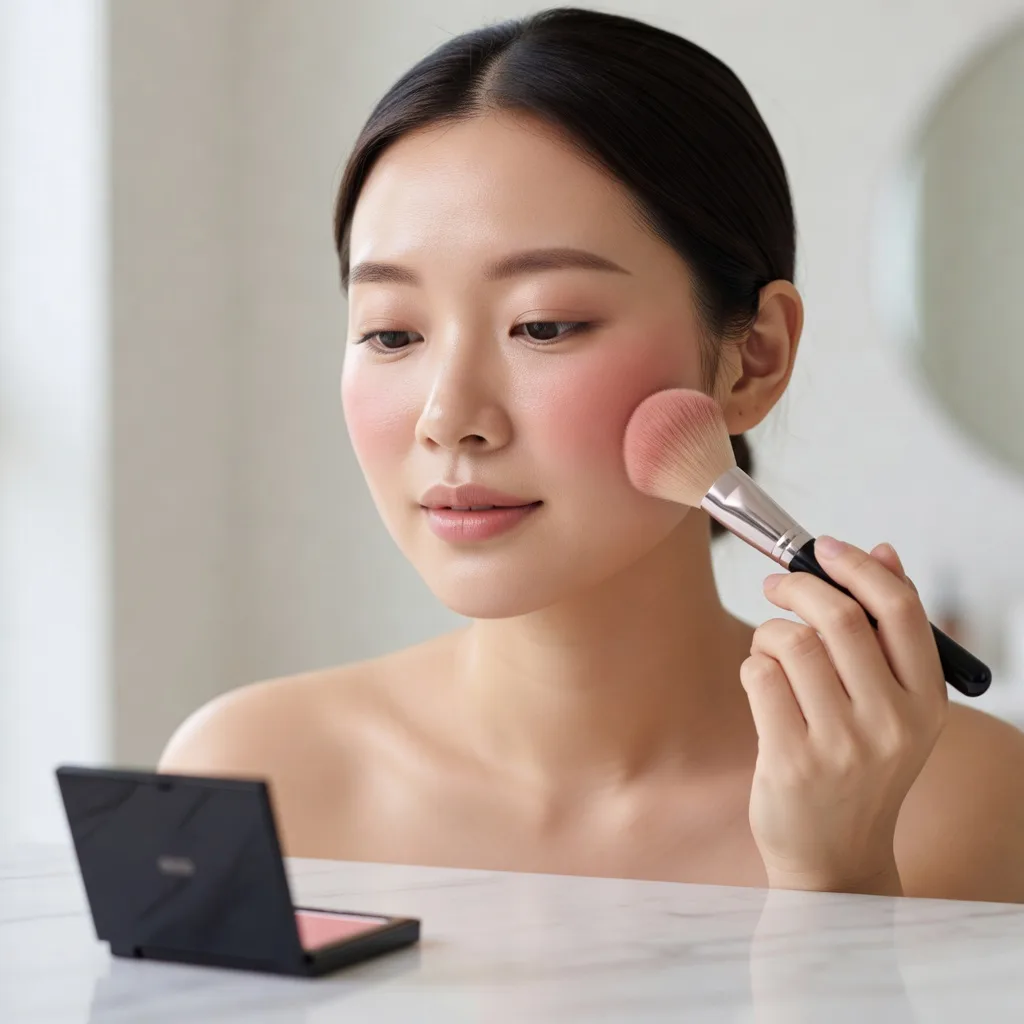
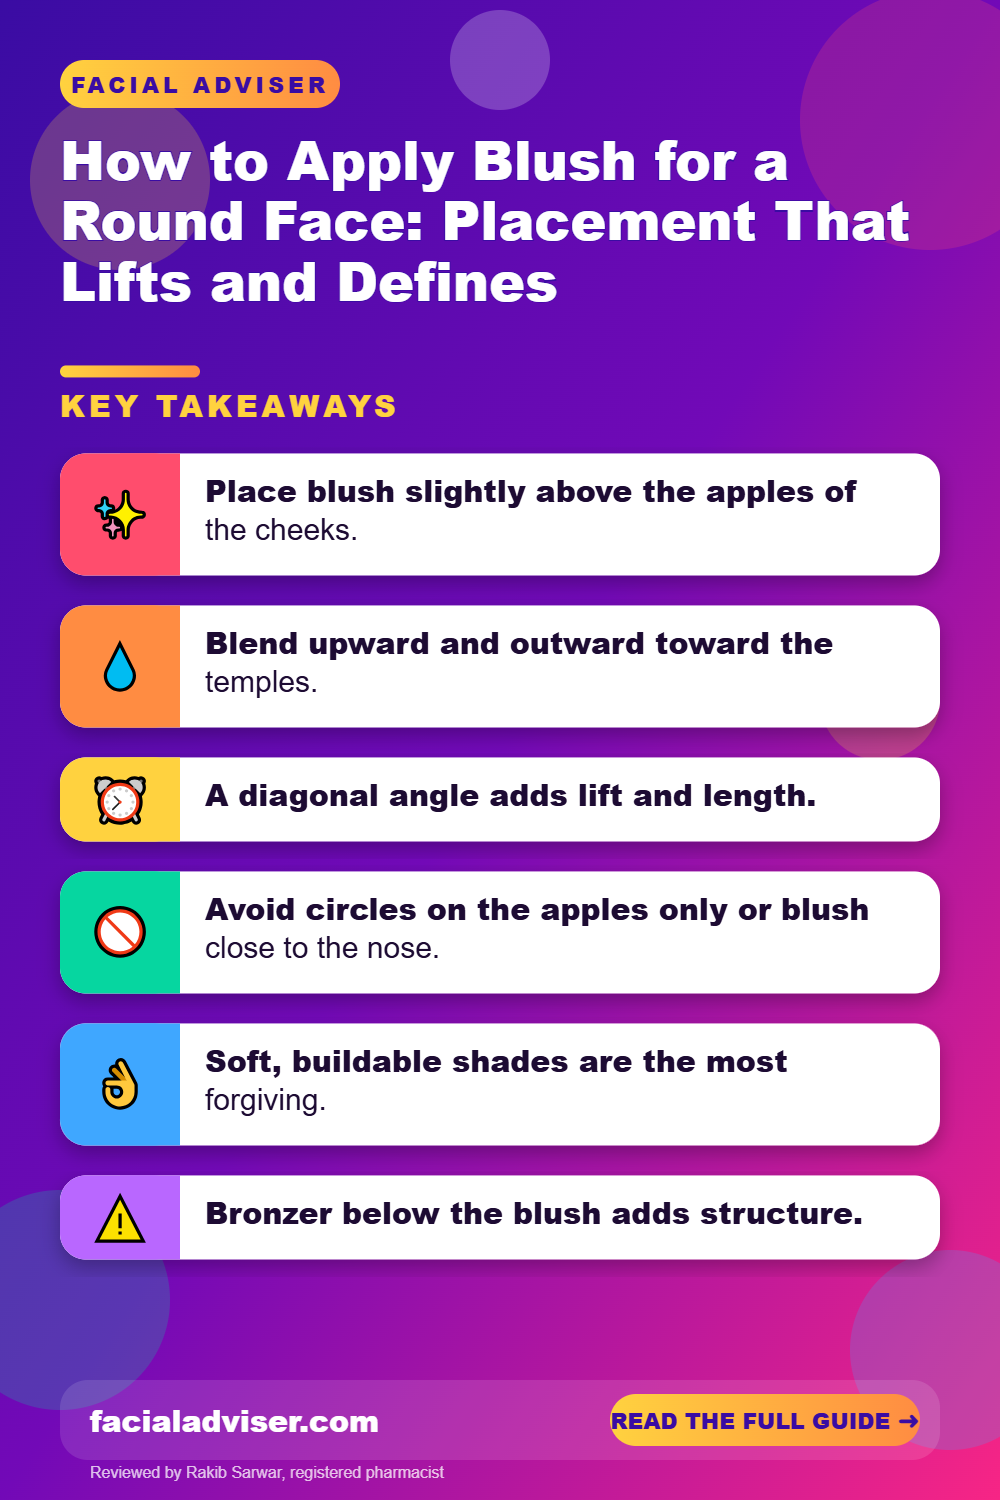
To apply blush on a round face, place it slightly above the apples of the cheeks and blend it upward and outward toward the temples at a gentle angle. This diagonal placement draws the eye up and creates the impression of length and cheekbone definition. Avoid circling blush only on the apples or placing it low and close to the nose, which can emphasise roundness. Choose soft, buildable shades, blend the edges well and, if you like, add a light bronzer or contour just below the blush for more structure. Keep highlight on the top of the cheekbones rather than the centre of the cheeks.
There is no rule that a round face must be contoured or slimmed. Many makeup artists deliberately keep blush on the apples of round faces for a sweet, fresh look. These techniques are simply options for when you want more lift or definition, not corrections for something that is wrong.
Blush colour comes from pigments and dyes approved for cosmetic use, which the FDA lists in its table of colour additives permitted in cosmetics.
This guide explains where to place blush on a round face, how to choose shades and formulas and how to combine blush with bronzer, contour and highlight.
Shopping these picks?
Amazon Prime members get fast, free shipping on eligible items, plus Prime Video, Amazon Music and member deals. New members can start with a free trial.
Start a free Prime trialAged 18 to 24? Prime for Young Adults comes with a longer free trial and a lower price after it.
Affiliate link: we may earn a commission at no extra cost to you.
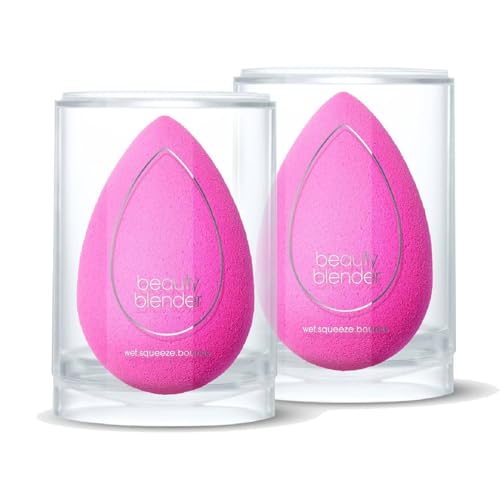
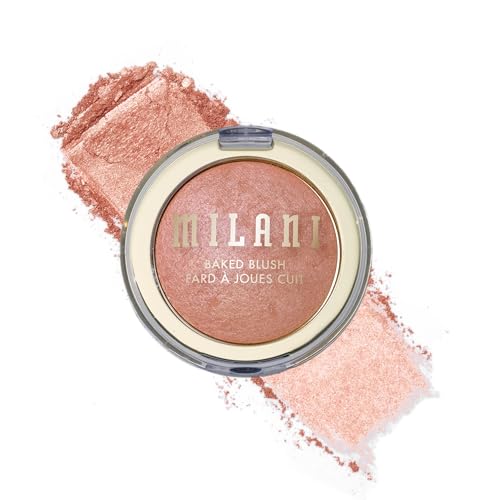
Recommended Blushes and Brushes for a Round Face




Jump to a Section
- Understanding a Round Face Shape
- Where to Put Blush on a Round Face
- How to Apply Blush on a Round Face
- Choosing Blush Formulas
- Choosing Shades
- Combining Blush With Bronzer and Contour
- Mistakes to Avoid
- Other Tips for Lift and Balance
- Adjusting for Skin Type and Age
- Dos and Don’ts
- Honest Limits
- When to See a Dermatologist
- Questions People Ask
- The Bottom Line
Quick Answer
- Place blush slightly above the apples of the cheeks.
- Blend upward and outward toward the temples.
- A diagonal angle adds lift and length.
- Avoid circles on the apples only or blush close to the nose.
- Soft, buildable shades are the most forgiving.
- Bronzer below the blush adds structure.
- Highlight the tops of the cheekbones, not the centre of the cheeks.
Understanding a Round Face Shape
A round face usually has cheekbones as the widest point, a softly rounded jaw and chin and a face length similar to its width. Many people have round faces, and they tend to look youthful because of the fuller cheeks.
| Feature | Typical of a round face | What blush can do |
|---|---|---|
| Cheeks | Full and soft | Add lift with higher, angled placement |
| Cheekbones | Less visible under fullness | Define with blush above and bronzer below |
| Jaw | Softly curved | Soften further or add gentle definition with bronzer |
| Face length | Similar to width | Create the look of length with diagonal placement |
Face shapes are general guides rather than strict categories. Many faces combine features of round, oval and square shapes, so use these tips as a starting point and adjust to what you see in the mirror.
Where to Put Blush on a Round Face
Find the starting point: smile gently to find the apples of your cheeks, then relax your face. Start blush just above and slightly outside the apples, rather than in the centre. Angle upward: sweep blush diagonally up along the cheekbone toward the top of the ear or the temple. The angle creates the impression of lift. Keep it away from the nose: blush that starts too close to the nose widens the centre of the face. Start roughly in line with the outer edge of the iris. Blend the edges: soften any hard lines with a clean brush or sponge so the colour fades gradually into the skin.A simple guide is to imagine a line from the corner of the mouth to the top of the ear. Keeping blush above that line, and angled along it, gives the most lifting effect on a round face.
If you prefer a soft, youthful flush, blush on the apples is perfectly fine. Blend it slightly upward at the edges to keep it from looking like a circle.
How to Apply Blush on a Round Face
Prep your base
Apply foundation or skin tint and let it settle.
Find the apples
Smile to locate them, then relax your face.
Place blush just above the apples
Start slightly outside the centre of the cheek.
Sweep toward the temples
Blend diagonally upward along the cheekbone.
Soften the edges
Use a clean brush or sponge to diffuse any lines.
Add structure if wanted
Blend a little bronzer or contour just below the blush.
Highlight the cheekbone tops
Tap highlighter above the blush, not in the centre of the cheek.
Tap off excess powder before touching your face, and start with less than you think you need. It is much easier to build blush than to take it away.
Choosing Blush Formulas
| Formula | Finish | Best for | Tips |
|---|---|---|---|
| Powder | Matte to satin | Oily or combination skin | Apply over powdered base with a fluffy brush |
| Cream | Natural, dewy | Normal to dry skin | Tap on with fingers or a sponge before powder |
| Liquid | Sheer to vivid | Most skin types | Use tiny amounts; blend quickly |
| Stain or tint | Sheer, long-lasting | Oily skin, hot weather | Blend fast before it sets |
| Baked or shimmer | Radiant | Normal to dry skin | Keep shimmer high on the cheekbone |
Liquid blushes and stains are very pigmented, so a dot or two is usually enough. Place the dots high on the cheek and blend upward immediately, before the formula sets. Our guide on pigment versus dye explains why stains last longer and blend differently.
Cream products go over liquid foundation before powder, and powder blush goes over powder. Mixing textures in the wrong order can make blush patchy. For extra staying power, layer a cream blush and then a light dusting of a matching powder blush on top.
Choosing Shades
Soft, natural shades are the most forgiving: peach and coral suit warm undertones, rosy and berry shades suit cool undertones, and soft mauves and dusty roses suit many people.
Deeper skin tones often look best with richer shades such as brick, berry, plum or bright coral, which show up without looking ashy.
Very bright or very shimmery blushes are harder to blend on full cheeks, because the colour spreads over a larger area. Build them gradually and keep them high on the face. Swatching blush on your cheek in daylight is more reliable than judging it in the pan, since many shades look much stronger in the compact than on skin.
Blush colourants include iron oxides, lakes and carmine. The FDA’s list of colour additives permitted in cosmetics sets out which can be used and where.
Combining Blush With Bronzer and Contour
For more structure, a sheer layer of bronzer or contour just below the blush creates a soft shadow that makes cheekbones look more defined. Apply contour first, then blush, so the blush softens the top edge of the contour and the two blend together naturally.
- Place contour in the hollow below the cheekbone, blending upward toward the blush.
- Keep contour soft and diffused; harsh lines look obvious on full cheeks.
- A little bronzer at the temples and along the jaw adds warmth and dimension.
- Blend the edges of blush and bronzer together so there is no gap or stripe.
If contour looks muddy or patchy, our guide on how to fix patchy contour covers blending and quick fixes.
Mistakes to Avoid
Circling only the apples: round spots of colour can emphasise fullness. Blend upward at the edges. Placing blush too low: colour below the cheekbone drags the face down. It can also merge with contour and look muddy rather than fresh. Starting too close to the nose: it widens the centre of the face. Using too much product: heavy blush spreads across a large area on full cheeks. Using a dirty or very dense brush: it deposits colour unevenly. A clean, fluffy or angled brush diffuses blush more softly. Highlighting the centre of the cheeks: shine on the fullest part of the cheek adds width. Keep highlight on the top of the cheekbone.Stop using a blush if it causes itching, redness or a rash. Some red colourants, including carmine, can cause allergic reactions in a small number of people.
Other Tips for Lift and Balance
Blush works best alongside the rest of your makeup, and small details elsewhere on the face can support the lift it creates. Brows with a gentle arch add vertical lift, while a soft wing of liner draws the eye up and out.
Hairstyles that add height at the crown or frame the face with longer layers can complement angled blush placement. Glasses frames with some angle, such as slightly upswept or rectangular shapes, can also balance soft curves, although personal style matters far more than any rule.
If one cheek looks fuller or higher than the other, place blush at matching heights using a reference point on both sides. Our guide on makeup for asymmetrical features explains how.
Adjusting for Skin Type and Age
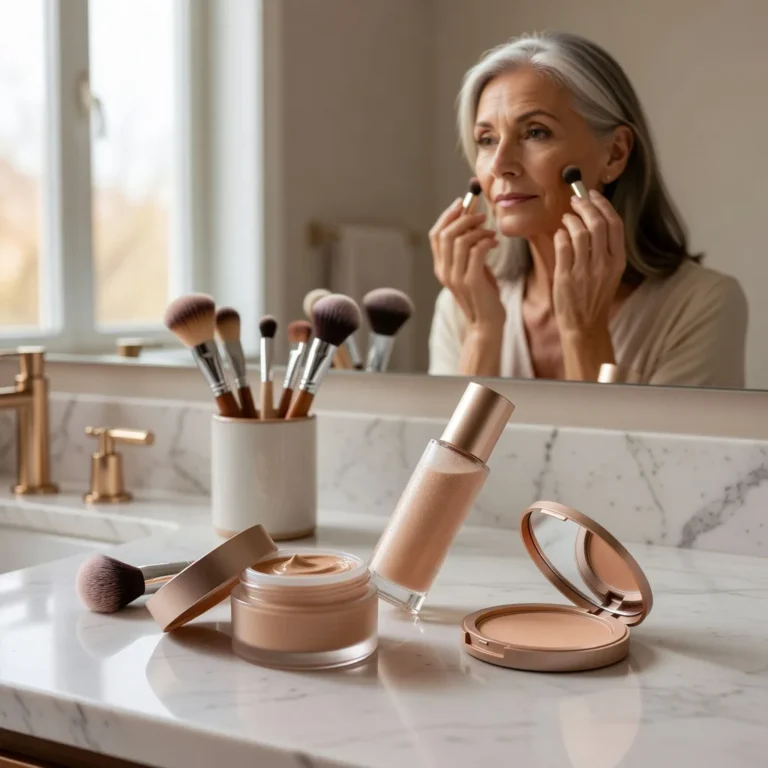
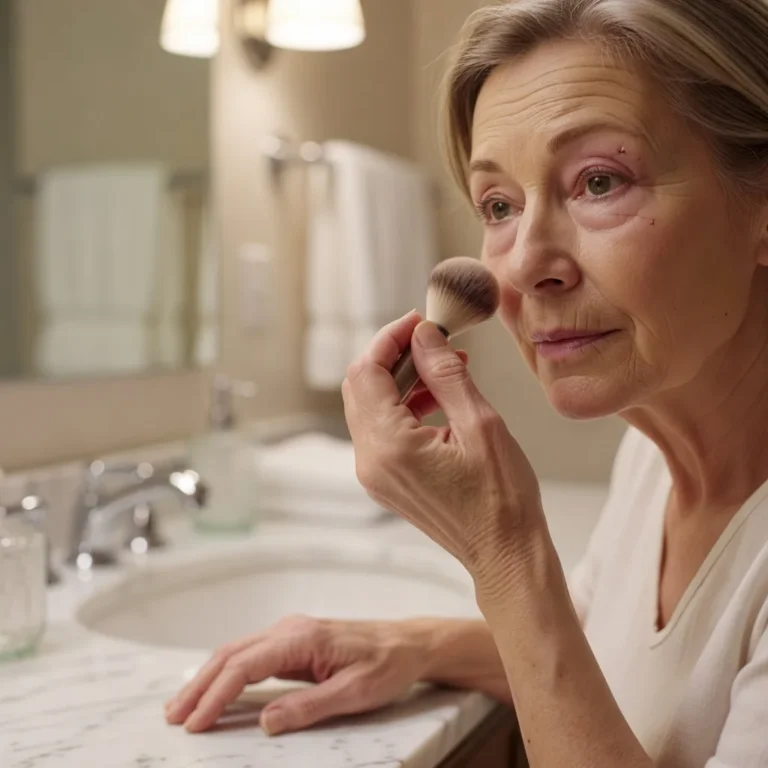
Oily skin: powder blush or a stain lasts longest. Apply powder blush over a powdered base, or use a stain under powder for all-day colour. Dry skin: cream and liquid blushes look fresher and blend into the skin rather than sitting on dry patches. Tap them on with fingers or a damp sponge. Mature skin: cream or liquid formulas placed slightly higher on the cheek give a lifted, healthy look. Avoid heavy shimmer, which can highlight texture, and keep placement close to the cheekbone rather than low on the cheek. Acne-prone skin: choose non-comedogenic formulas and clean brushes often. Blush can draw attention to active spots, so keep colour sheer over those areas. Rosy or redness-prone skin: you may need very little blush. Neutral peach or soft brown shades often look better than bright pinks, which can add to existing redness.Dos and Don’ts
Try This
- Place blush slightly above the apples
- Blend upward toward the temples
- Start with a small amount
- Keep highlight high on the cheekbone
- Blend edges thoroughly
Avoid This
- Circle blush only on the apples
- Place blush low on the cheek
- Start blush close to the nose
- Pile on bright shades
- Highlight the centre of the cheeks
Honest Limits
Blush placement creates an impression rather than changing the shape of your face. The effect is subtle and works best as part of your overall makeup.
Face shape categories are simplified. Weight changes, age and even hairstyle can change how round your face looks, so placement that suits you now may shift over time. Many faces do not fit neatly into one category, and the best placement is the one that looks right to you in the mirror and in daylight.
Round faces do not need correcting. Many people love the soft, youthful look of blush on the apples, and that is an equally valid choice.
When to See a Dermatologist
- You get redness, itching or a rash after using blush.
- You have persistent redness on the cheeks that could be rosacea.
- Breakouts appear where you apply blush.
- You notice flaking or irritation that does not improve.
This article is for general information and does not replace professional medical advice. See a dermatologist for persistent skin concerns.
Questions People Ask
Where should I put blush on a round face?
Slightly above the apples, blended upward toward the temples.
Should I put blush on the apples of my cheeks?
You can, but blending upward at the edges adds lift.
What blush shade suits a round face?
Soft, buildable shades that suit your undertone work best.
Can blush make my face look slimmer?
Angled placement can create the impression of more length and definition.
Should I use contour with blush on a round face?
Optional; a soft layer below the blush adds structure.
Where should highlighter go on a round face?
On the tops of the cheekbones, not the centre of the cheeks.
Is cream or powder blush better for a round face?
Either works; choose based on your skin type.
Why does my blush look like circles?
It is probably placed only on the apples; blend it upward.
How much blush should I use?
Start with a small amount and build gradually.
What if my cheeks are uneven?
Place blush at the same height on both sides using a reference point.
The Bottom Line
On a round face, blush placed slightly above the apples and blended upward toward the temples adds lift and definition. Soft, buildable shades and well-blended edges look the most natural.
Add a sheer layer of bronzer below the blush for structure, keep highlight on the tops of the cheekbones and avoid placing colour too low or too close to the nose. Or, if you love a soft flush on the apples, wear it with confidence.

Written by
Registered pharmacist and founder of Facial Adviser. Rakib's pharmacy training covers how skincare actives work and interact; a later course in cosmetology turned that into a focus on facial treatments and skincare products. He plans, researches and edits every guide on the site and checks health claims against sources such as the American Academy of Dermatology, the FDA and the NIH. He is not a dermatologist; see the Editorial Policy and Medical Disclaimer.
About · Editorial policy · How we choose products · Medical disclaimer · Contact
Keep reading: Foundation, BB cream and base
- How to Find the Right Shade of Makeup: Undertone, Depth and Testing
- Layering Cream and Powder Products: The Right Order for Smooth Makeup
- How to Make Pressed Powder Last Longer: In the Compact and on Your Face
- How to Avoid Flashback in Photos: Why Makeup Turns White and How to Fix It
- Why Concealer Creases Easily and How to Stop It for Good
- Why Blush Fades Quickly and How to Make It Last All Day
- How to Choose Lipstick Shade: Undertone, Skin Tone and Testing Tips
- How to Choose the Right Eye Makeup Color for Your Eyes and Skin