How to Sanitize Makeup Tools: Brushes, Sponges, Curlers and More
Makeup tools touch your skin every day, then sit in a warm bathroom or bag between uses. Brushes collect oil, dead skin and old product; sponges stay damp; lash curlers and tweezers touch the delicate eye area. Without regular cleaning, they can harbour bacteria and fungi and spread them back to your face.
Part of our guide to makeup tools. Start with: 10 Best Makeup Brush Sets (2026): Soft, Well-Made Kits for Every Look
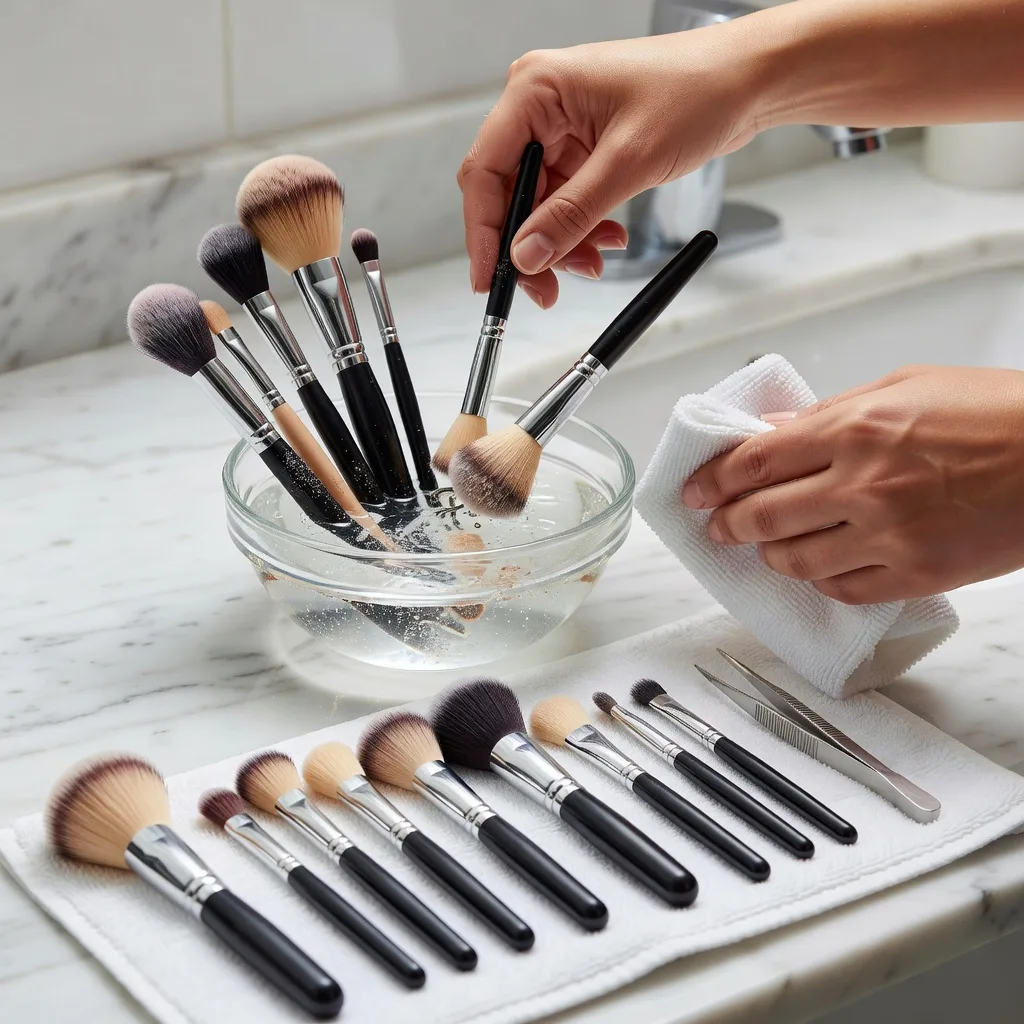
To sanitize makeup tools, first clean them to remove makeup and oil, then disinfect where the material allows. Wash brushes and sponges with a gentle soap, brush shampoo or cleanser and lukewarm water, rinse well and dry them flat or bristles down. Wipe metal and plastic tools such as lash curlers, tweezers and sharpeners with 70 percent isopropyl alcohol and let them air-dry. Wash sponges after every use or two, face brushes weekly and eye brushes at least weekly. Replace sponges every one to three months and tools that are cracked, shedding or rusty. Clean everything immediately after a skin or eye infection.
Cleaning and disinfecting are different steps. Cleaning removes visible residue and most microbes; disinfecting kills more of what remains. Most tools need regular cleaning, while metal tools benefit from disinfection as well.
The FDA notes that cosmetics and their applicators can become contaminated with microorganisms during use, which is why keeping tools clean matters as much as keeping products fresh.
This guide covers how to clean and sanitize each type of tool, how often to do it, how to dry and store tools and when to replace them.
Shopping these picks?
Amazon Prime members get fast, free shipping on eligible items, plus Prime Video, Amazon Music and member deals. New members can start with a free trial.
Start a free Prime trialAged 18 to 24? Prime for Young Adults comes with a longer free trial and a lower price after it.
Affiliate link: we may earn a commission at no extra cost to you.
Recommended Tool Cleaners and Care Accessories




In This Guide
- Why Sanitizing Makeup Tools Matters
- How Often to Clean Each Tool
- How to Clean and Sanitize Your Makeup Tools
- Choosing a Cleaning Method
- Brushes: Synthetic and Natural Hair
- Sponges and Puffs
- Lash Curlers, Tweezers and Sharpeners
- After an Eye or Skin Infection
- Storing Tools Between Uses
- Dos and Don’ts
- Honest Limits
- When to See a Doctor
- FAQ
- The Takeaway
Quick Answer
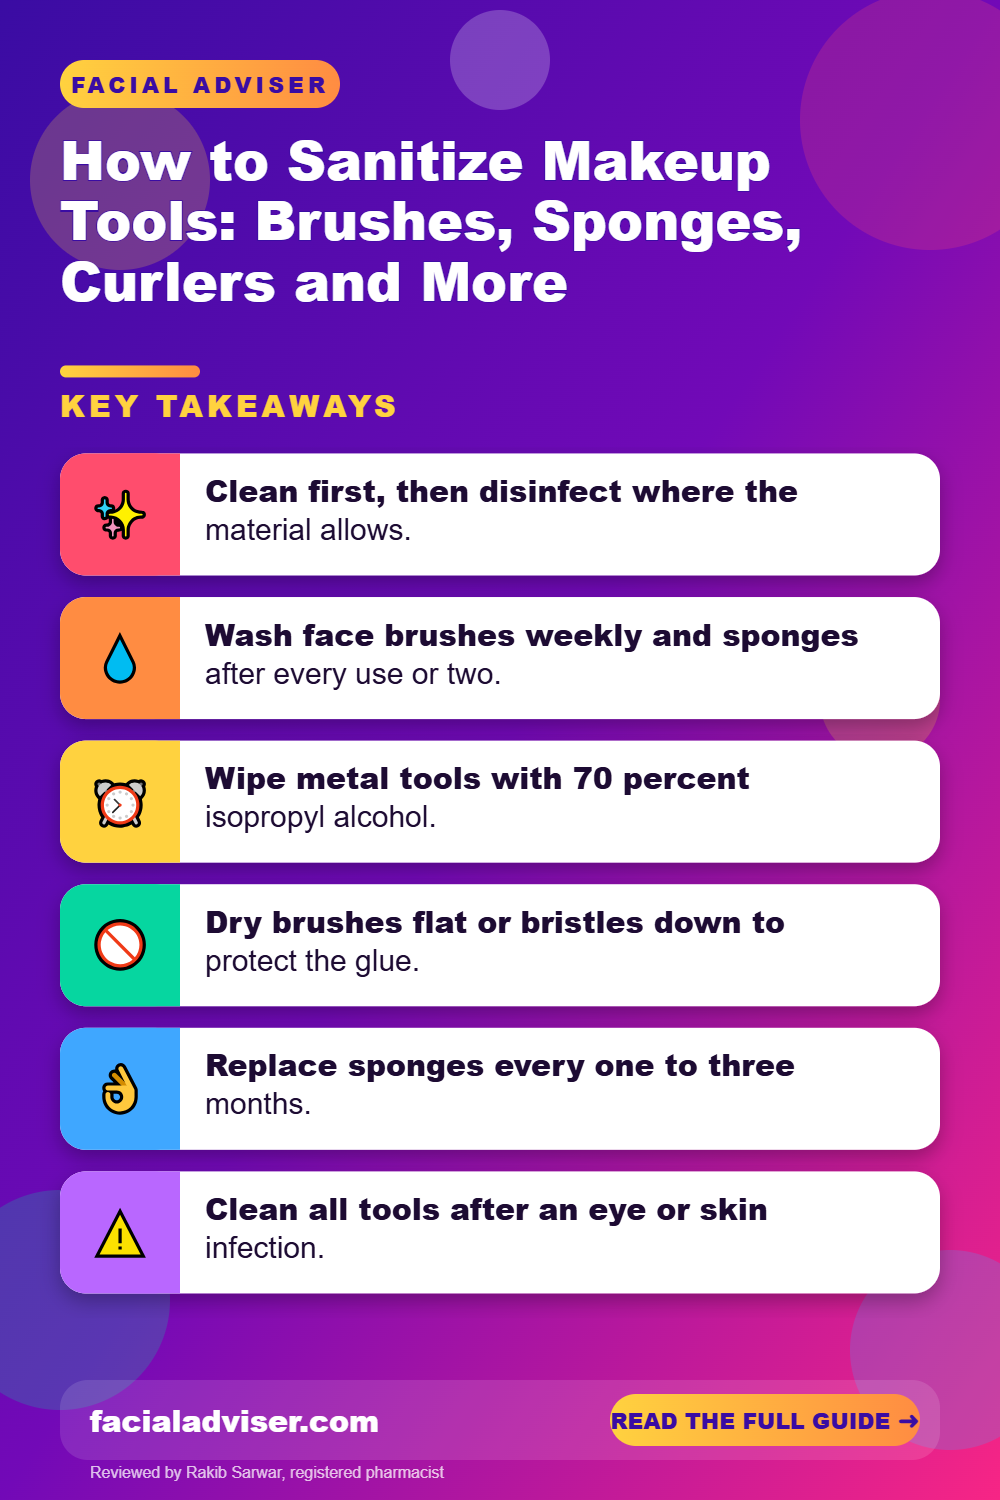
- Clean first, then disinfect where the material allows.
- Wash face brushes weekly and sponges after every use or two.
- Wipe metal tools with 70 percent isopropyl alcohol.
- Dry brushes flat or bristles down to protect the glue.
- Replace sponges every one to three months.
- Clean all tools after an eye or skin infection.
- Never share tools used around the eyes.
Why Sanitizing Makeup Tools Matters
Every time a brush or sponge touches your skin, it picks up oil, sweat, dead skin cells and microbes. When it goes back into a product, it can carry them into the pan, jar or bottle. Damp sponges and brushes left in a warm bathroom create ideal conditions for bacteria and mould to grow.
Dirty tools can contribute to breakouts, irritation and, in the eye area, infections such as conjunctivitis. They also work less well: product builds up in bristles, making application patchy and streaky.
The FDA’s page on microbiological safety and cosmetics explains how contamination can occur during use, not just during manufacturing.
Clean tools also help your products last longer, because you introduce fewer microbes each time you use them.
How Often to Clean Each Tool
| Tool | Clean | Deep clean or disinfect | Replace |
|---|---|---|---|
| Makeup sponges | After every use or two | Weekly deep wash | Every 1 to 3 months or if torn |
| Foundation and concealer brushes | Weekly | Monthly deep clean | When shedding or misshapen |
| Powder brushes | Every 1 to 2 weeks | Monthly | When shedding or misshapen |
| Eye brushes | Weekly or after each use for liner | Monthly | When shedding |
| Lash curler | Wipe after each use | Weekly alcohol wipe | Replace pad every 3 to 6 months |
| Tweezers | Wipe before and after use | Alcohol wipe | When tips no longer meet |
| Pencil sharpener | Wipe after each use | Alcohol wipe regularly | When blade is dull or rusty |
| Powder puffs | Weekly | Monthly | Every few months |
If you have acne-prone or sensitive skin, clean face tools more often. Our guide on how often makeup brushes need to be cleaned goes into brush cleaning frequency in more detail.
How to Clean and Sanitize Your Makeup Tools
Wet bristles or sponge
Use lukewarm water and keep brush bristles pointing down so water does not reach the handle glue.
Add a gentle cleanser
Use brush shampoo, a mild soap or a gentle cleanser.
Work up a lather
Swirl on your palm or a silicone cleaning mat until the water runs clear.
Rinse thoroughly
Rinse until no suds or colour remain.
Squeeze out water
Gently squeeze bristles and sponges in a clean towel; do not twist.
Reshape and dry
Lay brushes flat or bristles down; let sponges air-dry in a ventilated spot.
Disinfect metal and plastic tools
Wipe curlers, tweezers and sharpeners with 70 percent isopropyl alcohol and let them air-dry.
For a quick clean between deep washes, spray a daily brush cleaner onto a tissue and swirl the brush over it until no more colour comes off. It is not a replacement for washing, but it helps between washes.
Choosing a Cleaning Method
| Method | Best for | Pros | Cons |
|---|---|---|---|
| Gentle soap or cleanser and water | Weekly washing of brushes and sponges | Cheap, effective, gentle | Brushes need hours to dry |
| Brush shampoo | Regular washing, natural hair brushes | Designed for bristles | Extra cost |
| Solid brush cleanser | Quick, thorough cleaning of sponges and brushes | Easy to lather, portable | Can leave residue if not rinsed well |
| Spray brush cleaner | Between-wash quick cleans, colour changes | Dries in minutes | Does not replace a full wash |
| 70 percent isopropyl alcohol | Metal and hard plastic tools | Disinfects hard surfaces | Can dry out natural bristles and sponges |
Most people need only two things: a gentle soap or brush shampoo for weekly washing, and alcohol wipes or a small bottle of 70 percent alcohol for metal tools. Spray cleaners are useful if you switch between colours often or travel, but they are an extra rather than a necessity.
Avoid harsh household cleaners, bleach and dish detergents with strong degreasers on brushes and sponges. They can damage bristles and irritate skin if not fully rinsed out. If you use a regular cleanser, choose a fragrance-free one, since fragrance residue on tools can irritate sensitive skin.
A textured silicone mat or glove speeds up washing by helping to work cleanser through dense bristles, and a drying rack lets brushes dry bristles down, which protects the glue and helps them keep their shape.
Brushes: Synthetic and Natural Hair
Synthetic brushes are easy to wash and dry relatively quickly. They work well with liquid and cream products, which build up faster and need more frequent cleaning.
Natural hair brushes are more delicate. Use a gentle shampoo and avoid harsh solvents or very hot water, which can dry out the hair. A small amount of conditioner can help keep natural bristles soft.
Always keep water away from the ferrule, the metal part that joins bristles to the handle. Water in the ferrule loosens the glue and can cause shedding and trapped moisture, which encourages mould.
Drying matters as much as washing. Lay brushes flat on a towel with the bristles hanging over the edge, or use a drying rack that holds them bristles down. Never dry brushes upright in a cup, where water drains into the handle.
Sponges and Puffs
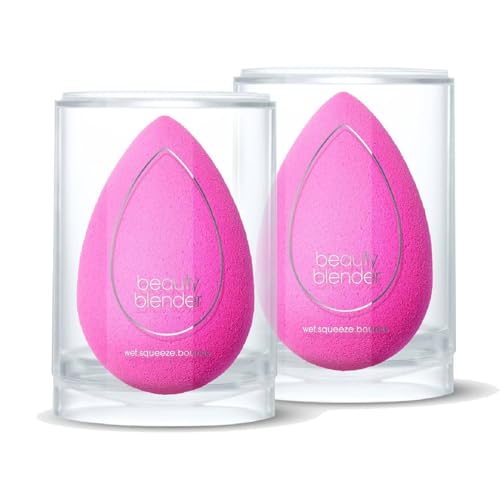
Sponges are the tools most likely to harbour microbes because they are porous and often stay damp. Wash them after every use or two with a gentle soap or cleanser, squeezing repeatedly until the water runs clear.
Let sponges dry completely in an open, ventilated spot, not in a closed case or bag. A damp sponge sealed in a container is an ideal place for mould to grow.
Replace sponges every one to three months, or sooner if they tear, stay stained after washing or develop an unusual smell. Our guide on whether you should wet makeup sponges covers how to use them for the best finish.
Do not microwave sponges or put them in boiling water to sanitize them. It can damage the material, create hot spots that burn and is not a reliable disinfection method for makeup sponges.
Lash Curlers, Tweezers and Sharpeners
Metal and hard plastic tools can be disinfected more easily than brushes and sponges. Wipe them with a cotton pad soaked in 70 percent isopropyl alcohol, covering all surfaces, and let them air-dry.
For lash curlers, wipe the pad and frame after every use to remove mascara and oil. Replace the rubber pad every three to six months or sooner if it cracks, since a damaged pad can pinch lashes.
Tweezers should be wiped before and after each use, especially if you use them on broken skin or ingrown hairs. Pencil sharpeners collect shavings and product, so tap them clean and wipe the blade area regularly.
Seventy percent alcohol is generally more effective as a disinfectant than higher concentrations because the water content helps it penetrate microbes.
After an Eye or Skin Infection
If you have had conjunctivitis, a stye, a cold sore or an active skin infection, clean or replace every tool you used during that time. Throw away sponges and puffs, deep-clean brushes and disinfect metal tools.
Replace eye products used during an eye infection, especially mascara and liquid liner. Our guide on wearing makeup after pink eye explains when it is safe to start again.
Never share tools used around the eyes or lips, and at makeup counters use single-use applicators rather than shared testers.
If you have acne, cleaning face tools more often during a flare can help reduce irritation, and using a separate brush or sponge for areas with active breakouts stops you spreading bacteria from one area to another.
Storing Tools Between Uses
Store clean, dry tools in an open cup, a ventilated holder or a clean pouch. Avoid keeping them in a steamy bathroom if you can, since constant humidity keeps sponges and bristles slightly damp.
Keep clean brushes separate from dirty ones, and never put a damp tool into a closed bag or case. A simple routine, such as washing tools on the same day each week, makes cleaning easy to remember.
When travelling, use a brush roll or case with some ventilation and let tools dry completely before packing them. A few spare disposable sponges or applicators are handy for trips where you cannot wash tools properly.
Dos and Don’ts
Worth Doing
- Wash sponges after every use or two
- Dry brushes flat or bristles down
- Wipe metal tools with 70 percent alcohol
- Replace sponges regularly
- Clean tools after an infection
Skip It
- Soak brush handles in water
- Dry brushes upright in a cup
- Store damp tools in closed cases
- Share eye tools
- Microwave or boil sponges
Honest Limits
Home cleaning reduces microbes a great deal but does not make tools sterile. That is fine for personal use, but it is why professional makeup artists follow stricter hygiene rules when working on multiple clients.
Some cleaning products and alcohol can dry out natural bristles or damage some sponge materials. Follow the manufacturer’s care instructions where available. If a tool still looks stained, smells musty or feels sticky after a thorough wash, replacing it is usually the better choice than trying to rescue it.
Clean tools reduce the risk of breakouts and irritation, but they are only one factor. Skincare, products, hormones and genetics also play a role in how your skin behaves.
When to See a Doctor
- Your eyes are red, itchy, painful or produce discharge.
- You develop painful bumps, crusting or pus-filled spots.
- Breakouts or irritation persist despite clean tools and products.
- You suspect a skin or eye infection.
This article is for general information and does not replace professional medical advice. See a doctor or dermatologist for signs of infection or persistent skin problems.
FAQ
How do I sanitize makeup brushes?
Wash with gentle soap or brush shampoo, rinse, and dry flat or bristles down.
How often should I clean makeup sponges?
After every use or two, with a deeper wash weekly.
Can I use alcohol to clean brushes?
Alcohol-based sprays work for quick cleans; wash regularly with soap too.
How do I disinfect a lash curler?
Wipe it with 70 percent isopropyl alcohol and let it air-dry.
Why 70 percent alcohol and not 99 percent?
The water content helps 70 percent alcohol disinfect more effectively.
How often should I replace makeup sponges?
Every one to three months, or sooner if damaged.
Can I microwave a makeup sponge?
No. It can damage the sponge and is not a reliable method.
How should I dry makeup brushes?
Lay them flat or hang bristles down, never upright.
Should I clean tools after pink eye?
Yes. Clean or replace every tool used around the eyes.
Is it safe to share makeup brushes?
It is best not to, especially eye and lip tools.
The Takeaway
Sanitizing makeup tools means cleaning them regularly to remove makeup, oil and microbes, and disinfecting metal and plastic tools with 70 percent alcohol. Wash sponges after every use or two, brushes weekly and dry everything thoroughly.
Replace sponges and damaged tools regularly, never share eye tools and clean everything after an infection. Clean tools make makeup look better and help protect your skin and eyes.

Written by
Registered pharmacist and founder of Facial Adviser. Rakib's pharmacy training covers how skincare actives work and interact; a later course in cosmetology turned that into a focus on facial treatments and skincare products. He plans, researches and edits every guide on the site and checks health claims against sources such as the American Academy of Dermatology, the FDA and the NIH. He is not a dermatologist; see the Editorial Policy and Medical Disclaimer.
About · Editorial policy · How we choose products · Medical disclaimer · Contact
Keep reading: Makeup brushes and tools
- 10 Best Makeup Brush Sets (2026): Soft, Well-Made Kits for Every Look
- 10 Best Tools for Base Application (2026): Sponges and Brushes Compared
- Makeup Storage Temperature Tips: How Heat, Cold and Humidity Affect Makeup
- Are You Supposed to Wash Makeup Brushes Before Using Them?
- How Often Do Makeup Brushes Need to Be Replaced?
- Are You Supposed to Wet Makeup Sponges? When, How, and Why