Are You Supposed to Wet Makeup Sponges? When, How, and Why
Makeup sponges look simple, but they come with a surprising amount of debate. Some people swear by soaking them first, others use them straight from the package, and many are not sure whether they are doing it right. If your foundation looks streaky, patchy, or heavy, the way you use your sponge could be part of the reason.
Part of our guide to makeup tools. Start with: 10 Best Makeup Brush Sets (2026): Soft, Well-Made Kits for Every Look
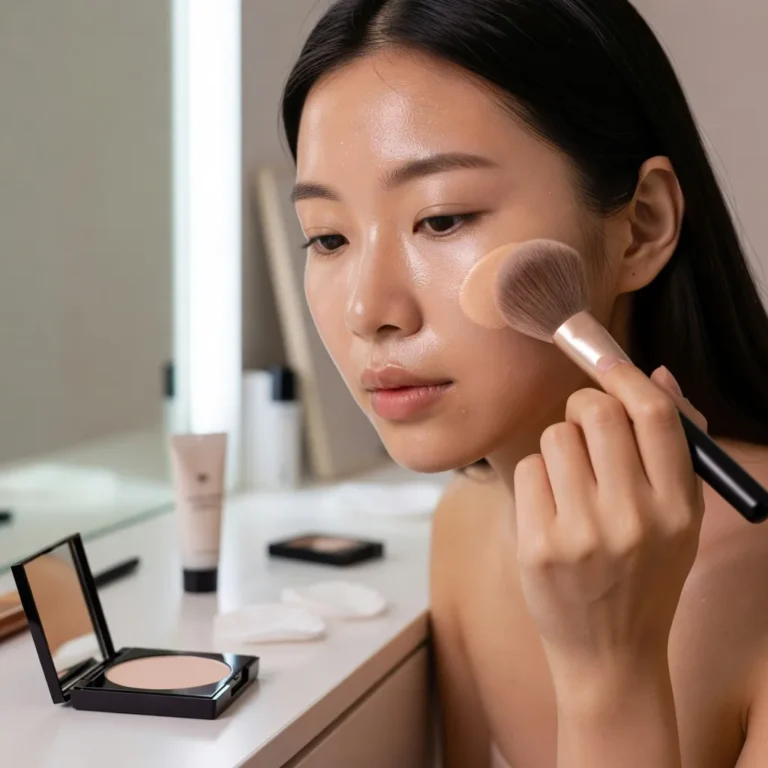
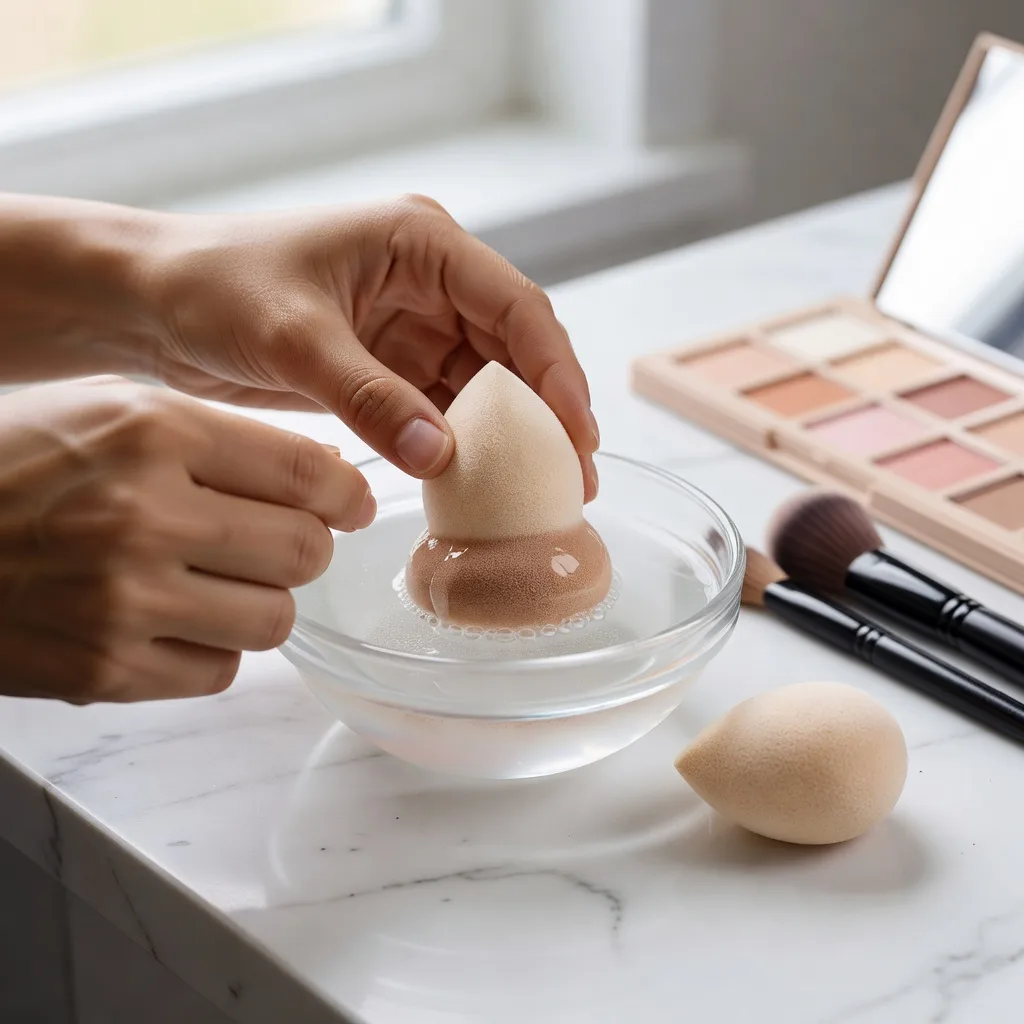
Yes, most makeup sponges are designed to be used damp. Wetting the sponge and squeezing out the excess makes it expand, softens it, and helps it press foundation into the skin in a thin, even layer instead of soaking it up. A damp sponge also gives a more natural, skin-like finish.
There are exceptions. Some sponges, including many flat wedges and latex sponges, are meant to be used dry, and using any sponge dry can give more coverage when you want it. Powder products also generally work better with a dry sponge or a brush.
Hygiene matters as much as technique. A 2019 study from Aston University published in the Journal of Applied Microbiology found that most makeup sponges tested had never been cleaned and carried the highest levels of bacteria among the products studied, largely because they stay damp after use.
This guide explains why damp sponges work, how wet is too wet, when to use a sponge dry, how sponges compare with brushes and fingers, how to clean and dry one, and when to replace it.
Shopping these picks?
Amazon Prime members get fast, free shipping on eligible items, plus Prime Video, Amazon Music and member deals. New members can start with a free trial.
Start a free Prime trialAged 18 to 24? Prime for Young Adults comes with a longer free trial and a lower price after it.
Affiliate link: we may earn a commission at no extra cost to you.
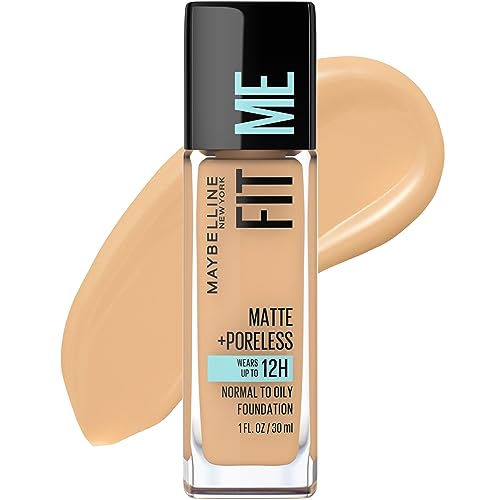
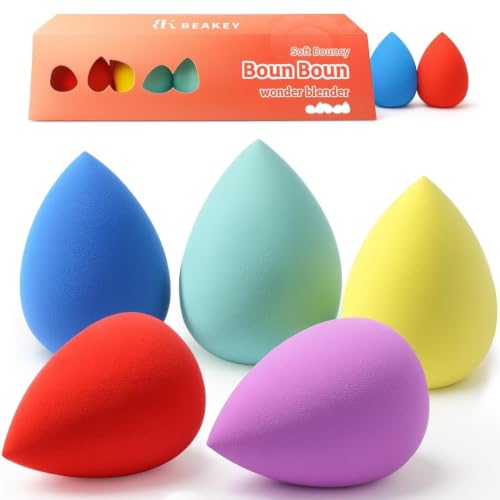
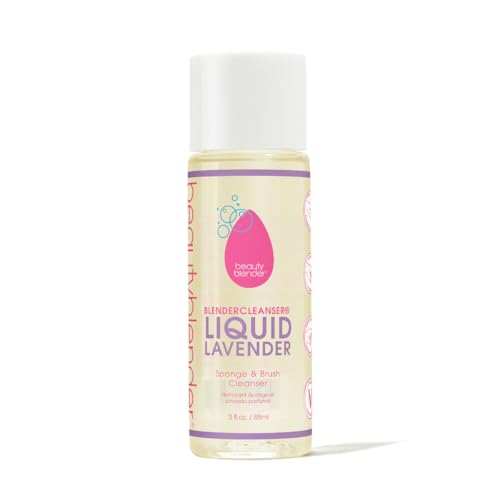
Recommended Makeup Sponges and Cleaning Tools



What to Know First
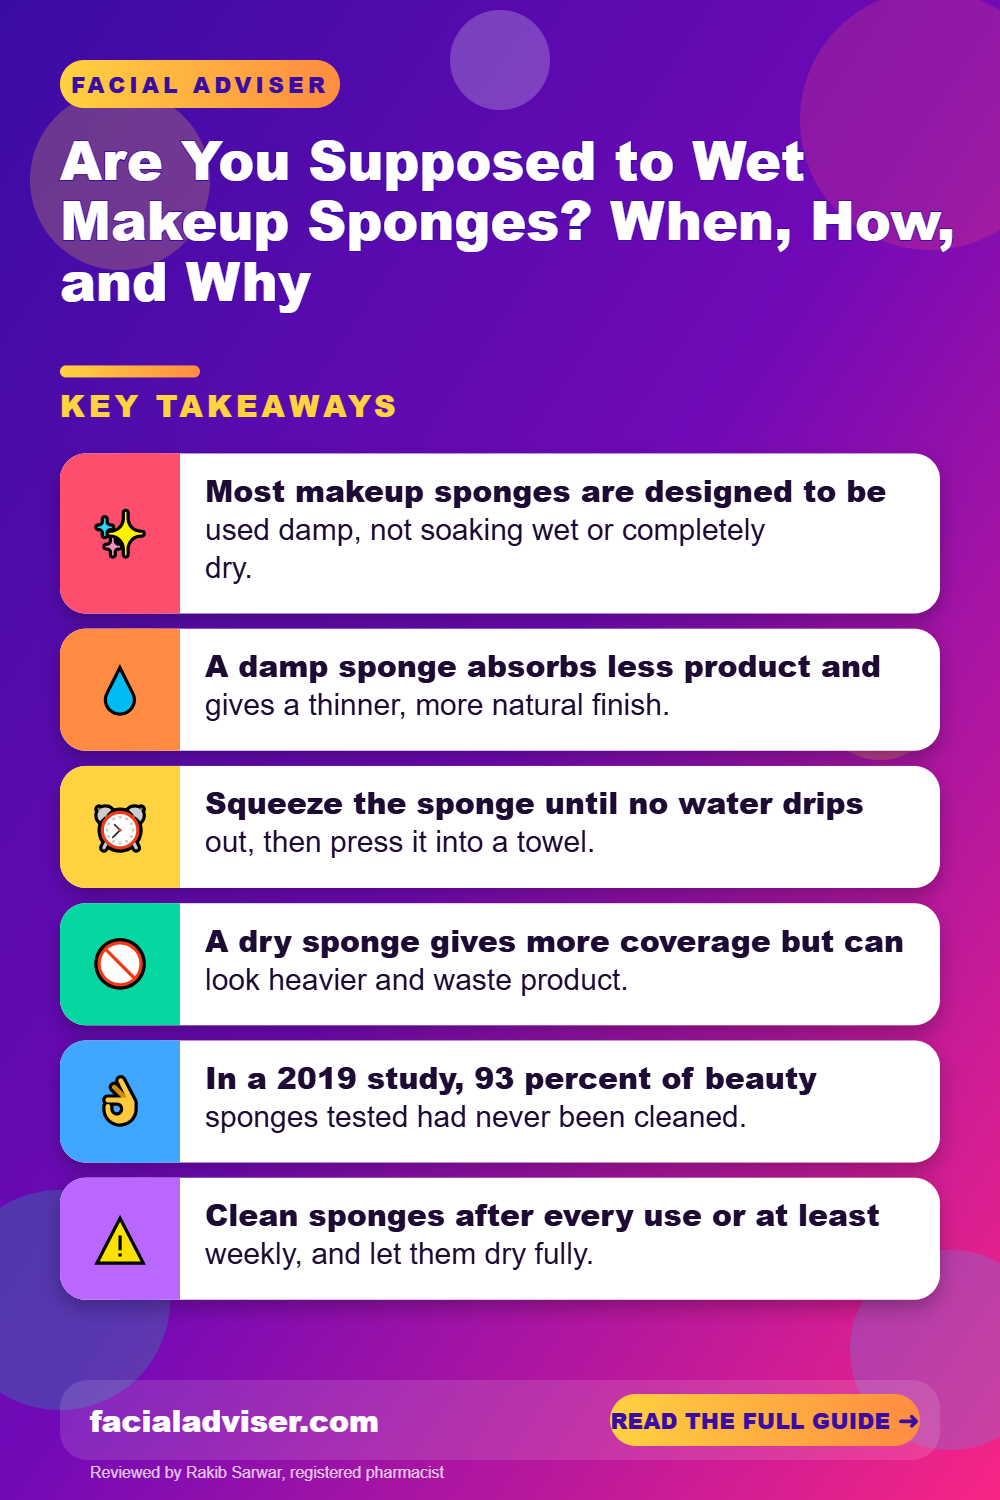
- Most makeup sponges are designed to be used damp, not soaking wet or completely dry.
- A damp sponge absorbs less product and gives a thinner, more natural finish.
- Squeeze the sponge until no water drips out, then press it into a towel.
- A dry sponge gives more coverage but can look heavier and waste product.
- In a 2019 study, 93 percent of beauty sponges tested had never been cleaned.
- Clean sponges after every use or at least weekly, and let them dry fully.
- Replace sponges every few months, or sooner if they tear, smell, or stain permanently.
In This Guide
- Why Damp Sponges Work Better
- How to Dampen a Sponge the Right Way
- Damp vs Dry Sponge: What Changes
- When to Use a Sponge Dry
- Sponge vs Brush vs Fingers
- Common Sponge Mistakes
- Sponges and Bacteria: What the Research Found
- How to Clean and Dry Your Sponge
- When to Replace a Makeup Sponge
- What a Sponge Cannot Fix
- When Skin Problems Need a Doctor
- FAQ
- Summing Up
Why Damp Sponges Work Better
Makeup sponges are made of soft foam full of tiny air pockets. When dry, those pockets act like a sponge in the kitchen, soaking up liquid foundation before it reaches your skin. That wastes product and tends to leave a heavier, patchier layer.
When you wet the sponge and squeeze out the excess, the pockets fill with water. The sponge swells, becomes softer and bouncier, and absorbs much less foundation. Instead of soaking into the sponge, your makeup stays on the surface, ready to be pressed onto your skin.
The small amount of water left in the sponge also slightly sheers out foundation as you blend. This gives a thinner, more skin-like layer that is less likely to look cakey or settle into lines.
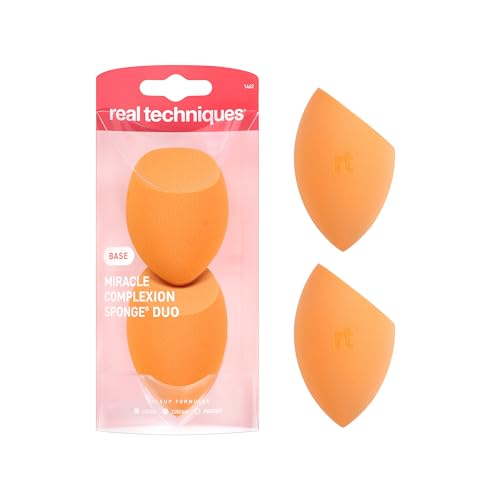
Shape matters too. The rounded base of a teardrop sponge covers large areas like the cheeks and forehead quickly, while the pointed tip reaches around the nose and under the eyes. A flat edge, found on some sponges, helps with contouring and pressing product along the jaw.
How to Dampen a Sponge the Right Way
Getting the dampness right is the key to good results. Follow these steps.
Run it under clean water
Hold the sponge under lukewarm running water and let it absorb until it expands to its full size.
Squeeze it firmly
Squeeze the sponge in your fist repeatedly until no more water drips out. It should feel damp, not wet.
Press it into a towel
Wrap the sponge in a clean towel or paper towel and press to remove any remaining excess water.
Check the feel
The sponge should be soft, springy, and cool to the touch. If you can squeeze out droplets, it is still too wet.
Blend with pressing motions
Pick up a little foundation and press, bounce, or roll the sponge onto your skin rather than dragging it.
If your foundation looks sheer or slides around, your sponge is probably too wet. Squeeze it into a towel again and try once more.
Damp vs Dry Sponge: What Changes
| Feature | Damp sponge | Dry sponge |
|---|---|---|
| Coverage | Light to medium, buildable | Medium to full |
| Finish | Natural, skin-like | More matte, can look heavier |
| Product use | Absorbs less, less waste | Soaks up more foundation |
| Blending | Softer, easier to blend edges | Can drag and streak |
| Best for | Liquid and cream foundation, concealer | Powder, some cream products, extra coverage |
| Risk of streaks | Lower | Higher |
| Hygiene concern | Must dry fully after use | Less moisture, still needs cleaning |
Many people use a damp sponge for foundation and concealer, then switch to a brush or dry puff for powder.
When to Use a Sponge Dry
There are times when a dry sponge makes sense:
- Powder products: loose or pressed powder works better with a dry sponge or puff, since water can make powder clump.
- Extra coverage: a dry sponge deposits more product, which some people like for covering redness or dark marks.
- Latex and wedge sponges: many traditional wedges are designed to be used dry. Check the packaging.
- Baking: if you set concealer with powder, a dry sponge or puff is usually used for pressing on the powder.
If you use a dry sponge for liquid foundation, work quickly and blend well to avoid streaks. You may need a little more product than with a damp sponge.
Sponge vs Brush vs Fingers
A damp sponge is not the only way to apply foundation, and each tool has strengths.
- Damp sponge: gives the most natural, seamless finish and is forgiving for beginners. It can absorb some product and needs regular cleaning.
- Foundation brush: dense brushes give more coverage and are quick for full-face application. They can leave streaks if you use too little product or the wrong motion.
- Fingers: the warmth of your skin helps cream and liquid products melt in, and there is no tool to clean. Coverage can be less even, and hands must be clean.
Many makeup artists combine them: fingers or a brush to spread foundation quickly, then a damp sponge pressed over the top to blend edges and remove excess. That approach gives the coverage of a brush with the soft finish of a sponge.
If you have sensitive or acne-prone skin, whichever tool you choose matters less than keeping it clean. A brush that is never washed can cause the same problems as a dirty sponge.
Common Sponge Mistakes
Helps
- Dampen the sponge fully before using it.
- Use pressing and bouncing motions.
- Clean it after each use, or at least weekly.
- Let it dry completely in open air.
- Replace it when it gets damaged or stained.
Backfires
- Use a soaking wet sponge.
- Swipe or drag the sponge across your skin.
- Store it damp in a closed bag or case.
- Share sponges with others.
- Keep using it after it has been dropped on the floor without cleaning it.
If your makeup still looks heavy even with a damp sponge, you may be using too much foundation. Our guide to fixing cakey makeup covers how to build coverage in thin layers. For patchiness in one area, see why makeup separates on the nose.
Sponges and Bacteria: What the Research Found
The same moisture that makes sponges blend beautifully also makes them a good home for bacteria. In the Aston University study led by Amreen Bashir and Peter Lambert, published in the Journal of Applied Microbiology, researchers tested hundreds of used makeup products, including lipsticks, mascaras, eyeliners, lip glosses, and beauty sponges.
Around nine in ten products contained potentially harmful bacteria, including E. coli and Staphylococcus species. Beauty sponges had the highest levels. Ninety-three percent had never been cleaned, and 64 percent had been dropped on the floor and still used.
Most healthy people will not get sick from their makeup, but contaminated tools can contribute to breakouts and skin infections, especially if used on broken skin, near the eyes, or by people with weakened immune systems.
Never use a sponge on broken skin, active infections, or around an eye infection. If you have had pink eye, see our guide on makeup after pink eye for what to replace.
How to Clean and Dry Your Sponge
Cleaning a sponge takes only a few minutes.
- Wet the sponge and apply a gentle soap, sponge cleanser, or mild unscented dish soap.
- Massage the soap into the sponge and squeeze repeatedly until the suds run clear.
- Rinse thoroughly under running water until no soap or makeup remains.
- Squeeze out excess water and press in a towel.
- Let it air dry fully on a holder or open surface, away from the bathroom sink if possible.
Drying is as important as washing. A sponge left damp in a closed case or bag can grow bacteria and mold. Let it dry completely before storing.
Some people microwave damp sponges to sanitize them, but this can damage the sponge or cause burns, and it does not replace washing. Follow the manufacturer’s instructions.
When to Replace a Makeup Sponge
Even well cared-for sponges wear out. Replace yours if:
- It has been in regular use for about three months.
- It tears, crumbles, or loses its bounce.
- It stays stained even after thorough cleaning.
- It smells musty or unpleasant.
- It has visible dark spots that could be mold.
Having two or three sponges in rotation lets each one dry completely between uses, which helps them last longer and stay cleaner.
What a Sponge Cannot Fix
The right sponge technique can make foundation look smoother, but it cannot fix the wrong shade, a formula that does not suit your skin type, or poor skin prep.
| Belief | Reality |
|---|---|
| Wetter is always better | Soaking wet sponges dilute foundation and leave streaks |
| Sponges never need cleaning | Research shows they harbor the most bacteria |
| Expensive sponges work differently | Most quality sponges work similarly when used damp |
| Dropping it is fine if it looks clean | Wash it before using it again |
| Sponges last forever | Replace every few months |
If you still struggle with patchy makeup, look at your moisturizer, primer, and foundation formula as well as your tools.
When Skin Problems Need a Doctor
See a dermatologist or doctor if you notice:
- Red, painful, or pus-filled bumps where you apply makeup.
- A rash, itching, or swelling after using a sponge or product.
- Crusting, oozing, or spreading redness that may be an infection.
- Breakouts that do not improve after cleaning or replacing tools.
- Eye redness, discharge, or pain after applying makeup near the eyes.
- Any skin infection if you have a weakened immune system.
Medical disclaimer: This article is for general information and is not a substitute for professional medical advice. See a healthcare provider about skin infections or reactions.
FAQ
Are you supposed to wet makeup sponges?
Most are designed to be used damp. Wet the sponge, squeeze out the excess, and press it in a towel before use.
What happens if you use a makeup sponge dry?
It soaks up more foundation and can give a heavier, streakier finish, though it adds coverage.
How wet should a makeup sponge be?
Damp, not dripping. If water comes out when you squeeze it, it is too wet.
Should I use a damp sponge for powder?
Usually not. Powder works better with a dry sponge, puff, or brush.
How often should I clean my makeup sponge?
Ideally after every use, and at least once a week.
How do I dry a makeup sponge?
Squeeze out water, press it in a towel, and let it air dry fully on a holder or open surface.
Can a dirty sponge cause acne?
It may contribute. Dirty sponges carry bacteria, oil, and old makeup that can clog pores or irritate skin.
How often should I replace my sponge?
About every three months, or sooner if it tears, stains, or smells.
Can I use tap water to wet my sponge?
Yes. Clean running tap water is fine for most people.
Why does my sponge leave streaks?
It may be too wet, too dry, or you may be dragging it instead of pressing.
Summing Up
Most makeup sponges work best damp. Wetting the sponge and squeezing out the excess makes it bouncy, stops it from soaking up foundation, and helps you press on a thin, natural layer. A dry sponge still has a place for powder or extra coverage.
Just as important is keeping your sponge clean. Research found most sponges had never been washed and carried high levels of bacteria, so clean yours regularly, let it dry fully, and replace it every few months or when it wears out.

Written by
Registered pharmacist and founder of Facial Adviser. Rakib's pharmacy training covers how skincare actives work and interact; a later course in cosmetology turned that into a focus on facial treatments and skincare products. He plans, researches and edits every guide on the site and checks health claims against sources such as the American Academy of Dermatology, the FDA and the NIH. He is not a dermatologist; see the Editorial Policy and Medical Disclaimer.
About · Editorial policy · How we choose products · Medical disclaimer · Contact
Keep reading: Makeup brushes and tools
- 10 Best Makeup Brush Sets (2026): Soft, Well-Made Kits for Every Look
- Best Way to Dry Makeup Brushes: Flat, Angled Down and Never Upright
- How Often Do Makeup Brushes Need to Be Cleaned?
- IT Cosmetics Heavenly Luxe Complexion Perfection Brush #7: Is It Worth It?
- Hourglass Veil Powder Brush: Double-Ended Brush for a Smooth Finish
- 10 Best Foundation Brushes (2026): Flat, Buffing, Stippling or Angled