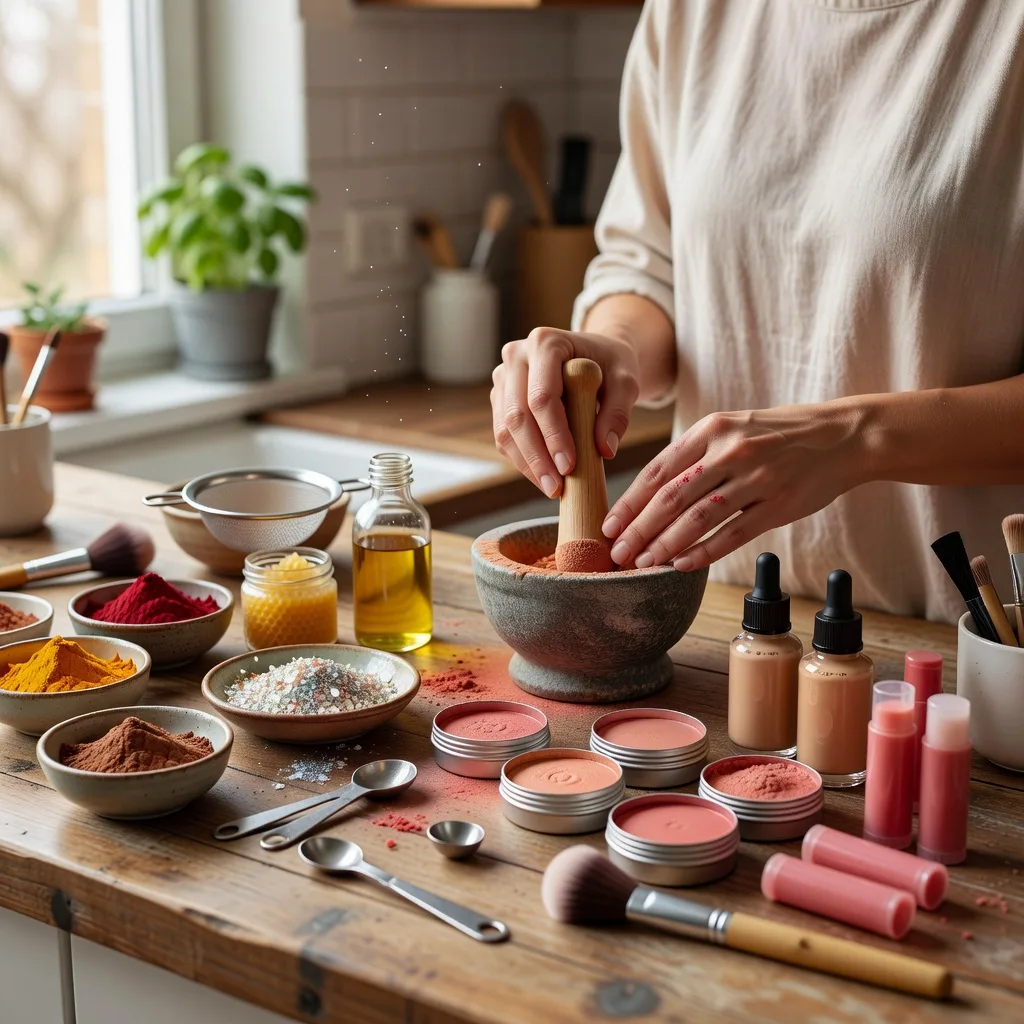
How to Make Makeup at Home Safely: Simple Recipes and Real Risks
Homemade makeup has real appeal. You know exactly what goes into it, you can adjust colors to suit you, and it can be a fun, low-cost project. Social media is full of recipes for everything from lip tints to mascara made in the kitchen. For many people it is also a way to reduce packaging waste.
Part of our guide to makeup how-to. Start with: How to Properly Put On Face Makeup: The Right Order, Step by Step
Some simple products, such as a tinted lip balm, a cream cheek tint, or a loose setting powder, can be made at home with care. Others, especially eye makeup like mascara and eyeliner, are much riskier to make yourself and are best bought from reputable brands.
The main concern with homemade makeup is contamination. Commercial products contain preservatives and are tested to stay safe for months after opening. Homemade products usually have no preservative system, so anything containing water, or anything touched repeatedly with fingers, can grow bacteria and mold quickly.
Color is another issue. In the United States, color additives used in cosmetics must be approved by the FDA for their intended use, and ingredients from the kitchen are not tested or approved for use around the eyes. Natural does not automatically mean safe for skin, and some plant ingredients and essential oils commonly cause irritation or allergy.
This guide covers which products are reasonable to make at home, three simple water-free recipes, safety rules for DIY makeup, what never to make yourself, and signs of a reaction.
Shopping these picks?
Amazon Prime members get fast, free shipping on eligible items, plus Prime Video, Amazon Music and member deals. New members can start with a free trial.
Start a free Prime trialAged 18 to 24? Prime for Young Adults comes with a longer free trial and a lower price after it.
Affiliate link: we may earn a commission at no extra cost to you.
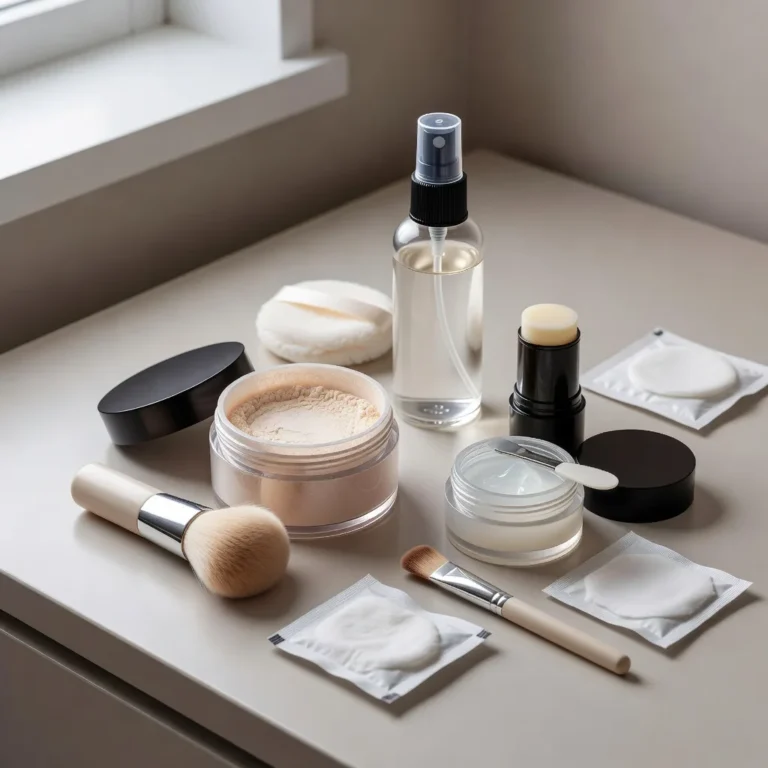
Recommended Supplies for Simple DIY Makeup




Key Takeaways
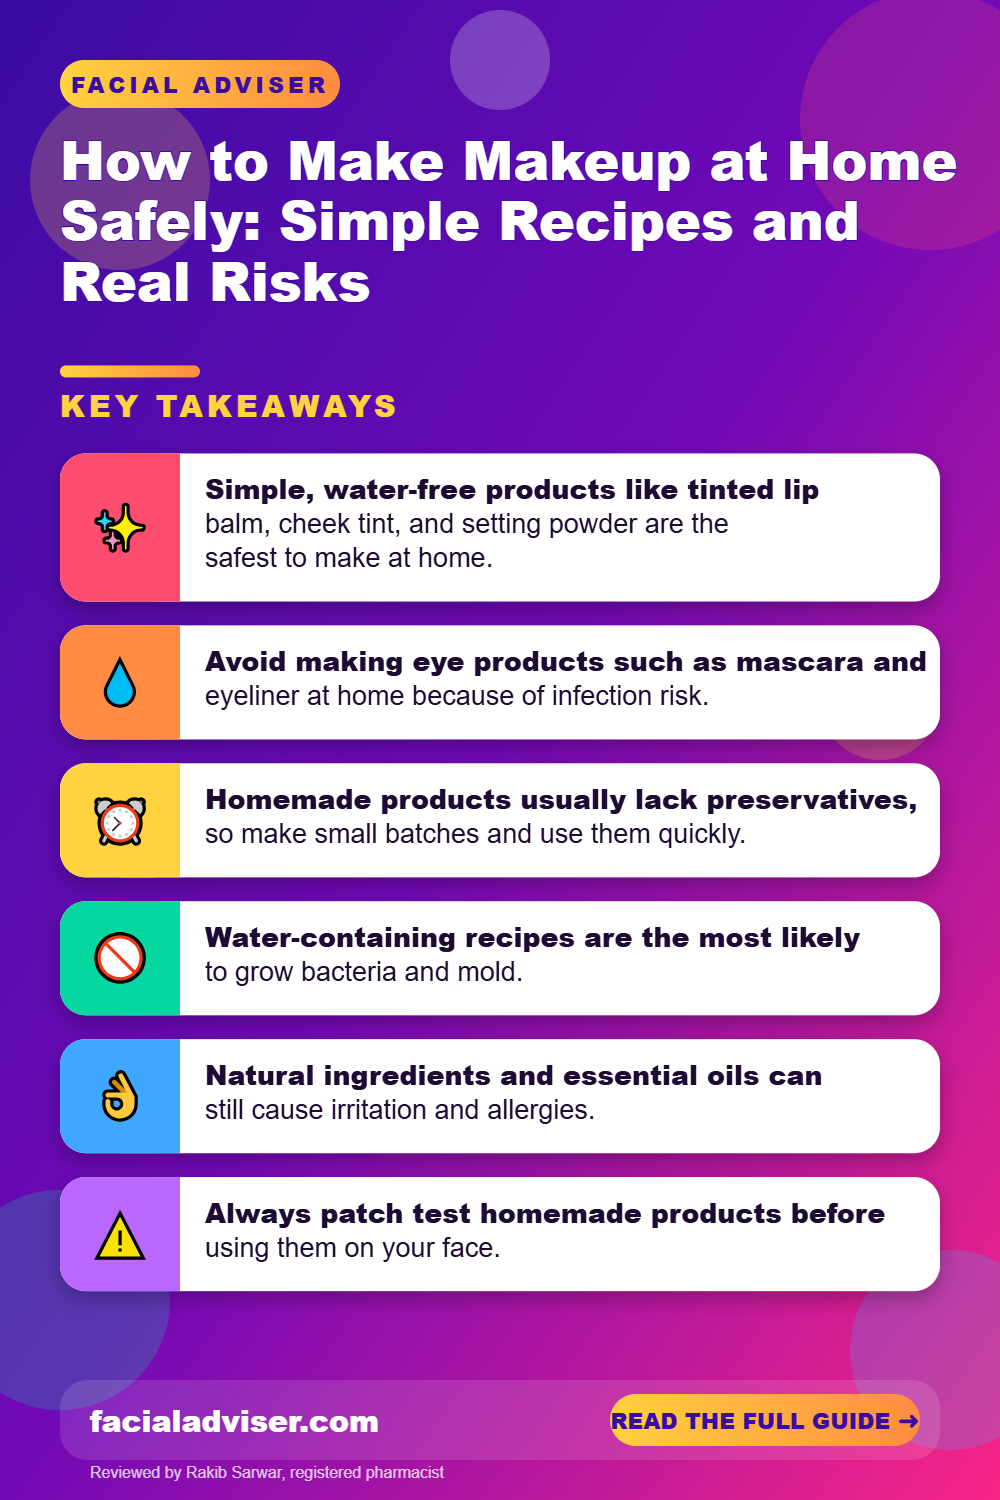
- Simple, water-free products like tinted lip balm, cheek tint, and setting powder are the safest to make at home.
- Avoid making eye products such as mascara and eyeliner at home because of infection risk.
- Homemade products usually lack preservatives, so make small batches and use them quickly.
- Water-containing recipes are the most likely to grow bacteria and mold.
- Natural ingredients and essential oils can still cause irritation and allergies.
- Always patch test homemade products before using them on your face.
- Stop using any product that changes smell, color, or texture.
What This Covers
- What You Can and Cannot Safely Make at Home
- Safety Rules for DIY Makeup
- Recipe: Tinted Lip and Cheek Balm
- Recipe: Simple Loose Setting Powder
- Recipe: Simple Makeup Remover Oil
- Ingredients to Be Careful With
- Equipment and Hygiene
- Storage and Shelf Life
- Homemade vs Store-Bought: What Is Different
- What DIY Makeup Cannot Do
- Signs of a Reaction
- Your Questions, Answered
- Final Word
What You Can and Cannot Safely Make at Home
| Product | Reasonable to DIY? | Why |
|---|---|---|
| Tinted lip balm | Yes, with care | Water-free and easy to keep clean |
| Cream cheek tint | Yes, with care | Water-free balm base |
| Loose setting powder | Yes, with care | Dry ingredients, low risk of bacterial growth |
| Makeup remover oil | Yes | Simple oils, used and rinsed off |
| Liquid foundation | Not recommended | Needs water, stable pigments, and preservatives |
| Mascara and eyeliner | No | High infection risk near the eyes |
| Eyeshadow | Not recommended | Pigments may not be approved for eye use |
The safest homemade products share a few features: they contain no water, have short ingredient lists, and are made in small batches that you use within a few weeks.
For anything that goes near the eyes or needs stable color and a long shelf life, commercial products are the safer choice. If you want to understand what goes into those, our guide on where makeup ingredients come from explains the main sources.
Safety Rules for DIY Makeup
Helps
- Wash hands and clean all tools and containers first.
- Use cosmetic-grade ingredients where possible.
- Make small batches and label them with the date.
- Store in clean, closed containers away from heat and sunlight.
- Patch test before using on your face.
Backfires
- Add water, tea, or aloe to recipes without a preservative.
- Make mascara, eyeliner, or eye products at home.
- Use essential oils on the face or lips without caution.
- Double-dip fingers into jars.
- Keep using products that smell or look different.
Using a small clean spatula instead of fingers to take product from a tin helps reduce contamination. Lip balm tubes and push-up containers are even better, because you never touch the main product.
Water is the biggest risk. Recipes that include water, floral waters, aloe gel, or fresh fruit need proper preservatives to stay safe. Without them, bacteria and mold can grow within days.
Recipe: Tinted Lip and Cheek Balm
This simple, water-free balm can be used on lips and cheeks. It makes a small batch that should last a few months if kept clean.
Gather ingredients
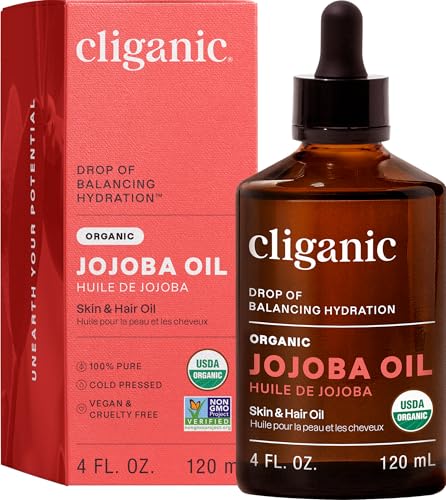
You need about 1 teaspoon beeswax pellets, 1 teaspoon shea butter, 2 teaspoons jojoba or another light oil, and a very small amount of a cosmetic-grade colorant, such as a lip-safe mica or a small piece of an existing lipstick for tint.
Melt gently
Place the beeswax, shea butter, and oil in a small heatproof bowl over a pan of barely simmering water. Stir until fully melted.
Add color
Remove from heat and stir in a tiny amount of color, adding more until you like the shade. Test by dabbing a drop on the back of your hand.
Pour and set
Pour into a clean tin or lip balm tube and let it cool at room temperature until firm.
Label and patch test
Label with the date. Before using on your face, apply a small amount to your inner arm for 24 to 48 hours to check for a reaction.
Using a small piece of a lipstick you already know your skin tolerates is a simple way to add color without introducing a new pigment.
If you want a sheer tint rather than bold color, add colorant a tiny pinch at a time. The balm will look darker in the tin than it does on skin.
Recipe: Simple Loose Setting Powder
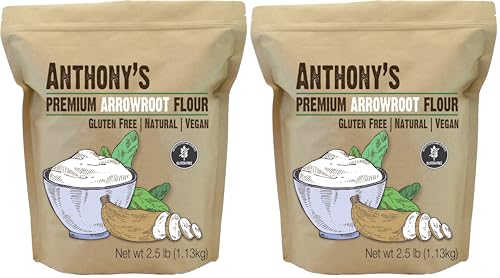
Arrowroot powder is a fine, lightweight starch that can absorb oil and soften shine. Used on its own, it works as a translucent setting powder for fair skin.
To tint it for medium or deep skin, some people add a small amount of cosmetic-grade iron oxide or a little cocoa powder, mixing gradually until the shade matches. Store the powder in a clean, dry container and apply with a clean brush.
Keep powders away from moisture, which can cause clumping and growth of mold. Avoid shaking powder near your face, since breathing in fine powder can irritate the lungs.
Do not use homemade powders around the eyes or on broken skin, and stop if you notice itching, redness, or breakouts.
A soft, fluffy brush picks up less powder than a puff, which makes it easier to apply a light, natural layer.
Recipe: Simple Makeup Remover Oil
A plain plant oil, such as jojoba or sunflower oil, can dissolve makeup, including many long-wear products. Massage a small amount onto dry skin, then wipe off with a warm, damp cloth and follow with your usual gentle cleanser.
This is one of the simplest and lowest-risk DIY beauty products, since it is used briefly and rinsed away. People with acne-prone skin should make sure to cleanse thoroughly afterward, since some oils can clog pores.
For removing eye makeup, a commercial eye makeup remover or micellar water designed for the eye area is usually gentler and safer.
Store the oil in a clean pump bottle to keep it fresh.
Ingredients to Be Careful With
- Essential oils: popular in DIY recipes but a common cause of skin irritation and allergy, especially citrus, cinnamon, and peppermint on the lips.
- Food coloring and spices: not designed for skin and can stain or irritate. Turmeric, for example, can leave a yellow tint.
- Activated charcoal: sometimes used for dark pigments but can be messy and is not approved for use near the eyes.
- Crushed chalk or craft pigments: not made for skin and may contain contaminants.
- Coconut oil and cocoa butter: rich and pleasant but can clog pores on acne-prone skin.
If you have acne-prone skin, our guide on non-comedogenic makeup covers ingredients that are more likely to clog pores.
Equipment and Hygiene
Good hygiene is what separates a safe homemade product from one that causes problems.
Use a dedicated set of small bowls, spoons, and a spatula for making cosmetics, rather than kitchen equipment you also use for food. Wash everything in hot, soapy water and let it dry completely. Wiping tools and containers with rubbing alcohol and letting it evaporate adds an extra layer of cleanliness.
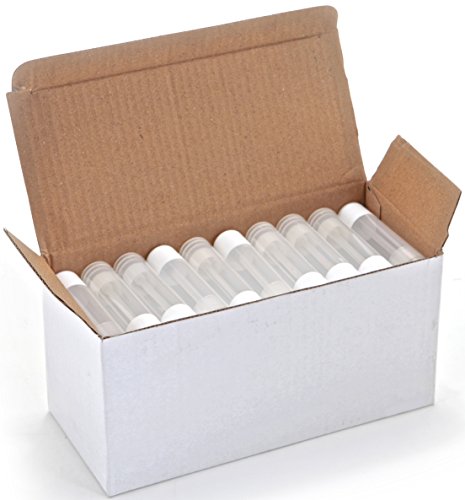
Choose containers that limit contact with fingers, such as push-up lip balm tubes or small tins used with a spatula. Clear labeling with the product name and date made helps you track freshness.
Work on a clean surface, tie back hair, and avoid making products when you are unwell. These small steps greatly reduce the chance of introducing bacteria.
Storage and Shelf Life
Without preservatives, homemade makeup does not last as long as store-bought products.
- Water-free balms and oils: usually a few months if kept clean and cool.
- Dry powders: several months if kept completely dry.
- Anything containing water, aloe, or fresh ingredients: days, unless properly preserved.
- Discard immediately if you notice a change in smell, color, texture, or visible spots.
Store DIY products in a cool, dry place away from the bathroom, where steam and warmth encourage microbial growth.
Homemade vs Store-Bought: What Is Different
Commercial cosmetics are made under manufacturing standards and must meet safety and labeling rules. In the US, color additives must be approved for their intended use, and companies must report serious adverse events under the Modernization of Cosmetics Regulation Act of 2022.
Homemade makeup has none of these safeguards, which is fine for simple personal projects but is one reason DIY eye products and products for sale carry more risk. If you plan to sell homemade makeup, you would need to follow the rules that apply to cosmetic manufacturers. Our guide on makeup vs cosmetics explains how cosmetics are defined.
What DIY Makeup Cannot Do
| Belief | Reality |
|---|---|
| Natural ingredients are always safer | Plant extracts and essential oils often cause reactions |
| Homemade lasts as long as store-bought | Without preservatives, it spoils much faster |
| Any pigment is fine for eyes | Only approved color additives should be used near eyes |
| DIY foundation can match commercial coverage | Stable coverage needs complex formulation |
| Small amounts of water are harmless | Water allows bacteria and mold to grow |
DIY makeup can be a fun, occasional project, but it is not a replacement for well-formulated, tested products for everyday use.
Think of it as a creative hobby rather than a way to replace your whole makeup bag.
Signs of a Reaction
Stop using a homemade product and see a doctor if you notice:
- Redness, itching, or a rash where you applied it.
- Swelling of the lips, eyelids, or face.
- Blisters or peeling skin.
- Painful bumps or signs of infection such as pus.
- Eye redness, pain, or discharge if the product got near your eyes.
- Difficulty breathing, which needs emergency care.
Medical disclaimer: This article is for general information and is not a substitute for professional medical advice. Patch test any homemade product and seek medical care for significant reactions.
Your Questions, Answered
Can you make makeup at home?
Yes, simple water-free products like tinted lip balm, cheek tint, and setting powder can be made at home with care.
Is homemade makeup safe?
It can be if you use clean tools, cosmetic-grade ingredients, small batches, and patch test. Eye products are best not made at home.
Why shouldn’t I make mascara at home?
Homemade mascara has no preservatives and can grow bacteria, which risks eye infections.
How long does homemade makeup last?
Water-free balms often last a few months; anything with water may spoil within days.
Can I use food coloring for makeup?
It is not designed for skin and can stain or irritate. Cosmetic-grade colorants are safer.
Is arrowroot powder good for setting makeup?
It can absorb oil and work as a light setting powder, especially on fair skin.
Are essential oils safe in DIY makeup?
They often cause irritation or allergy. Use with caution or leave them out.
Can I sell homemade makeup?
You would need to follow cosmetic regulations, including labeling and color additive rules.
How do I patch test homemade makeup?
Apply a small amount to your inner arm for 24 to 48 hours and watch for a reaction.
What should I do if homemade makeup irritates my skin?
Stop using it, wash it off gently, and see a doctor if the reaction is severe.
Final Word
You can make a few simple makeup products at home, such as a tinted lip and cheek balm, a loose setting powder, and a makeup remover oil. Keep recipes water-free, use clean tools and cosmetic-grade ingredients, make small batches, and patch test before use.
Leave eye products and complex formulas like liquid foundation to reputable brands, since homemade products lack preservatives and testing. Stop using anything that changes or irritates your skin, and see a doctor for significant reactions.

Written by
Registered pharmacist and founder of Facial Adviser. Rakib's pharmacy training covers how skincare actives work and interact; a later course in cosmetology turned that into a focus on facial treatments and skincare products. He plans, researches and edits every guide on the site and checks health claims against sources such as the American Academy of Dermatology, the FDA and the NIH. He is not a dermatologist; see the Editorial Policy and Medical Disclaimer.
About · Editorial policy · How we choose products · Medical disclaimer · Contact
Keep reading: Makeup basics and skin
- How to Properly Put On Face Makeup: The Right Order, Step by Step
- Which Makeup Brand Is Best for Mature Skin? What Actually Matters
- Best Way to Apply Makeup Over 50: Products That Flatter Changing Skin
- Best Way to Apply Makeup for Oily Skin: Prep, Prime, Set and Blot
- What to Do If Makeup Gets in Your Eye: First Aid and Warning Signs
- Why Does Makeup Make Me Look Tired? Causes and Easy Fixes
- How to Find the Right Shade of Makeup: Undertone, Depth and Testing
- How to Choose the Right Eye Makeup Color for Your Eyes and Skin