What Must Be Done Before Applying Any Cosmetics? A Pre-Makeup Checklist
Most makeup problems start before the first product touches your face. Makeup that pills, looks patchy, clogs pores, or irritates skin is often the result of rushed or skipped preparation rather than the makeup itself. A few minutes of preparation can change the result completely.
Part of our guide to cosmetic science. Start with: How to Read a Cosmetic Ingredient List: A Beginner Guide
Before applying any cosmetics, you should wash your hands, cleanse your face, moisturize, apply sunscreen during the day, and let everything settle. You should also make sure your products are not expired, your tools are clean, and any new product has been patch tested. None of these steps takes long once it becomes a habit.
These steps protect your skin and help your makeup look better. Clean skin and tools reduce the risk of breakouts and infections. Hydrated, settled skin gives foundation a smooth surface, and patch testing catches reactions before they spread across your whole face. They also help products last longer and perform the way they are meant to.
Patch testing is the step people skip most often. The American Academy of Dermatology suggests applying a new product to a small area, such as the inner arm, twice a day for 7 to 10 days, and watching for a reaction before using it on your face.
This guide walks through a complete pre-makeup checklist, how to patch test properly, how to tell if products have expired, and when to skip makeup altogether. It also covers prep for different skin types.
Shopping these picks?
Amazon Prime members get fast, free shipping on eligible items, plus Prime Video, Amazon Music and member deals. New members can start with a free trial.
Start a free Prime trialAged 18 to 24? Prime for Young Adults comes with a longer free trial and a lower price after it.
Affiliate link: we may earn a commission at no extra cost to you.
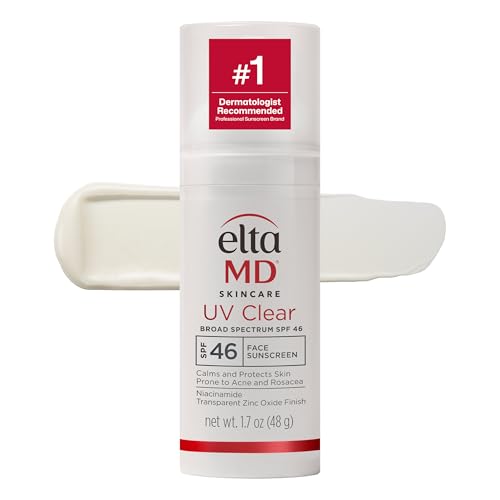
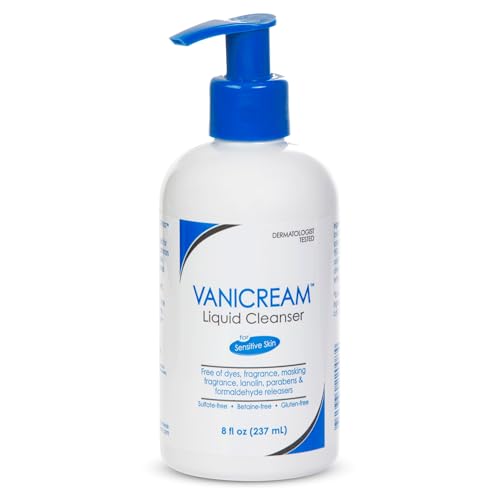
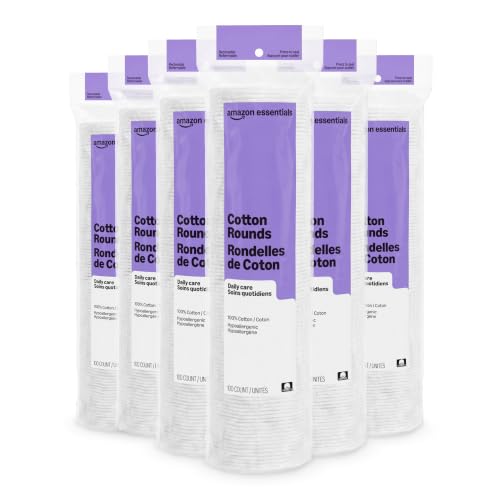
Recommended Products for Prepping Skin Before Makeup



What This Covers
- The Pre-Makeup Checklist
- Why Clean Hands and Skin Matter
- Moisturizer, Sunscreen, and Primer
- How to Patch Test New Products
- Check Whether Products Have Expired
- Clean Tools
- Prep for Different Skin Types
- When to Skip Makeup Entirely
- Set Up Your Space and Lighting
- What Comes Next
- What Preparation Cannot Do
- When to See a Dermatologist
- Common Questions
- Final Word
In Brief
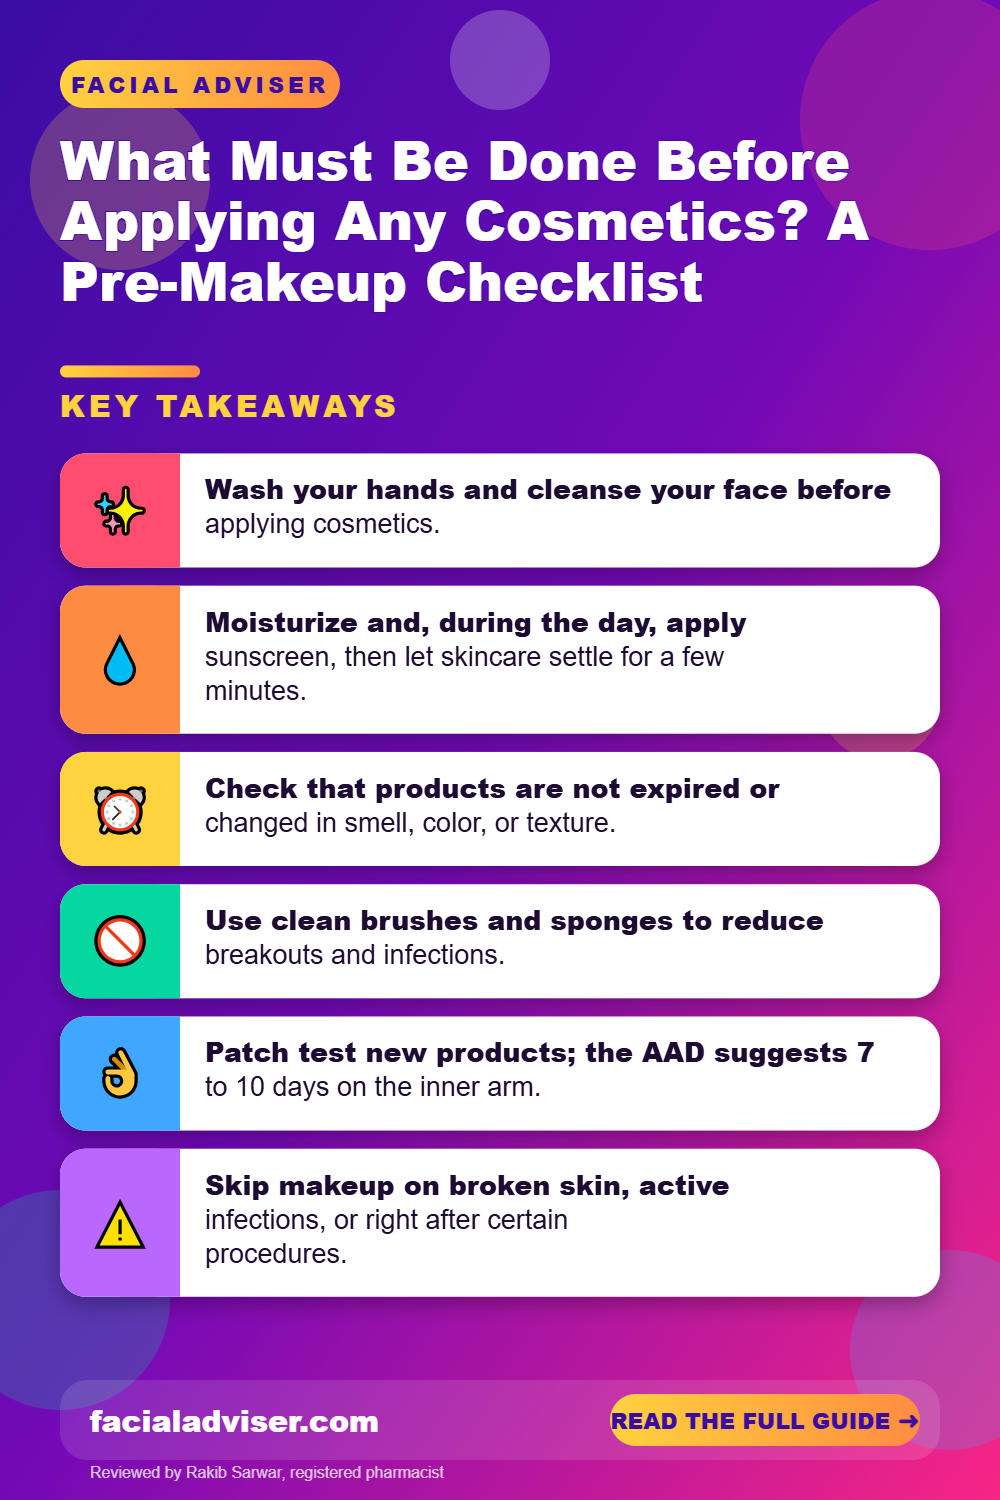
- Wash your hands and cleanse your face before applying cosmetics.
- Moisturize and, during the day, apply sunscreen, then let skincare settle for a few minutes.
- Check that products are not expired or changed in smell, color, or texture.
- Use clean brushes and sponges to reduce breakouts and infections.
- Patch test new products; the AAD suggests 7 to 10 days on the inner arm.
- Skip makeup on broken skin, active infections, or right after certain procedures.
- Good prep makes makeup look smoother and last longer.
The Pre-Makeup Checklist
Follow these steps in order every time you apply makeup.
Wash your hands
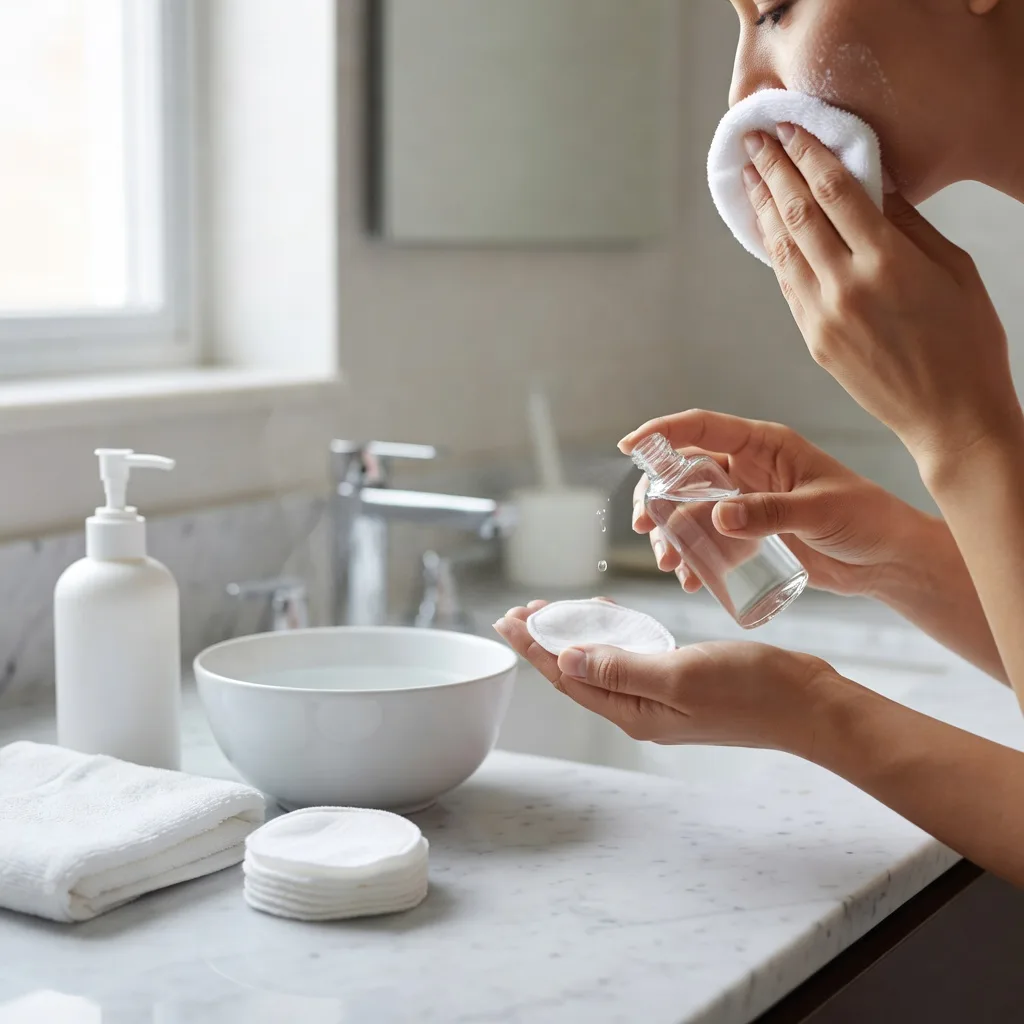
Use soap and water before touching your face or products, so you do not transfer bacteria and oil.
Cleanse your face
Use a gentle cleanser suited to your skin type. If you cleansed at night and your skin is dry, a rinse with water may be enough in the morning.
Moisturize
Apply a moisturizer that suits your skin. Even oily skin benefits from a light, oil-free option.
Apply sunscreen
In the morning, use broad-spectrum SPF 30 or higher. Wait a few minutes for moisturizer and sunscreen to settle.
Check products and tools
Make sure your products are not expired and your brushes and sponges are clean before you start.
Use the few minutes while skincare settles to brush your teeth, get dressed, or style your hair, so preparation does not slow you down.
Why Clean Hands and Skin Matter
Hands pick up bacteria from phones, door handles, and everything else you touch. Applying makeup with unwashed hands, or dipping fingers into jars, can introduce those germs into your products and onto your face.
Cleansing removes sweat, oil, and leftover products from the night before, so makeup goes onto a clean surface. Applying makeup over old skincare, oil, or yesterday’s makeup can cause clogged pores and patchy application.
Research on used makeup has found potentially harmful bacteria in most everyday products tested, so hygiene habits make a real difference over time.
Keep your makeup area clean too. Wipe down counters and store products away from the sink, where splashes and steam encourage bacteria.
If you apply makeup on the go, carry hand sanitizer and a small mirror, and avoid touching products with fingers when you cannot wash your hands.
Moisturizer, Sunscreen, and Primer
Hydrated skin gives makeup a smooth base and helps it look natural. Choose a moisturizer texture that suits you: a gel or light lotion for oily skin, a cream for dry skin.
Sunscreen is essential during the day, even under makeup. Foundation with SPF is rarely enough on its own because most people apply too little to get the labeled protection.
Primer is optional. It can help makeup last on oily skin or blur the look of large pores. If you use one, apply a thin layer only where needed and let it set.
Wait between layers. Applying foundation over wet moisturizer or sunscreen is one of the most common causes of pilling and streaks. A few minutes makes a big difference.
At night, skip primer and makeup entirely and use your treatment products, such as retinoids, so they are not layered under makeup the next morning.
How to Patch Test New Products
Patch testing helps catch irritation or allergy before a product causes problems on your face.
The American Academy of Dermatology suggests applying a small amount of the product to a quarter-sized area on the inside of your elbow or inner arm twice a day for 7 to 10 days. If there is no reaction, the product is less likely to cause one on your face.
For a quicker check, some people also test on a small area of the jawline for a few days. Watch for redness, itching, swelling, bumps, or burning.
Patch testing does not predict clogged pores, which can take weeks to appear. For acne-prone skin, introducing one new product at a time and watching your skin for several weeks is also important.
Keep a note of any product that causes a reaction, including its ingredient list, so you can spot common triggers across brands.
Check Whether Products Have Expired
Most makeup does not show an exact expiration date, but many products show a period after opening, marked with an open jar symbol and a number, such as 12M.
| Product | Typical life after opening | Signs it has gone off |
|---|---|---|
| Mascara and liquid liner | About 3 months | Dry, clumpy, or odd smell |
| Liquid foundation and concealer | About 6 to 12 months | Separation, color change, smell |
| Cream blush and eyeshadow | About 6 to 12 months | Hard, cracked, or oily surface |
| Powders | About 1 to 2 years | Hard, patchy surface |
| Lipstick | About 1 to 2 years | Dry, smells like crayons or rancid oil |
| Sunscreen | Follow printed expiry date | Separation or change in texture |
Throw away any product that changes in smell, color, or texture, even if it is within these times.
Writing the opening month on new products with a marker makes it easy to track when to replace them.
Clean Tools
Good Habits
- Wash foundation and concealer brushes weekly.
- Wash sponges after each use.
- Let tools dry fully before using them.
- Replace sponges every few months.
- Use separate tools for eyes and face.
Common Mistakes
- Use a damp, dirty sponge.
- Share brushes or sponges.
- Store wet tools in closed bags.
- Use tools that shed or smell after washing.
- Double-dip fingers into jars.
Our guide on how often to clean makeup brushes explains the best schedule and method.
Clean tools also make blending easier, since product glides instead of clumping.
Prep for Different Skin Types
The basic steps are the same for everyone, but small adjustments help each skin type.
- Oily skin: use a gentle foaming or gel cleanser, a lightweight oil-free moisturizer, and a mattifying primer on the T-zone if needed.
- Dry skin: cleanse with a creamy cleanser or just water in the morning, use a richer moisturizer, and let it absorb fully before makeup.
- Combination skin: moisturize all over with a light formula and add extra hydration only to dry areas.
- Sensitive skin: keep to fragrance-free basics and introduce new products one at a time.
- Mature skin: hydrate generously and consider a hydrating primer to help makeup sit smoothly.
If your skin has flaky patches, gentle exfoliation a couple of times a week, not on the morning of an event, helps makeup go on evenly.
When to Skip Makeup Entirely
Sometimes the best preparation is deciding not to wear makeup that day. Skip it, or avoid the affected area, if you have:
- Broken skin, cuts, or open sores.
- An active skin infection or cold sore.
- Eye infections such as conjunctivitis.
- A fresh sunburn or peeling skin.
- A recent facial, peel, microneedling, or laser treatment, until your provider says it is safe.
- A new rash of unknown cause.
Never apply eye makeup to an infected eye, and throw away products used during an eye infection.
Set Up Your Space and Lighting
Where you apply makeup matters as much as how. Natural light from a window gives the most accurate view of color and coverage. If that is not possible, a daylight-balanced light in front of your face is better than overhead bathroom lighting, which creates shadows.
Keep a clean surface with everything you need within reach, so you are not setting brushes down on a damp counter. A mirror at eye level helps you see your whole face, while a small magnifying mirror is useful only for details like eyeliner.
Tie back hair and protect your clothes with a towel or robe, especially if you are using foundation or powder. It saves time cleaning up and avoids stains.
Finally, give yourself enough time. Rushed application leads to heavy layers, missed blending, and more touch-ups later.
What Comes Next
Once your skin is prepped and your tools are ready, makeup application is easier and more predictable. Our step-by-step guide on how to put on face makeup covers the right order from foundation to setting spray.
At the end of the day, removing makeup gently is just as important as the prep before it. Our guide on whether makeup messes up your skin explains why.
Taking a moment to check your whole face in daylight before leaving catches most mistakes.
What Preparation Cannot Do
| Belief | Reality |
|---|---|
| Prep is only for special occasions | Daily prep protects skin and improves makeup |
| Foundation with SPF replaces sunscreen | Most people apply too little makeup for full protection |
| A patch test guarantees no breakouts | It checks for reactions, not clogged pores |
| Makeup is fine until it runs out | Products expire and can grow bacteria |
| Oily skin does not need moisturizer | A light moisturizer helps balance skin |
Good preparation makes makeup look and feel better, but it does not replace a consistent skincare routine.
If you only have time for one step, make it sunscreen in the morning and thorough removal at night.
When to See a Dermatologist
See a dermatologist if you notice:
- A rash, itching, or swelling after using cosmetics.
- Burning or stinging with most products.
- Frequent breakouts where you apply makeup.
- Eyelid redness or swelling.
- Signs of infection, such as pus or spreading redness.
- Any skin change that does not heal.
Medical disclaimer: This article is for general information and is not a substitute for professional medical advice. See a healthcare provider about skin reactions or persistent concerns.
Common Questions
What should I do before applying makeup?
Wash your hands, cleanse, moisturize, apply sunscreen, check your products and tools, and let skincare settle.
How long should I wait after moisturizer before makeup?
About five minutes, until skin no longer feels wet or tacky.
Do I need primer before makeup?
It is optional. It can help oily or textured skin.
How do I patch test makeup?
The AAD suggests applying it to a small area of the inner arm twice a day for 7 to 10 days.
How do I know if makeup has expired?
Check the open jar symbol and look for changes in smell, color, or texture.
Should I wash my face before applying makeup?
Yes, or at least rinse, so makeup goes on clean skin.
Do I need sunscreen under makeup?
Yes, during the day, since makeup rarely provides full sun protection.
Why does my makeup pill?
Often because skincare has not settled or products do not mix well.
Can I apply makeup over a pimple?
Yes, gently with clean tools, but avoid broken or infected skin.
When should I not wear makeup?
On broken or infected skin, with eye infections, sunburn, or right after certain procedures.
Final Word
Before applying any cosmetics, wash your hands, cleanse your face, moisturize, and in the morning apply sunscreen, then give your skincare a few minutes to settle. Check that products are not expired and that brushes and sponges are clean.
Patch test new products before using them on your face, and skip makeup on broken or infected skin or right after treatments. Good preparation protects your skin, helps makeup look smoother, and makes it last longer.

Written by
Registered pharmacist and founder of Facial Adviser. Rakib's pharmacy training covers how skincare actives work and interact; a later course in cosmetology turned that into a focus on facial treatments and skincare products. He plans, researches and edits every guide on the site and checks health claims against sources such as the American Academy of Dermatology, the FDA and the NIH. He is not a dermatologist; see the Editorial Policy and Medical Disclaimer.
About · Editorial policy · How we choose products · Medical disclaimer · Contact
Keep reading: How cosmetics are made
- How to Read a Cosmetic Ingredient List: A Beginner Guide
- Cosmetics vs Toiletries: The Real Difference
- Can Cosmetics Cause Melasma?
- Facial Skin Sensitivity to Fragrance: Allergy vs Irritation and What to Do
- How to Spot Fragrance in an Ingredient List
- Antioxidant Synergy in Skincare: Which Combinations Work?