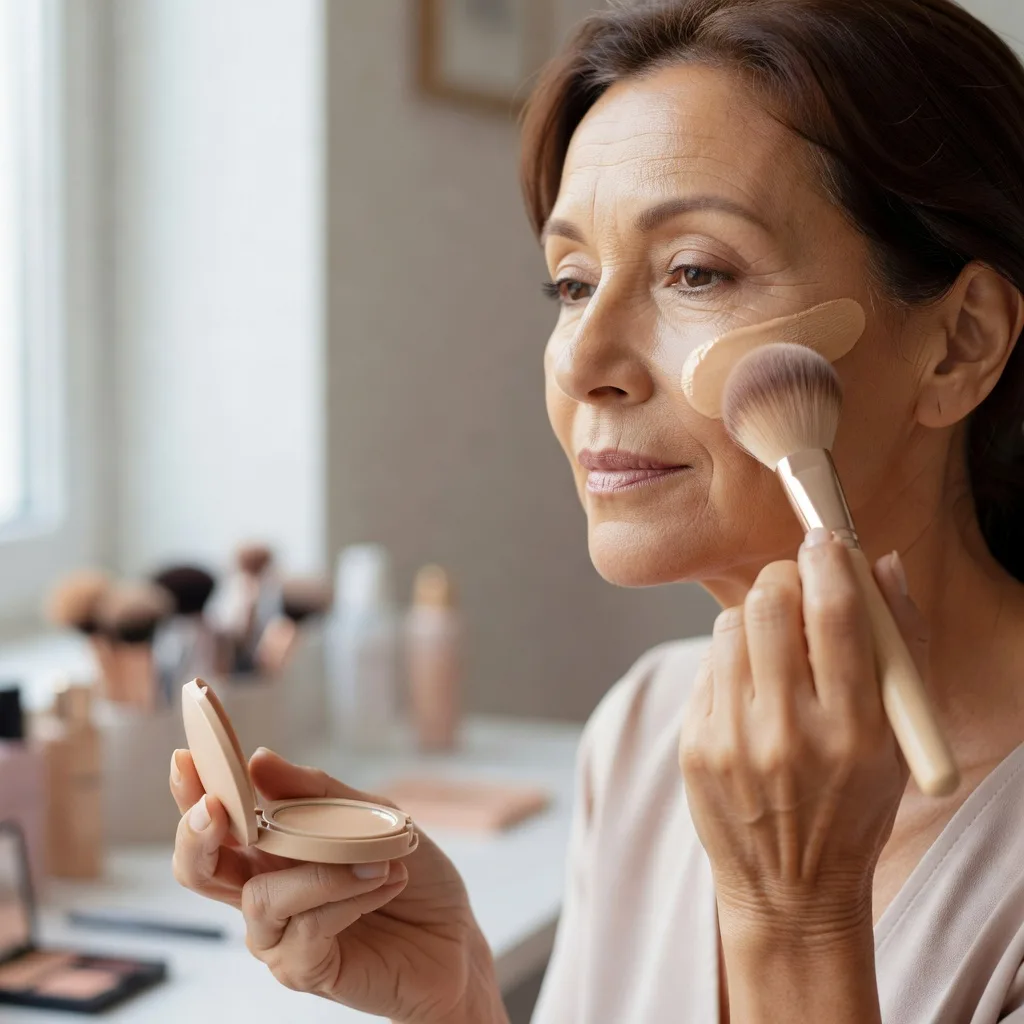
Best Way to Apply Makeup on Mature Skin: Tools and Technique Step by Step
Mature skin is not harder to make up, but it does respond differently to the same moves. Rubbing foundation in, sweeping on powder and applying blush low on the cheeks can all make the finish look heavier than it should. Small changes in technique and tools usually make a bigger difference than buying new products.
Part of our guide to makeup how-to. Start with: How to Properly Put On Face Makeup: The Right Order, Step by Step
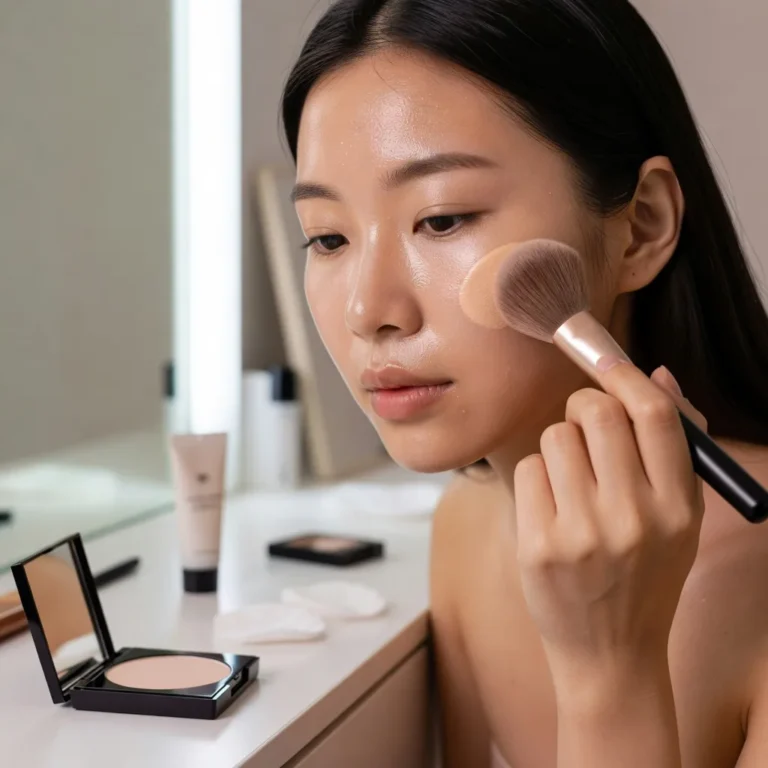
The best way to apply makeup on mature skin is to press products in rather than rubbing or dragging them, and to build in thin layers. Start with well-moisturised skin and sunscreen. Apply foundation with a damp sponge or a dense brush using light pressing or stippling motions, working from the centre of the face outwards. Use a small brush to place concealer only where needed and tap it in. Put blush slightly higher on the cheekbones and blend upward. Set with a tiny amount of powder only where you shine, then mist or press with a damp sponge to soften the finish so it looks like skin, not a layer.
In short: moisturise, press rather than rub, build thin layers, lift your placement and use as little powder as possible.
The American Academy of Dermatology recommends a broad-spectrum sunscreen of SPF 30 or higher every day, applied before makeup and reapplied when outdoors, and that is the first step of any routine for mature skin.
This guide focuses on technique and tools. It covers how to hold and use each tool, where to place products for lift, and how to avoid the creasing and caking that make makeup look heavier.
Shopping these picks?
Amazon Prime members get fast, free shipping on eligible items, plus Prime Video, Amazon Music and member deals. New members can start with a free trial.
Start a free Prime trialAged 18 to 24? Prime for Young Adults comes with a longer free trial and a lower price after it.
Affiliate link: we may earn a commission at no extra cost to you.
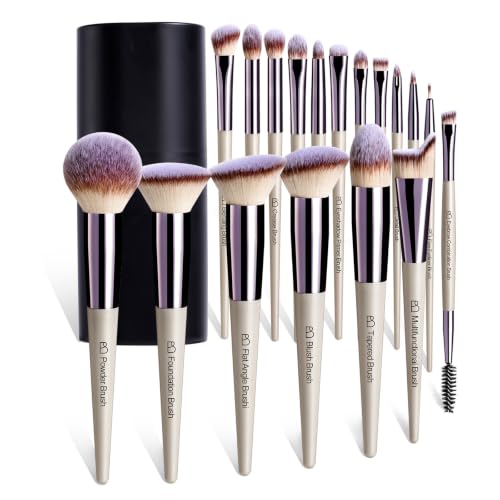
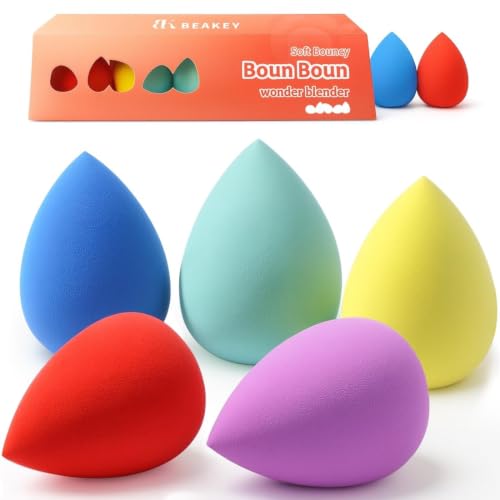
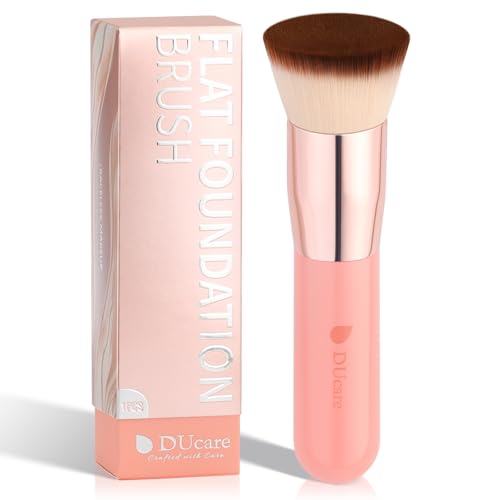
Recommended Makeup Sponges, Foundation Brushes and Application Tools for Mature Skin on Amazon



In This Guide
- Four Technique Principles for Mature Skin
- Which Tools Work Best for Mature Skin
- Prep Technique: Setting Up the Canvas
- Foundation Technique: Centre Out, Thin and Pressed
- Concealer Without Creasing
- Placement for a Lifted Look
- How to Apply Makeup on Mature Skin Step by Step
- Powder Technique for Mature Skin
- Keeping Tools Clean and Gentle
- Dos and Don’ts
- Honest Limits
- When to See a Dermatologist
- Your Questions, Answered
- Summing Up
Key Takeaways
- Pressing and stippling work better than rubbing or dragging.
- A damp sponge gives the thinnest, most skin-like layer.
- Warming products on the back of your hand helps them melt in.
- Apply foundation from the centre out and fade it toward the edges.
- Place blush and highlight slightly higher for a lifted look.
- Use powder in small amounts with a small brush.
- Check your work in daylight and soften any heavy areas.
Four Technique Principles for Mature Skin
Before looking at tools, it helps to understand why technique matters more as skin changes. Mature skin is usually drier and thinner, with more fine lines and texture. Products placed on top of the skin show every crease, while products pressed into the skin blend in.
- Press, do not drag: pulling a brush or fingers across thin skin can move products into lines and tug the skin.
- Thin layers: two thin layers look more natural and move better than one thick layer.
- Place, then blend: put product only where it is needed, then blend the edges outward.
- Soften last: finish with a damp sponge or fine mist to melt layers together.
These principles apply whatever products you use, and they are the main difference between makeup that looks fresh and makeup that looks settled by lunchtime.
Pressure matters too. Thin skin moves easily, and firm rubbing or pulling can both shift product and leave the skin looking red. Use the lightest pressure that still blends the product, and let the tool do the work. If you notice you are pressing hard to make something blend, the product is usually too thick or the skin underneath is too dry.
Which Tools Work Best for Mature Skin
Each tool changes how much product lands on the skin and how it sits. Many people find a combination works best, such as a sponge for foundation and small brushes for detail.
| Tool | How to use it | Best for | Watch out for |
|---|---|---|---|
| Damp makeup sponge | Bounce and press, never swipe | Foundation, concealer, cream blush, softening | Must be cleaned and replaced often |
| Dense buffing brush | Small circles with light pressure | Medium coverage foundation | Too much pressure drags skin |
| Stippling brush | Tap lightly all over | Sheer, airbrushed foundation | Can leave dots if not blended |
| Small synthetic concealer brush | Place, then tap edges | Spots, redness, inner corners | Too much product creases |
| Small fluffy powder brush | Press and roll lightly | Targeted setting | Large brushes spread powder too widely |
| Fingertips | Warm and pat in | Cream products and sheer tints | Wash hands first |
Soft, synthetic brushes usually work well with creams and liquids and are easy to clean. Our guide on makeup on textured skin explains how different tools behave over pores and lines.
Prep Technique: Setting Up the Canvas
Makeup cannot sit well on dry, tight skin. Prep is where you prevent most creasing and patchiness.
- Apply moisturiser with gentle upward pressing motions and give it a few minutes to absorb.
- Use sunscreen next; the AAD guide on how to apply sunscreen explains how much to use.
- Pat a thin layer of eye cream around the eyes if the area is dry, but blot off any excess.
- If you use primer, press it only where makeup usually fails.
- Blot any remaining slip with a tissue before foundation.
Too much skincare underneath can make foundation slide and pill. If your makeup moves around, reduce the amount of moisturiser or wait longer before applying makeup.
Foundation Technique: Centre Out, Thin and Pressed
Most people need the most coverage in the centre of the face, around the nose, chin and inner cheeks, and less toward the hairline and jaw. Applying foundation everywhere at the same thickness makes it look heavier.
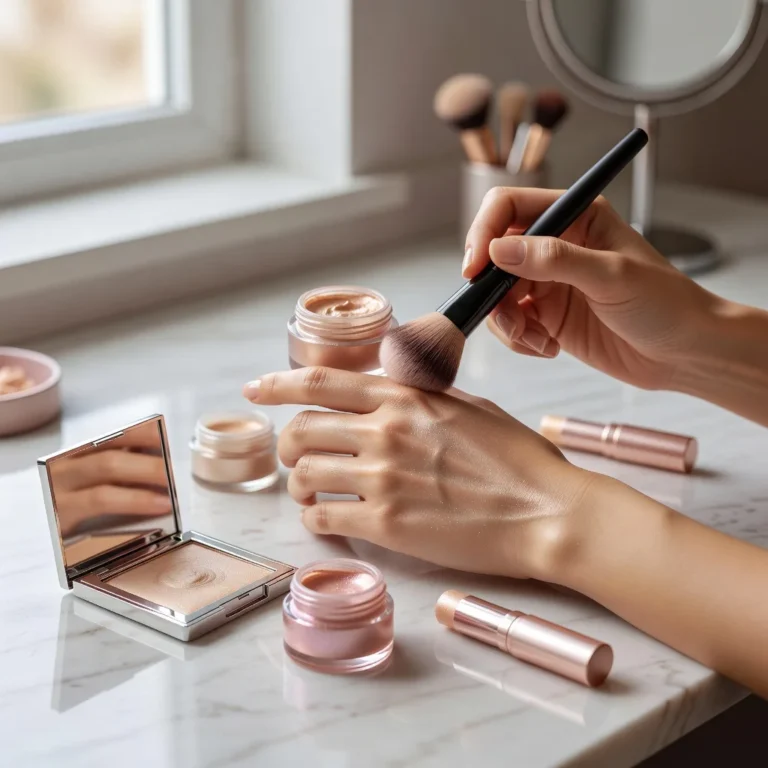
- Warm a small amount of foundation on the back of your hand.
- Dot it on the centre of the face: nose, inner cheeks, chin and centre of the forehead.
- Press it outward with a damp sponge in bouncing motions.
- Fade the product to almost nothing at the hairline and jaw.
- Add a second thin layer only where you need more coverage.
Around the mouth and eyes, use whatever is left on the sponge rather than adding more. These areas move the most and show creasing first. If your foundation looks too heavy after applying it, press a clean damp sponge over the surface to lift away the excess.
Concealer Without Creasing
Concealer is the product most likely to settle into lines, especially under the eyes. The trick is using less and placing it precisely.
- Use a small brush to place concealer only where there is darkness, often the inner corner and the outer shadow.
- Avoid drawing large triangles under the eyes on mature skin.
- Tap the edges with a fingertip or the tip of a damp sponge.
- Look up while applying so the skin is smooth, then check with a relaxed face.
- Set with a tiny amount of powder on a small brush, or skip powder if the area is very dry.
Our guide on preventing creasing under the eyes covers more ways to keep concealer smooth through the day.
Placement for a Lifted Look
Where you place colour and light can make the face look more lifted. As faces change, the traditional placements can drag features downward.
| Product | Place it | Avoid |
|---|---|---|
| Blush | Upper cheekbones, blended up toward the temples | The apples only or low on the cheeks |
| Bronzer | Where the sun naturally hits: temples, top of cheeks | Deep contour under the cheekbones |
| Highlighter | Tops of cheekbones and brow arch, subtly | Over textured areas or large pores |
| Eyeshadow | Lifted toward the brow tail at the outer corner | Dragging colour down at the outer corner |
| Lip liner | Just on the natural lip line | Heavily overdrawn lines |
The aim is not to hide features but to put colour where it looks fresh. A good test is to smile gently in the mirror: blush should sit on the upper part of the cheek, not below it.
Lips and brows are part of placement too. Lips often lose some definition and fullness with age, so a liner that matches your natural lip colour, applied just on the edge, keeps lipstick in place without looking drawn on. Brows frame the eyes; filling them with light, hair-like strokes rather than a solid block keeps the face looking soft.
How to Apply Makeup on Mature Skin Step by Step
Follow this sequence and keep every layer thin. Pause between steps to let each product settle.
Moisturise and protect
Press in moisturiser, then apply broad-spectrum sunscreen and let it absorb.
Prime where needed
Press a small amount of primer onto areas where makeup fades or clings.
Apply foundation centre out
Bounce a damp sponge outward from the nose, fading at the edges.
Place concealer precisely
Use a small brush on dark or red spots, then tap the edges.
Add cream blush high
Dab onto the upper cheekbones and blend toward the temples.
Set only where you shine
Press a little powder with a small brush on the T-zone.
Define eyes and brows
Use soft shadow, a thin liner and brow powder or pencil.
Soften the finish
Press a clean damp sponge over the face or mist lightly to melt layers together.
Hold a hand mirror at chin height and look down into it, then at eye height. Looking down shows where products settle into texture and helps you spot areas that need softening.
Powder Technique for Mature Skin
Powder can keep makeup in place, but on mature skin it needs a light touch.
- Tap excess powder off the brush before it touches your skin.
- Press and roll the brush instead of sweeping.
- Focus on the sides of the nose, centre of the forehead and chin.
- Skip or minimise powder under the eyes and around the smile lines.
- If powder looks dry, mist with a hydrating spray or press with a damp sponge.
Avoid baking with thick layers of powder on mature skin, especially under the eyes. It can dehydrate the area and exaggerate lines. Stop using any product that stings, itches or causes redness.
Keeping Tools Clean and Gentle
Technique only works if the tools are in good condition. Dirty sponges and brushes apply product unevenly and can irritate thin, delicate skin.
Wash sponges after each use or at least every few days, and replace them when they tear or stay stained. Clean brushes used with creams and liquids weekly, and keep soft, gentle brushes for mature skin rather than scratchy ones. Our guide on how to sanitise makeup tools explains how to clean each type.
Replace tools when they stop performing. A sponge that has lost its bounce or has small tears absorbs more product and leaves a patchy finish, while a brush that sheds or has splayed bristles is harder to control around the eyes and mouth.
Dos and Don’ts
Do
- Press and bounce products into the skin
- Warm products before applying
- Apply from the centre outward
- Place blush higher on the cheeks
- Soften the finish with a damp sponge
Don’t
- Rub or drag foundation across the skin
- Apply thick, even coverage everywhere
- Draw large concealer triangles
- Sweep powder over the whole face
- Tug the delicate skin around the eyes
Honest Limits
Good technique makes makeup look lighter and fresher, but it does not remove lines, lift sagging skin or change texture. Makeup sits on the surface; if lines, spots or loss of firmness bother you, skincare and professional treatments are the options that can change the skin itself.
There is also no single method that suits every face. These steps are a framework; your own skin, preferred finish and comfort should guide how much of each product you use. Practising a few times on a relaxed day helps more than following any rule exactly.
When to See a Dermatologist
- You notice a new, changing or unusual spot or mole while applying makeup.
- Makeup regularly causes redness, stinging or itching.
- Your skin is very dry, rough or flaky despite moisturising.
- You want treatment rather than cover for lines, spots or sagging.
This article is for general information only and is not medical advice. Patch test new products, stop using anything that irritates your skin, and see a board-certified dermatologist for skin changes or reactions.
Your Questions, Answered
What is the best way to apply makeup on mature skin?
Press products into moisturised skin in thin layers and use little powder.
Is a sponge or brush better for mature skin?
A damp sponge often gives the most natural finish.
Should I rub foundation in with my fingers?
Pat and press rather than rub.
Where should I apply blush on mature skin?
High on the cheekbones, blended toward the temples.
How do I stop concealer creasing?
Use less, place it precisely and set very lightly.
Should I use powder on mature skin?
Only a little, where you get shiny.
Why does my makeup look heavier than it used to?
Thicker layers and dragging motions show texture more.
Can I contour mature skin?
Soft bronzer works better than deep contour lines.
How often should I clean my makeup sponge?
Ideally after each use, or at least every few days.
Can makeup technique hide wrinkles?
It can soften their look, not remove them.
Summing Up
The best way to apply makeup on mature skin is to press products into well-moisturised skin in thin layers, work from the centre outward, place colour a little higher and use powder only where you shine.
Soft, clean tools and a gentle touch make the biggest difference, and sunscreen underneath protects the skin you are working with.

Written by
Registered pharmacist and founder of Facial Adviser. Rakib's pharmacy training covers how skincare actives work and interact; a later course in cosmetology turned that into a focus on facial treatments and skincare products. He plans, researches and edits every guide on the site and checks health claims against sources such as the American Academy of Dermatology, the FDA and the NIH. He is not a dermatologist; see the Editorial Policy and Medical Disclaimer.
About · Editorial policy · How we choose products · Medical disclaimer · Contact
Keep reading: Makeup basics and skin
- Can Makeup Cause Skin Cancer?
- How to Properly Put On Face Makeup: The Right Order, Step by Step
- Makeup Doesn't Blend Into Skin? Why It Happens and How to Fix It
- Is It Safe to Buy Makeup From Amazon? How to Shop Smart
- What Is the Difference Between Makeup and Skincare?
- How to Choose the Right Eye Makeup Color for Your Eyes and Skin
- What Can You Use to Make Your Makeup Stay On All Day? 9 Products and Tricks