Makeup Doesn’t Blend Into Skin? Why It Happens and How to Fix It
You blend and blend, but the foundation still sits on top of your skin, with visible edges, streaks, or a slightly different color from the rest of your face. Makeup that will not blend is one of the most annoying makeup problems, because it makes even good products look obvious. It can happen with cheap and expensive products alike.
Part of our guide to makeup how-to. Start with: How to Properly Put On Face Makeup: The Right Order, Step by Step
Makeup usually fails to blend for one of four reasons: the shade or undertone is wrong, the skin underneath is too dry, too oily, or still wet from skincare, the products do not mix well together, or the application technique is dragging product around instead of pressing it in.
Blending is partly about color and partly about texture. A foundation that is the wrong color will never disappear no matter how much you blend it. A foundation that is the right color can still look separate if it clings to dry patches or slides on oily skin. Both issues need to be right for makeup to look like skin.
Most blending problems can be fixed without buying new makeup. Adjusting skin prep, waiting a few minutes between layers, using a damp sponge, and applying thinner layers often solve the issue.
This guide includes a quick way to find your cause, fixes for each one, blending techniques for foundation, concealer, and blush, and the signs that a skin condition might be making makeup sit poorly.
Shopping these picks?
Amazon Prime members get fast, free shipping on eligible items, plus Prime Video, Amazon Music and member deals. New members can start with a free trial.
Start a free Prime trialAged 18 to 24? Prime for Young Adults comes with a longer free trial and a lower price after it.
Affiliate link: we may earn a commission at no extra cost to you.
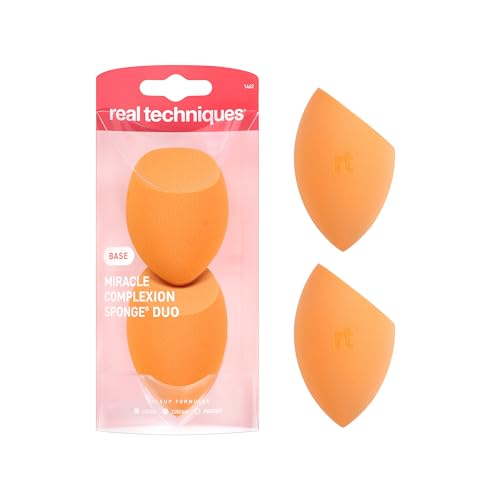
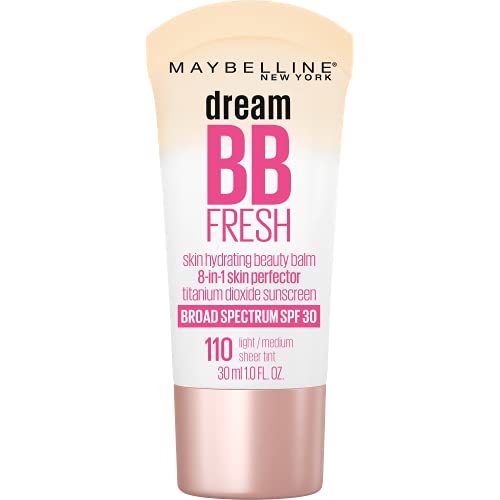
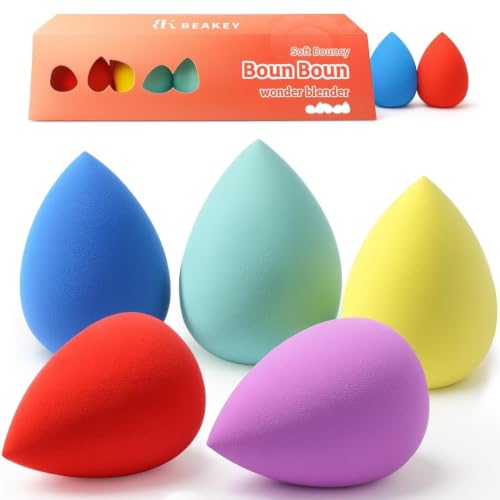
Recommended Products for Seamless Blending




Quick Answer
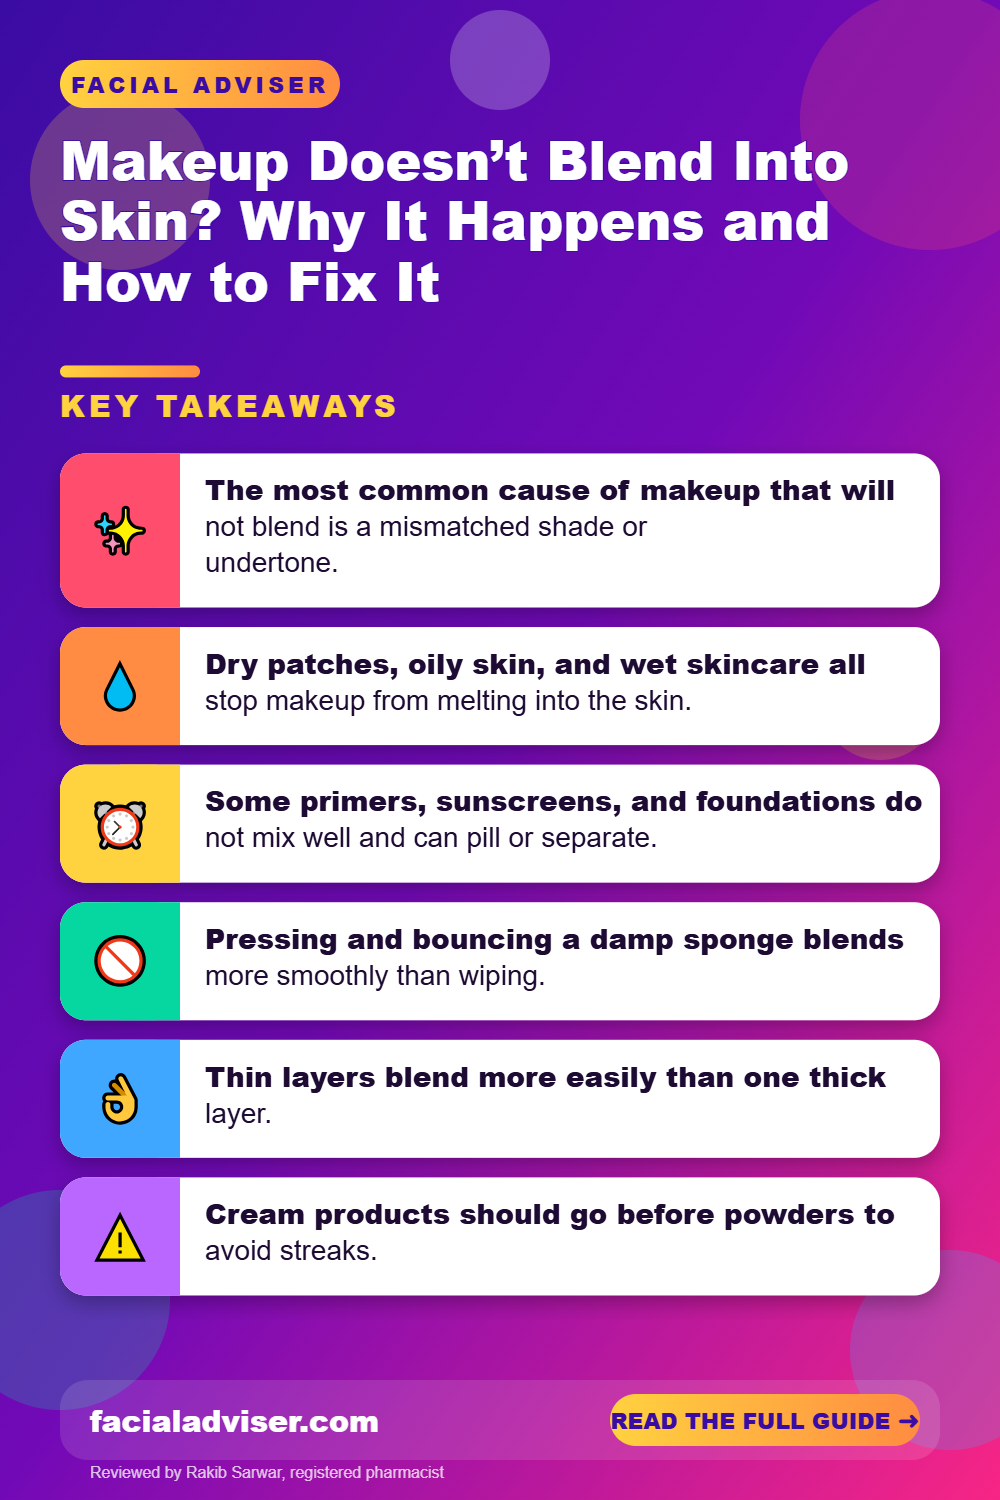
- The most common cause of makeup that will not blend is a mismatched shade or undertone.
- Dry patches, oily skin, and wet skincare all stop makeup from melting into the skin.
- Some primers, sunscreens, and foundations do not mix well and can pill or separate.
- Pressing and bouncing a damp sponge blends more smoothly than wiping.
- Thin layers blend more easily than one thick layer.
- Cream products should go before powders to avoid streaks.
- Persistent flaking or redness may be a skin condition that needs a dermatologist.
What This Covers
- Find the Cause in Five Minutes
- Cause 1: The Shade or Undertone Is Off
- Cause 2: Dry or Flaky Skin
- Cause 3: Oily Skin
- Cause 4: Skincare Has Not Settled
- Cause 5: Products That Do Not Mix
- Blending Techniques That Work
- Blending Concealer, Blush, and Bronzer
- Order and Timing Matter
- What Blending Cannot Fix
- When Your Skin Is the Problem
- FAQ
- Final Word
Find the Cause in Five Minutes
Before changing products, work out what is stopping your makeup from blending.
Swatch on your jawline
Apply a stripe of foundation along your jaw and check it in daylight. If it looks lighter, darker, pinker, or more yellow than your skin, the shade or undertone is the issue.
Check your bare skin
Look for dry flakes, rough patches, or areas that get very shiny within an hour of cleansing. Texture problems make makeup sit on top.
Test your prep timing
After moisturizer and sunscreen, wait five minutes and touch your cheek. If it still feels wet or tacky, makeup will slide and streak.
Try foundation without primer
If makeup blends better without primer, the primer and foundation are not working together.
Change your motion
Try pressing and bouncing with a damp sponge instead of wiping. If blending improves, technique was the problem.
Change only one thing at a time. That way you will know which fix actually worked.
Cause 1: The Shade or Undertone Is Off
No amount of blending can make the wrong color disappear. A foundation that is too light often looks gray or chalky, too dark looks muddy, and the wrong undertone can look orange, pink, or ashy.
Test along the jawline and check in natural light. If the depth looks right but the color seems off, try a warmer, cooler, or more neutral version of the same shade. Many brands mark undertones on the label.
Your shade can change through the year, so recheck when the seasons change. Mixing two shades is an easy way to get a better match. Our guide on why makeup does not look good on you covers shade matching in more detail.
Lighting can trick you when choosing a shade. Store lighting and bathroom bulbs are often warm or harsh, so a shade that looks perfect indoors may look obviously different in daylight. Whenever possible, check swatches near a window before buying.
Cause 2: Dry or Flaky Skin
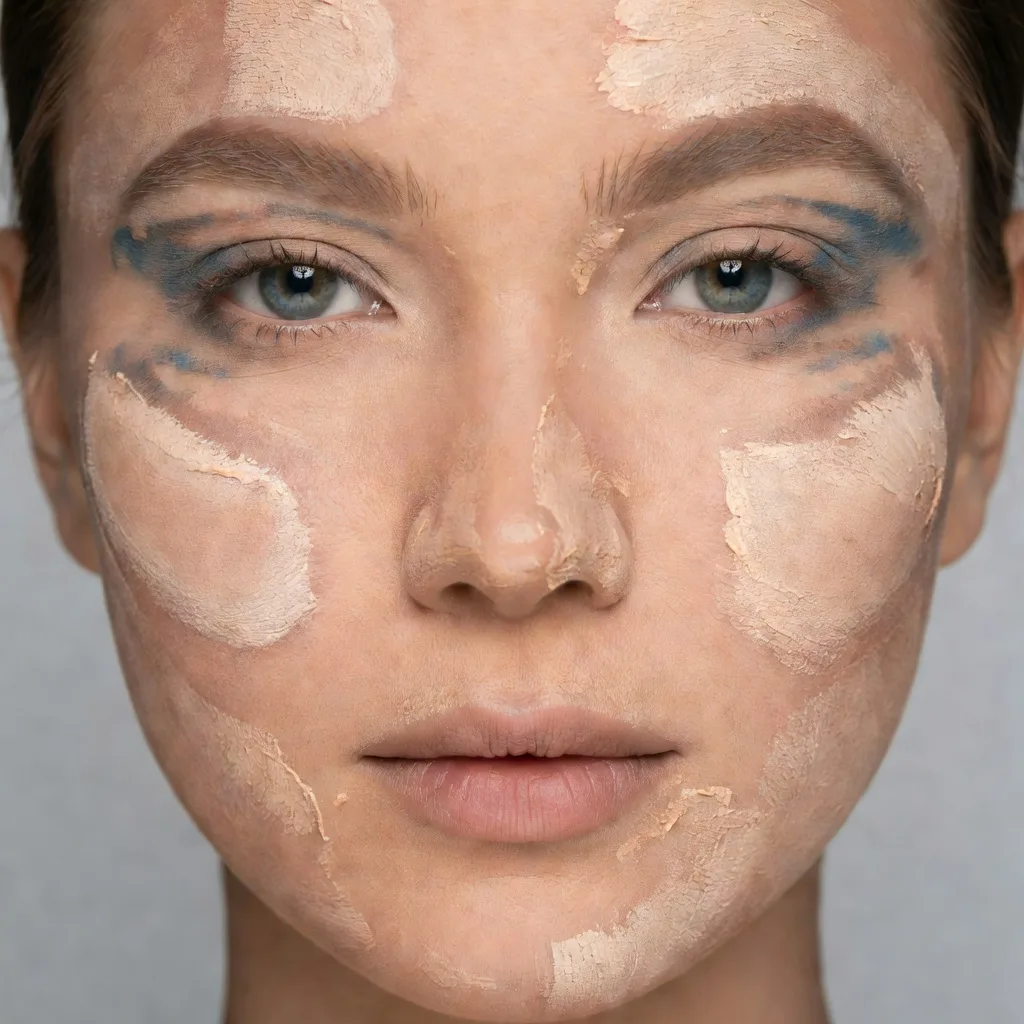
Foundation clings to dry flakes and settles into rough patches, so the edges stay visible and the skin looks uneven.
Moisturize well in the morning, and press a little extra moisturizer onto dry areas a few minutes before makeup. Exfoliate gently once or twice a week, not on the morning you want flawless makeup. Choose hydrating foundation formulas or skin tints, and use powder only where you truly need it.
A hydrating mist or a drop of facial oil mixed into your foundation can also help it glide more smoothly over dry areas. Just keep the amount small so the finish does not become greasy.
Cause 3: Oily Skin
On oily skin, makeup can slide around instead of settling, especially on the nose, forehead, and chin. It may look fine at first and then break apart.
Use a lightweight, oil-free moisturizer rather than skipping moisturizer, apply a mattifying primer only on oily areas, and choose an oil-free foundation. Blot oil before touching up, and set the T-zone lightly with powder.
If your foundation separates on the nose within an hour or two, try applying less there. The nose usually needs very little coverage, and a thinner layer holds up better against oil.
Cause 4: Skincare Has Not Settled
Applying foundation over moisturizer or sunscreen that is still wet is one of the most common causes of streaking, pilling, and makeup that will not blend.
Wait about five minutes after sunscreen before applying foundation. Use the time to get dressed, style your hair, or do your brows. If your sunscreen always stays tacky, try a lighter formula or use less.
Using too much skincare can cause the same problem. Several layers of serum, moisturizer, and sunscreen can take much longer to settle, so try reducing the amount or number of products on mornings when you wear makeup.
Cause 5: Products That Do Not Mix
Some foundations, primers, and sunscreens simply do not work well together. A water-based foundation on top of a silicone-heavy primer, or a very oily sunscreen under a matte foundation, can cause separation and pilling.
| Sign | Likely cause | Try |
|---|---|---|
| Little balls or flakes when blending | Pilling from too much product or clashing formulas | Use less, wait longer, or drop the primer |
| Streaks that will not smooth out | Foundation drying too fast or dry skin | Hydrate first, use a damp sponge |
| Patches on the nose or chin | Oil breaking down makeup | Mattifying primer on T-zone, blotting |
| Visible line at the jaw | Wrong shade or undertone | Match along the jawline |
| Makeup sits on top of pores | Too much product or powder | Thinner layers, less powder |
If you are unsure which product is causing the problem, apply each one on its own on a small area of your jaw over a few days. The product that pills or streaks by itself is the one to replace or use differently.
Blending Techniques That Work
Try This
- Apply foundation to the center of the face and blend outward.
- Press and bounce a damp sponge.
- Use thin layers and build where needed.
- Blend edges at the jaw, hairline, and around the nose.
- Use cream products before powders.
Avoid This
- Wipe or drag product across the skin.
- Apply a thick layer all at once.
- Use a dry sponge for liquid foundation.
- Stack powder on top of cream.
- Forget the sides of the nose and jawline.
Fingers work well for cream and liquid products, because body heat helps them melt in. A dense brush gives more coverage, and a damp sponge gives the most seamless finish. Our guide on wetting makeup sponges explains why damp sponges blend better.
A final press with a clean damp sponge over the whole face can soften edges and remove excess product in seconds.
Pay attention to pressure as well. Pressing too hard with a brush or sponge can lift the product you just applied, while a light, patient bouncing motion lets it settle into the skin.
Blending Concealer, Blush, and Bronzer
Foundation is not the only product that can look separate. Concealer, blush, and bronzer often cause visible patches too.
- Concealer: use a small amount and tap, rather than rub, the edges into the surrounding foundation. Under the eyes, a shade only slightly lighter than your foundation blends more naturally than a very light one.
- Cream blush: tap it on with fingertips before powder, starting with less than you think you need, and blend the edges upward.
- Powder blush and bronzer: use a fluffy brush and tap off the excess before applying. Build in light layers and blend in small circles.
- Contour: blend edges downward and outward so there is no hard line. A clean brush with no product can soften harsh edges.
If color looks patchy, press a clean damp sponge over the area to diffuse it without removing it entirely.
Order and Timing Matter
Liquid and cream products should go on before powders. Powder on top of wet or tacky makeup looks patchy, while cream on top of powder tends to streak.
The usual order is skincare and sunscreen, primer if used, foundation, concealer, then powder, blush, and bronzer. Our step-by-step guide on how to put on face makeup explains each step.
Giving each layer 30 seconds to a minute before the next also helps products set where you placed them rather than moving around.
What Blending Cannot Fix
| Belief | Reality |
|---|---|
| More blending fixes any foundation | A wrong shade will never disappear |
| Primer always helps blending | Some primers make it worse |
| Heavy coverage blends more evenly | Thin layers blend more easily |
| Powder smooths everything | Too much powder makes edges and texture more visible |
| Expensive brushes solve blending problems | Prep, shade, and technique matter more |
If you have tried all of these steps and makeup still sits on top of your skin, the issue may be your skin itself.
Sometimes the most effective fix is simply wearing less. A sheer skin tint or spot concealing can look far more seamless than a full layer of foundation.
When Your Skin Is the Problem
See a dermatologist if you notice:
- Flaky, red patches around the nose, brows, or hairline that keep coming back.
- Persistent redness, flushing, or bumps on the cheeks.
- Very dry, cracked, or itchy skin despite moisturizing.
- Rough, scaly spots that do not heal.
- Stinging or burning with most products.
- Breakouts that start after using new makeup.
Stop using a product that causes burning, swelling, or a spreading rash.
Medical disclaimer: This article is for general information and is not a substitute for professional medical advice. See a healthcare provider about persistent skin concerns.
FAQ
Why doesn’t my makeup blend into my skin?
Usually because the shade is off, the skin is dry, oily, or still wet from skincare, the products clash, or the technique drags product.
How do I make foundation blend better?
Prep skin well, wait for skincare to settle, use a damp sponge with pressing motions, and apply thin layers.
Why does my foundation look patchy?
Dry patches, oily areas, too much product, or clashing formulas are common causes.
Why does my makeup pill?
Too much skincare, not waiting long enough, or products that do not mix well can cause pilling.
Is a sponge or brush better for blending?
A damp sponge usually gives the most seamless finish; a brush gives more coverage.
Should I use primer to help blending?
It can help some skin types, but some primers make blending worse. Try with and without.
Why is there a line at my jaw?
The foundation shade or undertone does not match, or edges were not blended.
Does moisturizer help makeup blend?
Yes. Hydrated skin lets makeup melt in more smoothly, but let it settle first.
Why does concealer not blend under my eyes?
Too much product, a shade too light, or dry skin can make it look separate.
When should I see a dermatologist?
If flaking, redness, or irritation keep making makeup sit on top of your skin.
Final Word
Makeup that does not blend is usually caused by a mismatched shade or undertone, dry or oily skin, skincare that has not settled, products that clash, or a wiping technique that drags product around. Once you identify the cause, the fix is usually simple.
Match your shade along the jawline, prep your skin and let it settle, use thin layers pressed in with a damp sponge, and keep creams before powders. If flaking or irritation keep getting in the way, see a dermatologist, since the skin underneath may need treatment.

Written by
Registered pharmacist and founder of Facial Adviser. Rakib's pharmacy training covers how skincare actives work and interact; a later course in cosmetology turned that into a focus on facial treatments and skincare products. He plans, researches and edits every guide on the site and checks health claims against sources such as the American Academy of Dermatology, the FDA and the NIH. He is not a dermatologist; see the Editorial Policy and Medical Disclaimer.
About · Editorial policy · How we choose products · Medical disclaimer · Contact
Keep reading: Makeup basics and skin
- How to Properly Put On Face Makeup: The Right Order, Step by Step
- Is It Safe to Buy Makeup From Amazon? How to Shop Smart
- What Is the Difference Between Makeup and Skincare?
- How Much Makeup Can I Take on a Plane? Carry-On and Checked Bag Rules
- Are You Supposed to Put Makeup on Your Forehead?
- Should You Wear Makeup After a Facial? How Long to Wait
- What Can You Use to Make Your Makeup Stay On All Day? 9 Products and Tricks
- How to Get Started as a Freelance Makeup Artist: Training, Kit and Clients