How to Properly Put On Face Makeup: The Right Order, Step by Step
Face makeup can look effortless on someone else and frustrating on you, even with the same products. Often the difference is not the products at all but the order they go on, how much is used, and how well each layer is blended before the next one. Small changes in sequence and amount can completely change the result.
The usual order for face makeup is: skincare and sunscreen, primer if you use one, foundation, concealer, powder, then bronzer, blush, and highlighter, finishing with setting spray. Brows, eyes, and lips fit around those steps, often with eye makeup done early to catch any fallout.
There is logic behind that order. Liquids and creams go before powders, because powder on top of wet or tacky products can look patchy, while cream on top of powder tends to streak. Foundation goes before concealer so you can see how much coverage you still need, which usually means less concealer overall.
Thin layers and good blending matter more than any single product. Most makeup that looks heavy or patchy is the result of too much product applied too quickly, not the wrong brand. Taking an extra minute to blend usually matters more than adding another product.
This guide walks through each step in order, explains which tools work best, shows a quick ten-minute version, covers the most common mistakes, and explains how to adjust the routine for your skin type.
Shopping these picks?
Amazon Prime members get fast, free shipping on eligible items, plus Prime Video, Amazon Music and member deals. New members can start with a free trial.
Start a free Prime trialAged 18 to 24? Prime for Young Adults comes with a longer free trial and a lower price after it.
Affiliate link: we may earn a commission at no extra cost to you.
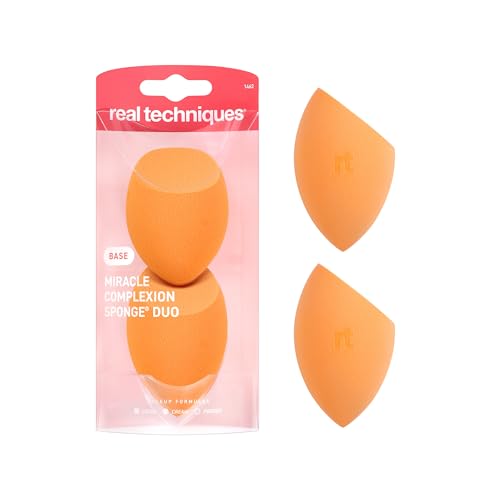
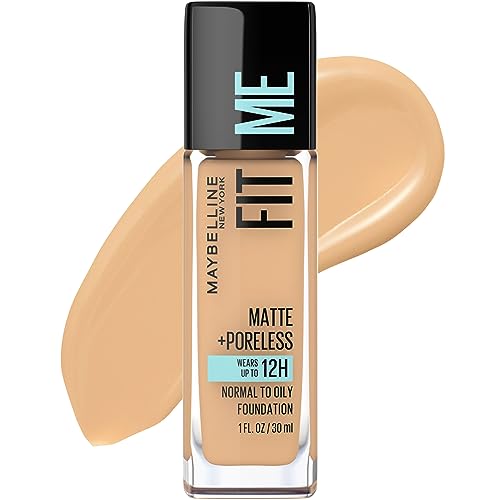
Recommended Products for a Complete Face Makeup Routine




Contents
- Step 1: Prep Your Skin
- Step 2: Primer, If You Need It
- Step 3: Foundation
- Step 4: Concealer
- Step 5: Set With Powder
- Step 6: Bronzer, Blush, and Highlighter
- Step 7: Brows, Lashes, Lips, and Setting Spray
- The Face Makeup Order at a Glance
- A 10-Minute Everyday Version
- Common Mistakes to Avoid
- What Good Technique Cannot Fix
- When to See a Dermatologist
- FAQ
- Final Word
What to Know First
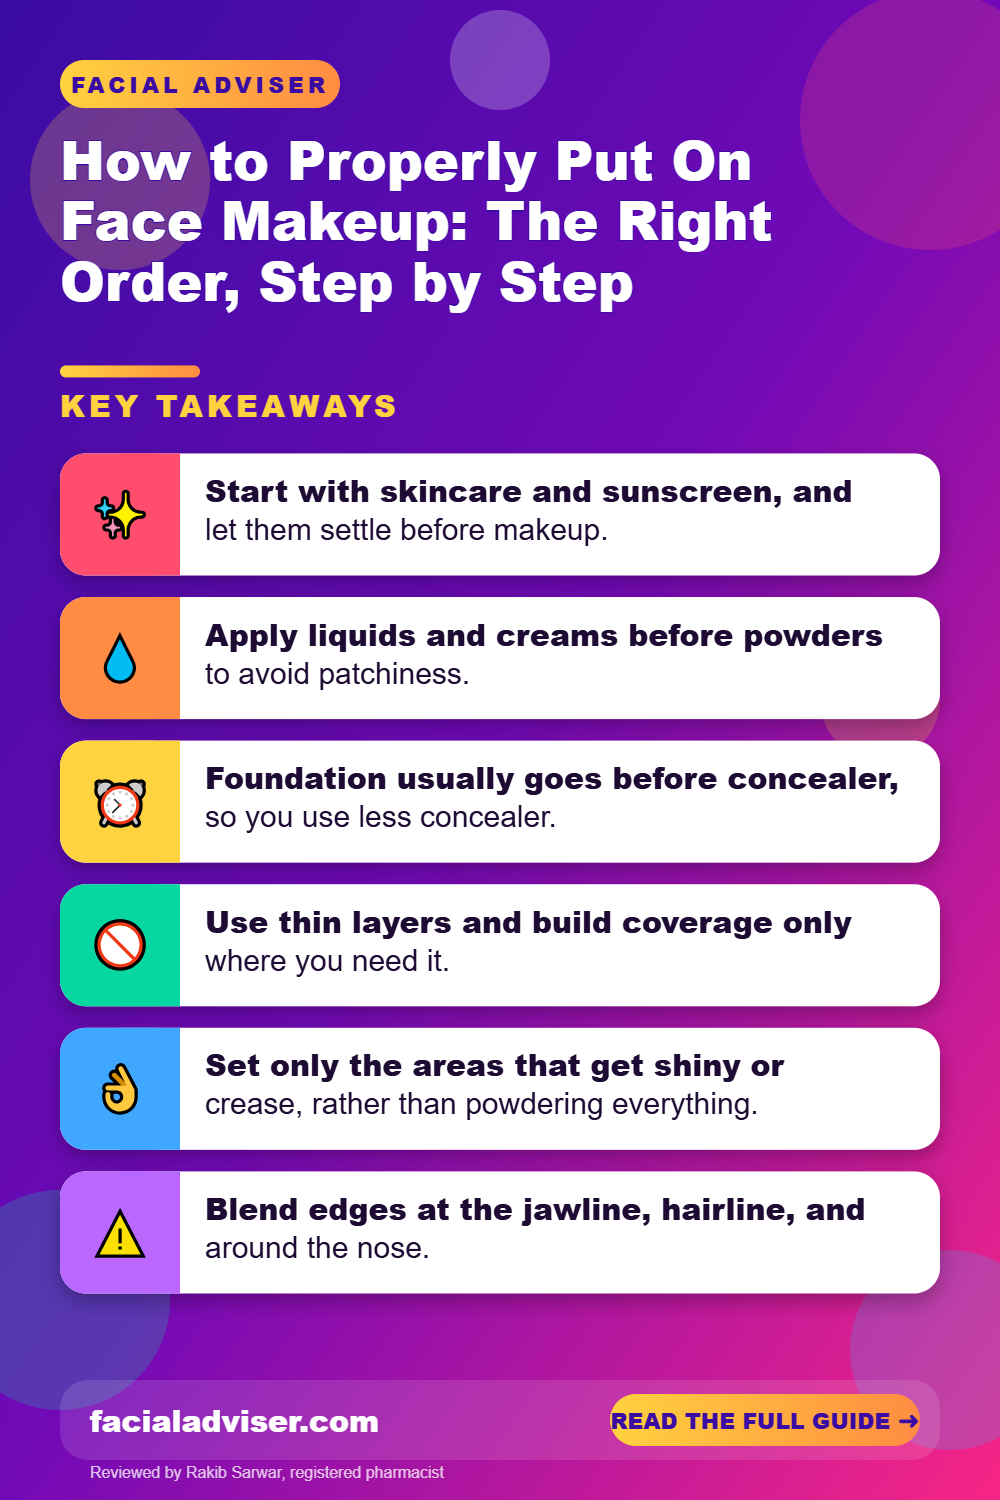
- Start with skincare and sunscreen, and let them settle before makeup.
- Apply liquids and creams before powders to avoid patchiness.
- Foundation usually goes before concealer, so you use less concealer.
- Use thin layers and build coverage only where you need it.
- Set only the areas that get shiny or crease, rather than powdering everything.
- Blend edges at the jawline, hairline, and around the nose.
- Remove makeup completely every night.
Step 1: Prep Your Skin
Good makeup starts with skin that is clean, hydrated, and protected. Cleanse gently, then apply a moisturizer that suits your skin type. Oily skin often prefers a light gel, while dry skin may need a richer cream.
Next, apply a broad-spectrum sunscreen with SPF 30 or higher. Even if your foundation contains SPF, most people apply too little makeup to get the protection on the label, so a separate sunscreen is the safer choice.
Wait about five minutes before moving on. Applying makeup over wet or tacky skincare is one of the most common reasons foundation pills, slides, or looks patchy. Use the time to brush your teeth, style your hair, or get dressed.
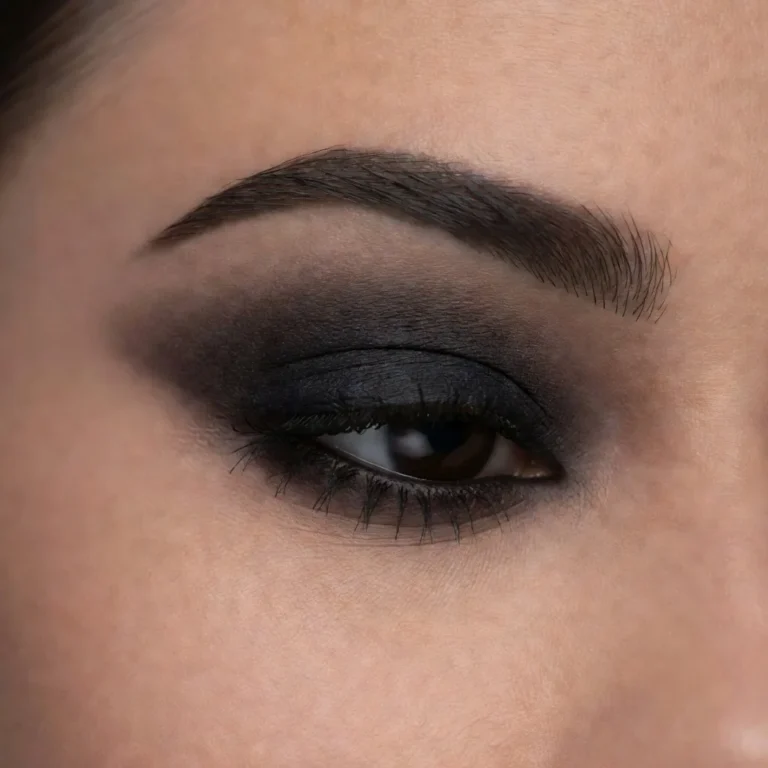
If you do eye makeup with dark or glittery shadow, consider doing it now, before foundation. Any fallout under the eyes can be wiped away without ruining your base.
If your skin is flaky, a gentle exfoliant a couple of times a week, not on the morning of an event, helps makeup sit smoothly.
Step 2: Primer, If You Need It
Primer is optional. It can help foundation last longer on oily skin, blur the look of large pores, or add hydration to dry areas. Many people with normal skin do not need it at all.
If you use primer, apply a small amount only where it helps, such as a mattifying primer on the nose and forehead or a hydrating one on dry cheeks. Let it set for a minute before foundation.
If your makeup separates or pills, try skipping primer, since some primers do not mix well with certain foundations.
Color-correcting primers are another option. A green-tinted primer can tone down redness, and a peach or orange corrector can help cancel out dark circles or dark spots on deeper skin tones before foundation.
Step 3: Foundation
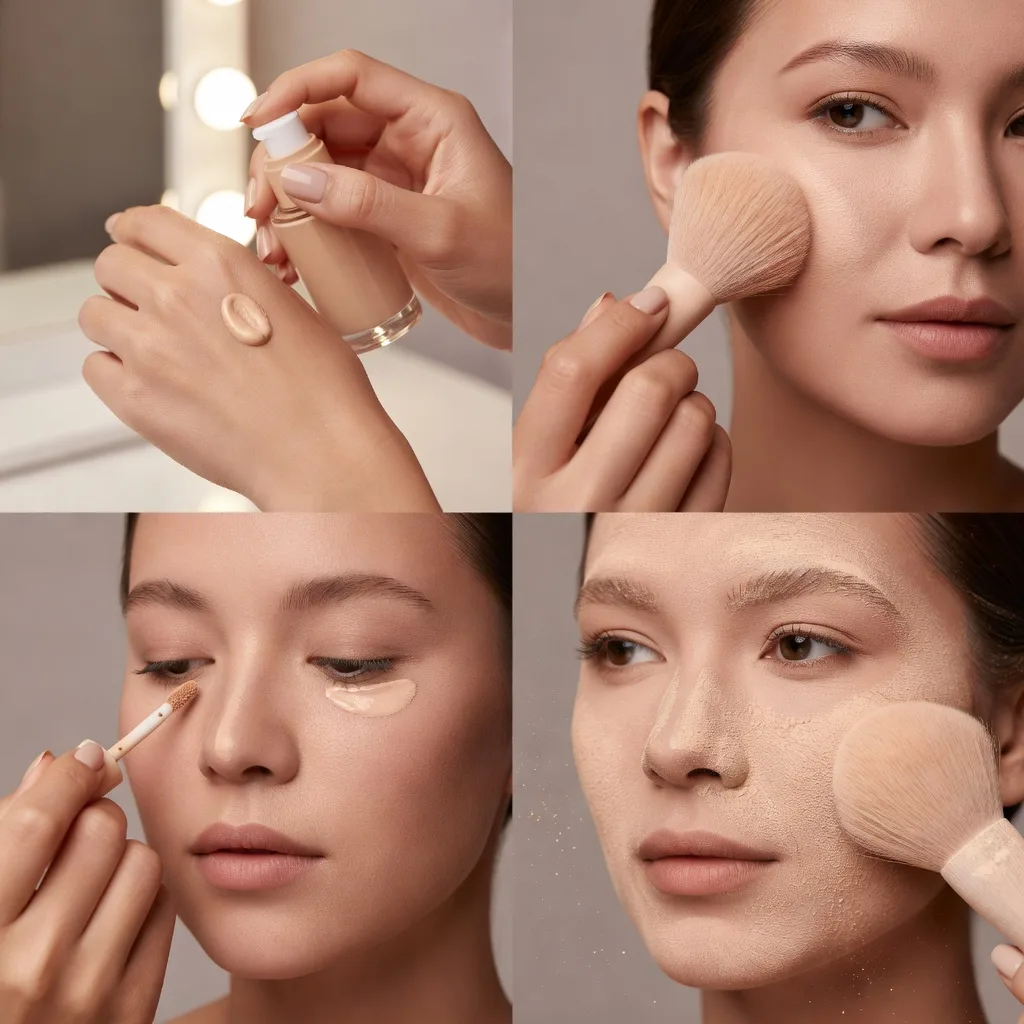
Apply a small amount of foundation, roughly a pea-sized drop for the whole face, to the center of the face: forehead, nose, cheeks, and chin. Then blend outward toward the hairline, ears, and jaw.
You can use fingers, a brush, or a damp sponge. Fingers warm the product so it melts in; a brush gives more coverage; a damp sponge gives the most natural finish. Our guide on wetting makeup sponges explains why damp works better.
Blend just past the jawline so there is no visible edge. If you need more coverage in certain spots, add a second thin layer there rather than applying more all over. Our guide on the purpose of foundation covers choosing the right formula.
Take a moment to check the sides of your nose, under the jaw, and around the hairline, since these are the areas where foundation most often collects or leaves a visible edge. A clean sponge pressed lightly over the whole face at the end can soften any heavy spots.
Step 4: Concealer
After foundation, look at what still needs covering. Apply concealer only where needed: under the eyes, around the nose, on blemishes, and on any remaining redness.
For under the eyes, dot a small amount in the inner corner and along the darkest area, then tap gently with a fingertip or the tip of a damp sponge. For blemishes, use a small brush to press concealer directly on the spot, then blend only the edges.
Choose an under-eye concealer no more than one shade lighter than your foundation. Much lighter shades can look gray or chalky.
If concealer creases under your eyes, you may be using too much or a formula that is too heavy. Use a thinner layer, press it in rather than swiping, and set it with a very light dusting of powder.
Step 5: Set With Powder
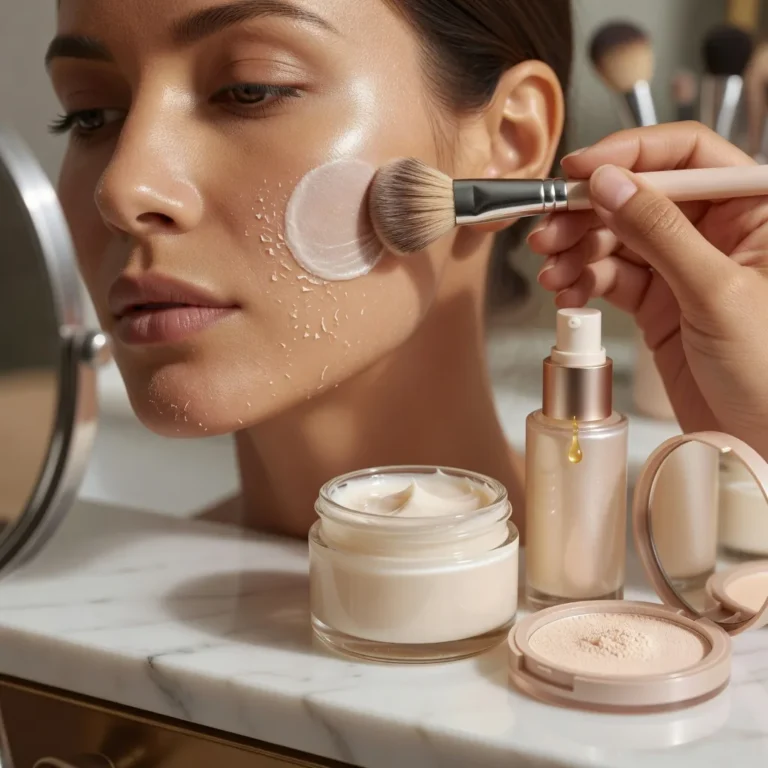
Powder helps cream and liquid products stay in place and reduces shine. Use a light hand, and focus on the areas that get shiny or crease: the forehead, nose, chin, and under the eyes.
Press powder in with a puff or sponge, or sweep lightly with a fluffy brush. Heavy powder all over can make skin look dry, flat, and older, so skip it on dry areas.
If you want a dewy finish, you can skip powder entirely or use it only on the nose.
For oily skin, keep a pack of blotting papers with you. Blotting removes oil without adding product, so you can refresh your makeup during the day without building up layers of powder.
Step 6: Bronzer, Blush, and Highlighter
These steps add warmth, color, and dimension back to the face after foundation evens it out.
- Bronzer: sweep lightly where the sun would naturally hit, such as the forehead, cheekbones, and jaw.
- Blush: smile slightly and apply to the apples of the cheeks, then blend upward toward the temples.
- Highlighter: tap a small amount on the tops of the cheekbones, bridge of the nose, and cupid’s bow.
Use cream products before powder if you want a more natural finish, or powder products after setting. Mixing cream on top of powder can cause streaks.
For a natural result, start with less color than you think you need. It is easier to add a little more blush than to take it away, and a light touch usually looks fresher in daylight.
Step 7: Brows, Lashes, Lips, and Setting Spray
Brush brows into place and fill in sparse areas lightly with a pencil or powder, then set with brow gel. Curl lashes and apply mascara. Finish with lip color, lining first if you want it to last longer.
A setting spray can help everything blend together and last longer. Hold it at arm’s length and mist lightly, then let it dry without touching your face.
If you wear glasses, a slightly stronger brow and well-defined lashes help your features stand out behind frames. Lip color can then be kept soft for balance.
The Face Makeup Order at a Glance
| Step | Product | Tip |
|---|---|---|
| 1 | Skincare and sunscreen | Wait 5 minutes to settle |
| 2 | Primer (optional) | Only where needed |
| 3 | Foundation | Thin layer, center out |
| 4 | Concealer | Only where still needed |
| 5 | Powder | Shiny and crease-prone areas only |
| 6 | Bronzer, blush, highlighter | Creams before powders |
| 7 | Brows, mascara, lips | Keep brows soft and natural |
| 8 | Setting spray | Mist lightly at arm’s length |
You can skip any step you do not need. A light routine may be just sunscreen, concealer, blush, and mascara.
Once the order becomes a habit, the whole routine gets faster and more consistent.
A 10-Minute Everyday Version
If you do not have time for every step, this shortened routine covers the essentials.
Moisturize and apply sunscreen
Apply both, then wait a few minutes while you get dressed or brush your teeth.
Apply a light base
Use a small amount of foundation, skin tint, or BB cream on the center of the face and blend outward.
Conceal only what shows
Tap concealer under the eyes and on any spots or redness that still show.
Add color
Tap cream blush on the cheeks and use the same color or a tinted balm on the lips.
Finish with brows and mascara
Brush brows into place with gel and apply one coat of mascara. Check in daylight before leaving.
This version works for most workdays and errands. Add powder, bronzer, or eyeliner on days when you want a more polished look.
Common Mistakes to Avoid
Try This
- Let skincare settle before foundation.
- Build coverage in thin layers.
- Blend edges at the jaw and hairline.
- Check your makeup in daylight.
- Clean brushes and sponges regularly.
Avoid This
- Apply foundation over wet sunscreen.
- Use heavy powder all over dry skin.
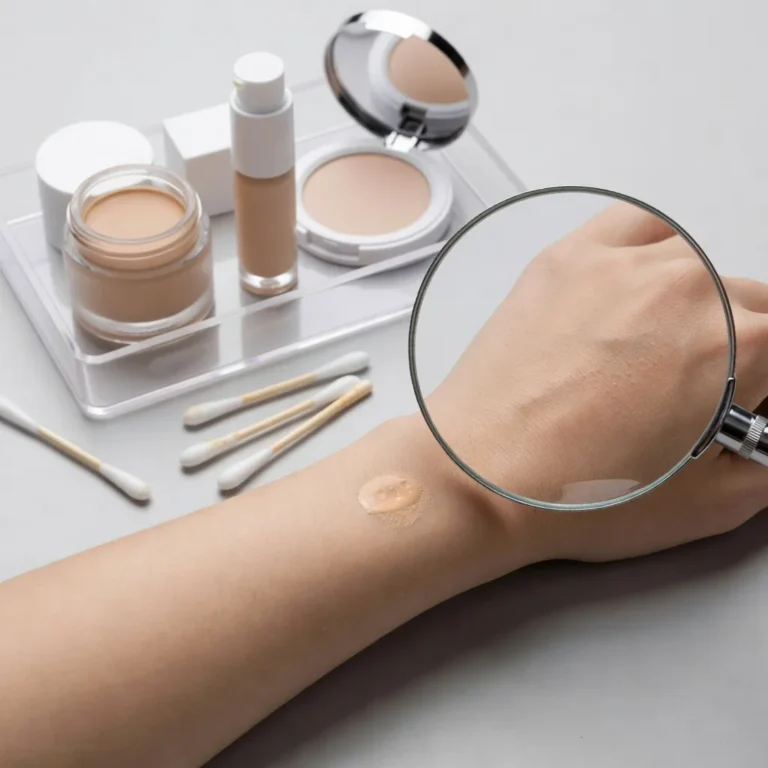
- Choose foundation by testing on your hand.
- Put cream products on top of powder.
- Sleep in makeup.
Never share face makeup tools, and wash them regularly. Dirty sponges and brushes can spread bacteria and trigger breakouts.
What Good Technique Cannot Fix
| Belief | Reality |
|---|---|
| More products create a better finish | Fewer, well-blended layers often look better |
| Primer is essential | It is optional for most people |
| Concealer goes before foundation | Usually after, so you use less |
| Powder makes makeup last all day | It helps, but blotting and touch-ups are still useful |
| Makeup can hide skin conditions | It covers temporarily but does not treat them |
If you often find your makeup looks heavy or patchy, see our guide on timing in how early to do your makeup before going out.
When to See a Dermatologist
See a dermatologist if you notice:
- Breakouts or rashes after starting new makeup products.
- Burning or stinging when applying makeup.
- Persistent redness, flushing, or bumps.
- Dry, flaky patches that never improve.
- Swelling of the eyelids or lips after using a product.
- A spot or mole that changes.
Medical disclaimer: This article is for general information and is not a substitute for professional medical advice. See a healthcare provider about skin reactions or persistent skin concerns.
FAQ
What order should face makeup go in?
Skincare and sunscreen, primer, foundation, concealer, powder, bronzer, blush, highlighter, then brows, eyes, lips, and setting spray.
Does concealer go before or after foundation?
Usually after, so you can see what still needs covering and use less.
Do I need primer?
Not always. It helps oily or textured skin but is optional for many people.
How much foundation should I use?
Start with about a pea-sized amount for the whole face and build only where needed.
Should I apply eye makeup before or after foundation?
Many people do eye makeup first if using dark or glittery shadows, to clean fallout easily.
Should I use powder all over?
Usually not. Set only shiny or crease-prone areas, especially if your skin is dry.
Do cream products go before or after powder?
Before. Cream on top of powder can streak.
How long should I wait after sunscreen before makeup?
About five minutes, until skin no longer feels tacky.
What is the best tool for applying foundation?
Fingers, a brush, or a damp sponge all work; a damp sponge often gives the most natural finish.
How can I make face makeup last longer?
Prep well, use thin layers, set shiny areas, use setting spray, and blot oil during the day.
Final Word
The usual order for face makeup is skincare and sunscreen, optional primer, foundation, concealer, powder, then bronzer, blush, and highlighter, finishing with brows, eyes, lips, and setting spray. Liquids and creams go before powders, and foundation usually goes before concealer.
Thin layers, patient blending, and letting skincare settle make a bigger difference than any single product. Adjust the routine to your skin type, skip steps you do not need, check your makeup in daylight, and remove everything gently each night.

Written by
Registered pharmacist and founder of Facial Adviser. Rakib's pharmacy training covers how skincare actives work and interact; a later course in cosmetology turned that into a focus on facial treatments and skincare products. He plans, researches and edits every guide on the site and checks health claims against sources such as the American Academy of Dermatology, the FDA and the NIH. He is not a dermatologist; see the Editorial Policy and Medical Disclaimer.
About · Editorial policy · How we choose products · Medical disclaimer · Contact
Keep reading: Makeup basics and skin
- Makeup Doesn't Blend Into Skin? Why It Happens and How to Fix It
- Is It Safe to Buy Makeup From Amazon? How to Shop Smart
- What Is the Difference Between Makeup and Skincare?
- How Much Makeup Can I Take on a Plane? Carry-On and Checked Bag Rules
- Are You Supposed to Put Makeup on Your Forehead?
- How to Find the Right Shade of Makeup: Undertone, Depth and Testing
- How to Choose the Right Eye Makeup Color for Your Eyes and Skin