How to Do an Anti-Aging Facial at Home: Steps, DIY Masks, Oils and Serums
A professional facial can leave skin looking smooth and bright, but you can recreate most of the benefits at home in under an hour. The secret is not expensive gadgets but the right order of gentle steps, finished with good hydration and, the next morning, sunscreen.
Part of our guide to facial treatments. Start with: What Is the Best Anti-Aging Facial Treatment? Options Compared by Goal
To do an anti-aging facial at home, cleanse thoroughly, exfoliate gently with a mild acid or enzyme product, apply a hydrating or collagen-style mask for 10 to 20 minutes, give your face a short massage with a gua sha or your fingertips, then apply a serum such as a peptide or hyaluronic acid serum and seal it in with a facial oil or moisturiser. Once a week is enough for most skin types. Keep every step gentle: over-exfoliating or using harsh DIY ingredients like lemon juice or baking soda damages the skin barrier and can make ageing skin look worse, not better.
In short: cleanse, exfoliate lightly, mask, massage, then seal in hydration once a week.
The American Academy of Dermatology advises exfoliating gently and not too often, since over-exfoliation causes redness and irritation, and the FDA warns that alpha hydroxy acids can increase sun sensitivity.
This guide walks you through each step of an at-home anti-aging facial, including which DIY masks are safe, how to layer serum and facial oil, and optional extras like gua sha and LED. It also explains how often to do it and what a home facial cannot achieve, so your expectations stay realistic.
Shopping these picks?
Amazon Prime members get fast, free shipping on eligible items, plus Prime Video, Amazon Music and member deals. New members can start with a free trial.
Start a free Prime trialAged 18 to 24? Prime for Young Adults comes with a longer free trial and a lower price after it.
Affiliate link: we may earn a commission at no extra cost to you.
Recommended At-Home Facial Products




Quick Answer
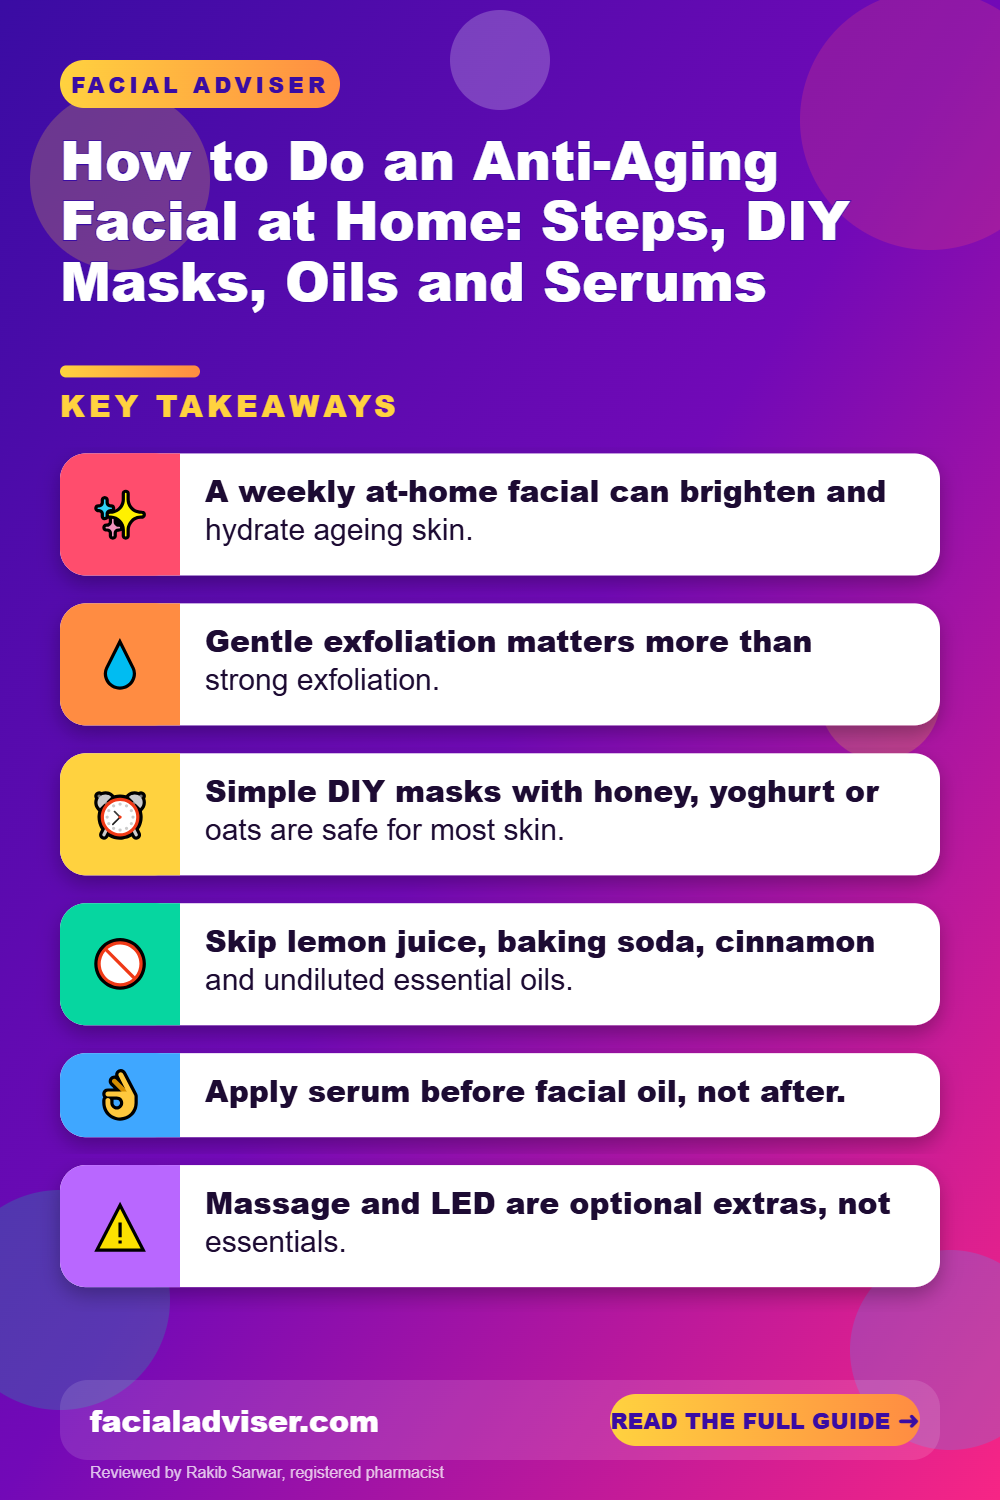
- A weekly at-home facial can brighten and hydrate ageing skin.
- Gentle exfoliation matters more than strong exfoliation.
- Simple DIY masks with honey, yoghurt or oats are safe for most skin.
- Skip lemon juice, baking soda, cinnamon and undiluted essential oils.
- Apply serum before facial oil, not after.
- Massage and LED are optional extras, not essentials.
- Wear sunscreen the next day, especially after acids.
In This Guide
- The At-Home Anti-Aging Facial at a Glance
- Step One: Cleanse and Prepare the Skin
- Step Two: Exfoliate Gently
- Step Three: DIY Masks That Are Safe (and Ones to Skip)
- Sheet Masks and Collagen Masks: What They Really Do
- How to Do an Anti-Aging Facial at Home
- Serum and Facial Oil: Getting the Order Right
- Optional Extras: Gua Sha and LED Masks
- How Often to Do It, Plus Dos and Don’ts
- Honest Limits
- When to See a Dermatologist
- Frequently Asked Questions
- The Bottom Line
The At-Home Anti-Aging Facial at a Glance
A salon facial follows a clear sequence, and your home version should too. Each step prepares the skin for the next one, so do not skip ahead.
| Step | What to use | Time |
|---|---|---|
| 1. Cleanse | Gentle cleanser, oil cleanser if wearing makeup | 2 to 3 minutes |
| 2. Warm compress | Clean flannel soaked in warm water | 1 to 2 minutes |
| 3. Exfoliate | Mild lactic acid, mandelic acid or enzyme product | As directed, often 5 to 10 minutes |
| 4. Mask | Hydrating, sheet or collagen mask, or a simple DIY mask | 10 to 20 minutes |
| 5. Massage | Fingertips or gua sha with facial oil | 5 minutes |
| 6. Serum | Peptide, hyaluronic acid or vitamin C serum | 1 minute |
| 7. Seal | Facial oil or moisturiser | 1 minute |
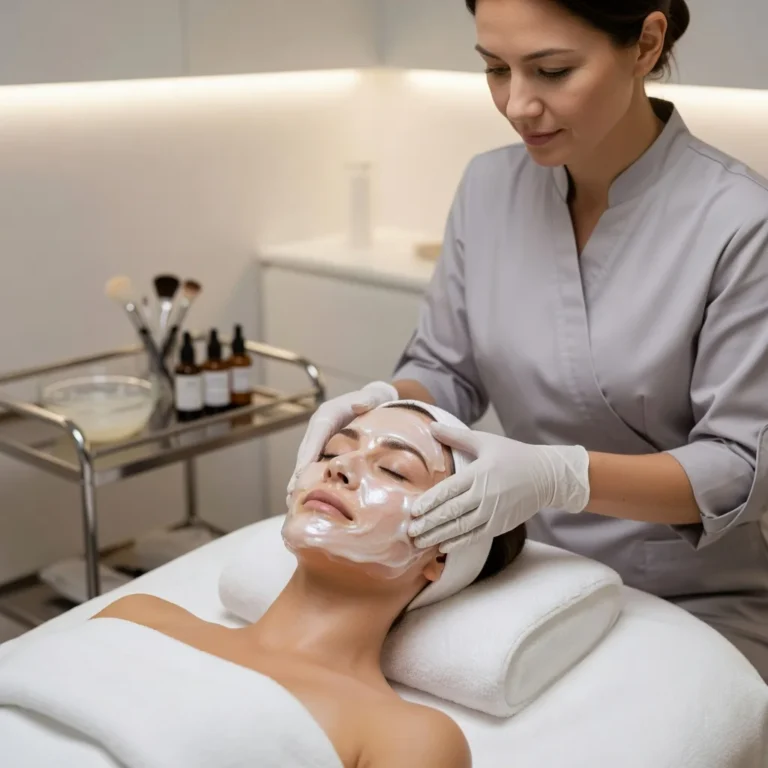
The whole routine takes about 30 to 45 minutes. Put your phone away, play some music and treat it as a relaxing ritual. Evening is the best time, because your skin can recover overnight and you avoid sun exposure straight after exfoliating. Our guide to the anti-aging facial explains what salon versions add and whether they are worth it.
Step One: Cleanse and Prepare the Skin
Everything that follows works better on clean skin. If you wear makeup or sunscreen, start with a cleansing oil or balm to dissolve it, then follow with a gentle, non-foaming cleanser. This double cleanse removes residue without stripping the skin.
Next, hold a clean flannel soaked in warm, not hot, water over your face for a minute or two. The warmth softens the skin and makes it feel more comfortable during exfoliation. Skip facial steaming over a bowl of boiling water: it is easy to scald yourself, and heat can worsen redness, rosacea and broken capillaries.
- Use lukewarm water for rinsing; hot water dries ageing skin.
- Pat dry with a clean towel instead of rubbing.
- Remove any stray makeup around the eyes and hairline with a cotton pad.
- Tie hair back and remove jewellery before you start.
- Patch test any new product on your jaw a day ahead.
Step Two: Exfoliate Gently
Exfoliation removes dull surface cells so the skin looks brighter and later products spread more evenly. For mature skin, gentle chemical exfoliants usually work better than gritty scrubs, which can cause tiny tears.
- Lactic acid: a mild alpha hydroxy acid that also hydrates; good for dry, mature skin.
- Mandelic acid: a larger, slower acid that suits sensitive skin.
- Enzyme powders or masks: fruit enzymes that loosen dead cells very gently.
- Soft scrubs with fine, round particles: only if your skin is not sensitive.
The AAD’s advice on how to safely exfoliate at home recommends choosing a method that suits your skin type and stopping if skin turns red or irritated. If you already use a retinoid, skip the acid step or use only an enzyme product on facial night, as combining them can overwhelm the skin.
The FDA notes that alpha hydroxy acids can increase the skin’s sensitivity to the sun. Use sunscreen daily, and especially in the week after an acid treatment.
Step Three: DIY Masks That Are Safe (and Ones to Skip)
Kitchen masks cannot match formulated products for active ingredients, but a few simple ones are soothing and hydrating. Others are popular online yet genuinely harmful to skin.
| DIY ingredient | What it does | Verdict |
|---|---|---|
| Honey | Humectant that draws in moisture, mildly soothing | Safe for most skin |
| Plain yoghurt | Mild lactic acid, cooling | Safe for most skin |
| Colloidal or finely ground oats | Calms dryness and itch | Very gentle |
| Mashed avocado or banana | Rich, softening | Fine for dry skin |
| Aloe vera gel | Cooling, hydrating | Fine if not allergic |
| Lemon juice | Very acidic, can burn and cause dark marks in sun | Avoid |
| Baking soda | Too alkaline, disrupts the barrier | Avoid |
| Cinnamon or undiluted essential oils | Common irritants | Avoid |
| Toothpaste or sugar scrubs | Irritating or abrasive | Avoid |
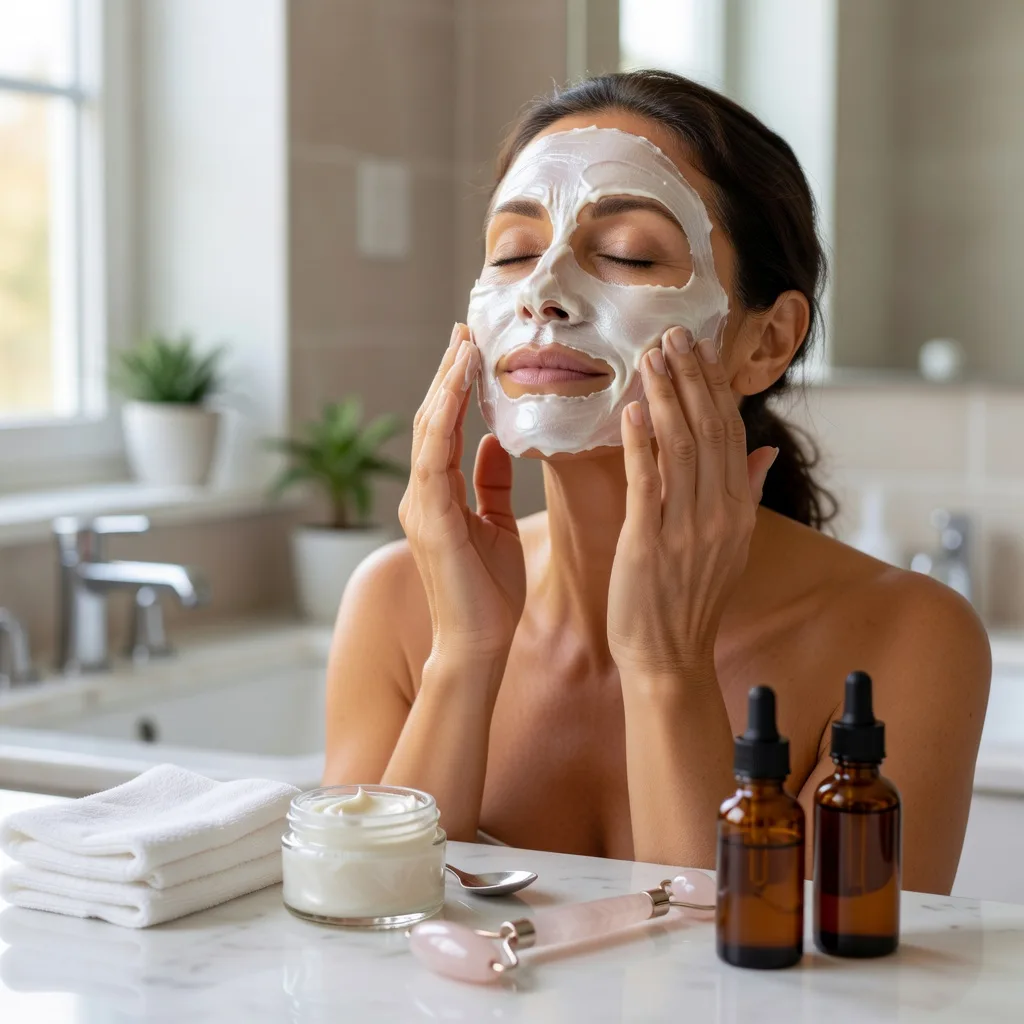
A simple mix of one tablespoon of plain yoghurt and one teaspoon of honey, left on for 10 to 15 minutes, suits most skin types. Rinse with lukewarm water and pat dry. Make a fresh batch each time rather than storing leftovers, as homemade mixtures contain no preservatives.
Stop and rinse immediately if a mask stings, burns or itches. Do not put food products on broken skin, and avoid honey or oats if you are allergic to them. Citrus on the skin followed by sun exposure can cause painful reactions and dark patches.
Sheet Masks and Collagen Masks: What They Really Do
Sheet masks and collagen masks are the easiest option for home facials. They hold a hydrating serum against the skin, so the surface drinks in water and looks plumper and smoother for several hours.
Collagen in a mask does not travel into the skin to replace your own collagen, because the molecules are too large. It works as a moisturiser that forms a softening film on the surface. That is still useful: well-hydrated skin reflects light better and fine lines look softer. Our guide to the collagen facial treatment explains what collagen products can and cannot do.
- Leave sheet masks on for the time on the pack, usually 15 to 20 minutes.
- Remove before the sheet dries out, or it can draw moisture back out.
- Pat the leftover serum in rather than rinsing it off.
- Store masks in the fridge for an extra cooling, depuffing effect.
How to Do an Anti-Aging Facial at Home
Follow these steps once a week in the evening. Adjust the exfoliation step to your skin, and leave it out entirely if your skin is irritated.
Cleanse
Double cleanse if wearing makeup, then pat dry.
Warm compress
Hold a warm, damp flannel on your face for a minute.
Exfoliate
Apply a mild acid or enzyme product for the time on the label, then rinse.
Mask
Apply a hydrating, sheet or DIY mask for 10 to 20 minutes.
Massage
Warm a few drops of facial oil and glide a gua sha or fingertips outward and upward for five minutes.
Apply serum
Press a peptide or hyaluronic acid serum into slightly damp skin.
Seal it in
Finish with facial oil or a moisturiser to lock in hydration.
Protect tomorrow
Apply broad-spectrum SPF 30 or higher the next morning.
Wipe off the massage oil with a warm, damp cloth before applying your serum, or do the massage last with your final layer of oil. Serums absorb poorly through a slick film of oil.
Serum and Facial Oil: Getting the Order Right
The general rule is thinnest to thickest. Water-based serums go on first, creams next and oils last, because oil forms a barrier that slows anything applied on top of it.
- Peptide serums: support firmness and suit sensitive skin; good on facial night.
- Hyaluronic acid serums: draw water into the skin for instant plumpness; apply to damp skin.
- Vitamin C serums: better in the morning under sunscreen than after acids at night.
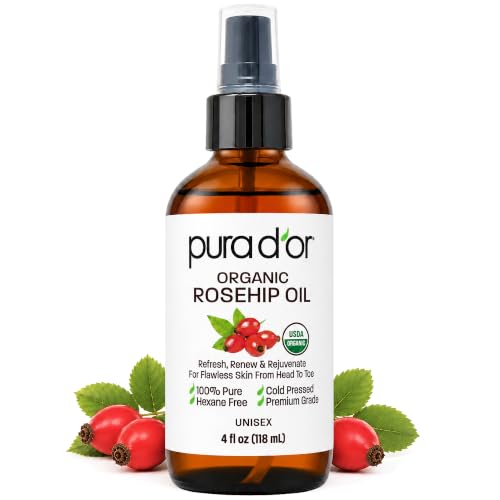
- Facial oils: rosehip, squalane or jojoba to seal in moisture and soften dry skin.
- Retinoids: best left out on facial night if you have exfoliated.
If products roll into little flakes, use less of each and give each layer a minute to settle. Our guide on how to avoid pilling when layering covers more fixes.
Optional Extras: Gua Sha and LED Masks
A gua sha and an LED mask can make a home facial feel more like a spa treatment. Both are optional.
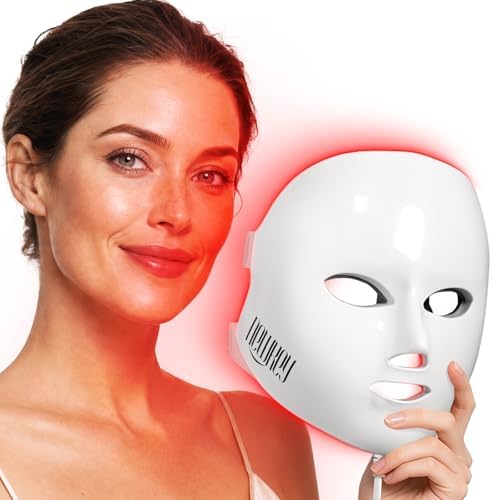
Gua sha adds a massage step that reduces puffiness and gives a temporary glow. Always use it on oiled skin with light pressure. An LED mask with red light can be used for the recommended time after cleansing and before serums; small studies suggest red light may modestly improve fine lines with regular use over several weeks. Neither replaces the basic steps, and neither is needed to get a good result.
- Clean your gua sha with soap and water after every use.
- Use an LED mask only for the time the maker recommends, with eyes closed or protected.
- Check with a doctor before LED if you take medicines that make you sensitive to light.
- Skip both on nights your skin feels irritated after exfoliating.
If you want a more detailed look at technique, massage the jaw, cheeks and forehead in that order, finishing with strokes down the neck to help move fluid away from the face.
How Often to Do It, Plus Dos and Don’ts
Once a week suits most people. Dry or sensitive skin may do better every ten to fourteen days, while oily, resilient skin can manage a mask twice a week but should still exfoliate only once.
Try This
- Patch test new products first
- Exfoliate gently and briefly
- Apply serum before facial oil
- Do your facial in the evening
- Use sunscreen the next day
Avoid This
- Use lemon, baking soda or cinnamon
- Combine strong acids with a retinoid the same night
- Steam over boiling water
- Scrub hard or pick at the skin
- Do a full facial every day
Honest Limits
An at-home facial improves how skin looks and feels for a few days: brighter, softer and better hydrated. It does not rebuild collagen, lift sagging skin or remove deep wrinkles, and DIY masks cannot match the strength of professional peels.
The steps that change ageing skin over months and years are daily sunscreen, a retinoid and a consistent moisturiser. Treat your weekly facial as a boost on top of that routine, not a replacement for it. Be wary of any home product or DIY recipe that promises facelift-style results; skin simply does not change that quickly from a single treatment.
When to See a Dermatologist
- Your skin burns, blisters or stays red after exfoliating.
- You have melasma, rosacea or eczema and want to try acids.
- You want stronger results such as professional peels or microneedling.
- You notice a new or changing spot on your face.
This article is for general information and does not replace professional medical advice. See a board-certified dermatologist for skin conditions, reactions to products or before trying strong acids at home.
Frequently Asked Questions
How do I do an anti-aging facial at home?
Cleanse, exfoliate gently, mask, massage, then apply serum and oil.
How often should I do an at-home facial?
About once a week for most skin types.
What is the best DIY anti-aging mask?
Plain yoghurt and honey is gentle and hydrating.
Is lemon juice good for ageing skin?
No, it can burn and cause dark patches.
Do collagen sheet masks work?
They hydrate and plump temporarily but do not add collagen.
Should serum go before or after facial oil?
Serum first, then oil.
Can I use a retinoid after an at-home facial?
Skip it that night if you exfoliated.
Is steaming good for anti-aging?
A warm compress is safer than steaming.
Do I need an LED mask?
No, it is an optional extra.
Can I do a facial in the morning?
Evening is better, especially after acids.
The Bottom Line
To do an anti-aging facial at home, cleanse, exfoliate gently, apply a hydrating mask, massage lightly, then press in a serum and seal it with facial oil or moisturiser.
Keep it weekly, keep it gentle, skip harsh kitchen ingredients and wear sunscreen the next day, and rely on your daily routine for the long-term anti-aging results.

Written by
Registered pharmacist and founder of Facial Adviser. Rakib's pharmacy training covers how skincare actives work and interact; a later course in cosmetology turned that into a focus on facial treatments and skincare products. He plans, researches and edits every guide on the site and checks health claims against sources such as the American Academy of Dermatology, the FDA and the NIH. He is not a dermatologist; see the Editorial Policy and Medical Disclaimer.
About · Editorial policy · How we choose products · Medical disclaimer · Contact
Keep reading: Anti-aging facials and treatments
- What Is the Best Anti-Aging Facial Treatment? Options Compared by Goal
- Best Treatment for Facial Wrinkles: At-Home Creams vs In-Office Options
- 10 Best Facial Products for Aging Skin (2026): Serums, SPF and Creams
- Best Facial Procedures for Aging Skin: Botox, Fillers, Lasers and Peels
- Best Facial for Wrinkles: Professional Treatments vs At-Home Options
- Sagging Jowls in Your 30s: Causes and Options That Work
- Microneedling Facial: Real Results, Explained
- Is Hydrafacial a Gimmick? What Evidence Shows