Basic Steps of a Facial: The Professional Order and an At-Home Version
A facial can feel like a mysterious sequence of creams, steam and massage, but every good one follows a logical order. Each step prepares the skin for the next, so understanding the sequence helps you know what to expect in a salon and how to copy the basics safely at home.
Part of our guide to facials: what to expect. Start with: How Often Should You Get a Professional Facial? A Guide by Skin Type and Goal
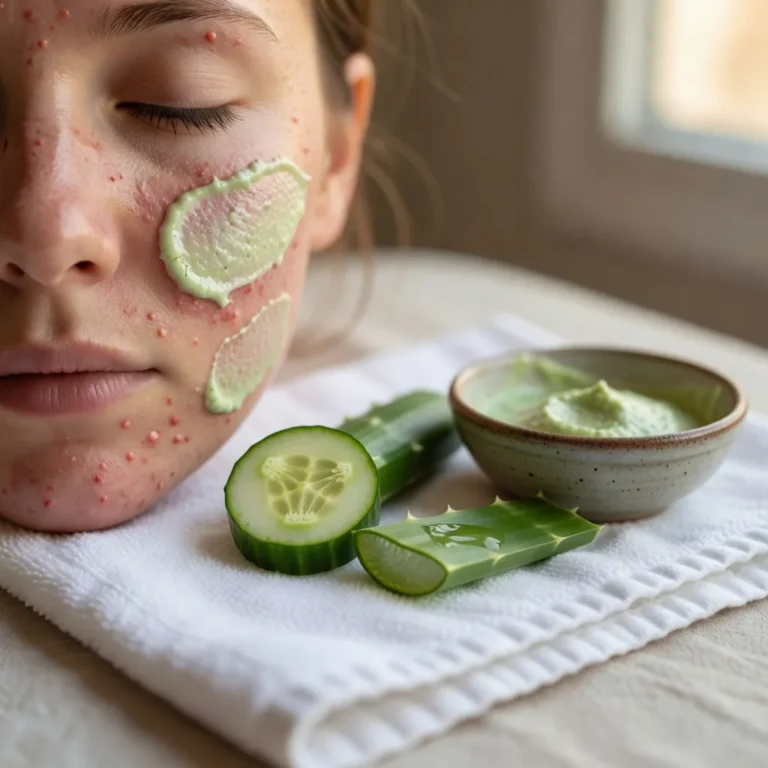
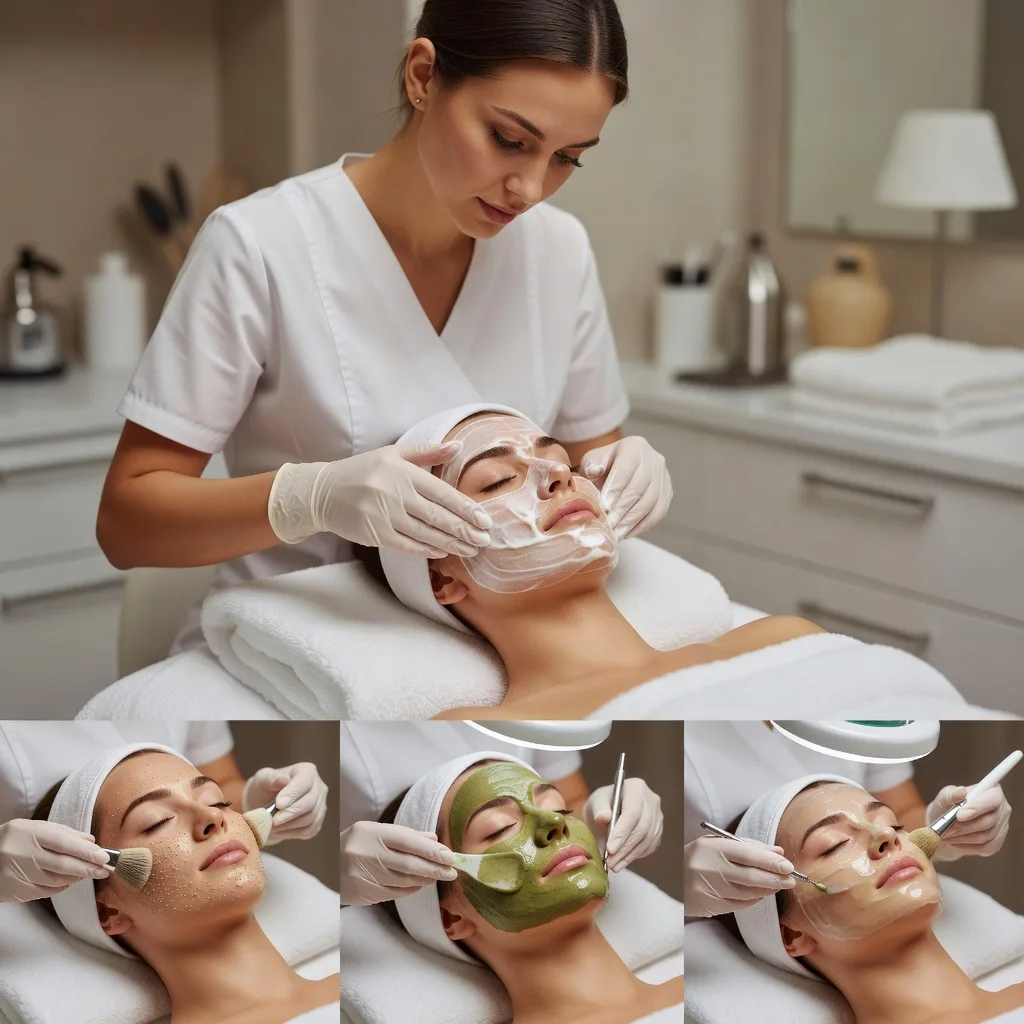
The basic steps of a facial are consultation, cleansing, skin analysis, exfoliation, steaming, extractions, a treatment mask, facial massage, serum and moisturiser, and finally sunscreen during the day. A professional facial usually starts with questions about your skin and routine, then a double cleanse, a close look at the skin under a magnifying lamp, and exfoliation to lift dead cells. Steam softens the skin before any extractions, a mask targets your main concern, massage relaxes the face, and serums, moisturiser and SPF protect the result. At home you can follow the same order, but skip extractions and keep exfoliation gentle.
In short: cleanse, exfoliate, soften, treat, soothe and protect, in that order.
The American Academy of Dermatology advises gentle exfoliation suited to your skin type and warns that scrubbing too hard or too often can damage skin, which is why the exfoliation step in any facial should be mild and brief.
This guide explains each professional step, what it does and how long it takes, then gives a simple at-home version with the products you actually need, plus tips for adapting each step to your skin type.
Buying for a salon, spa or clinic?
A free Amazon Business account gives you business-only pricing on eligible items, multi-user buying and tax-exemption tools.
Create a free Business accountAffiliate link: we may earn a commission at no extra cost to you.
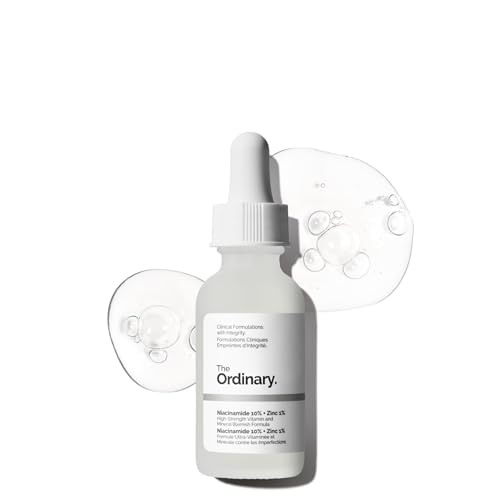
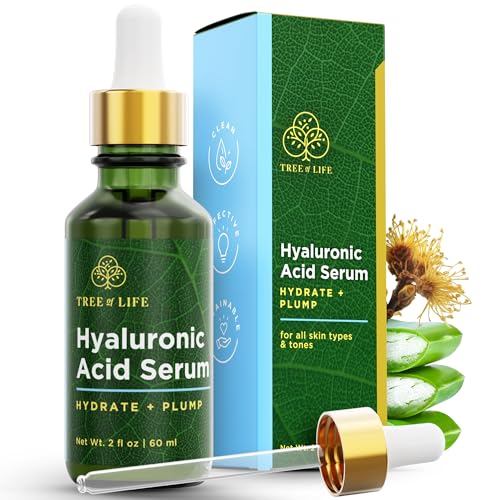
Recommended At-Home Facial Kit Essentials on Amazon




On This Page
- The 10 Basic Steps of a Professional Facial
- Steps 1 to 3: Consultation, Cleansing and Skin Analysis
- Steps 4 and 5: Exfoliation and Steaming
- Step 6: Extractions
- Steps 7 and 8: Mask and Massage
- Steps 9 and 10: Serum, Moisturiser and SPF
- How to Do a Basic Facial at Home
- Adapting the Facial Steps to Your Skin Type
- Professional vs At-Home Facial: Key Differences
- Dos and Don’ts for Facials
- Honest Limits of Facials
- When to See a Dermatologist
- Frequently Asked Questions
- Summing Up
What to Know First
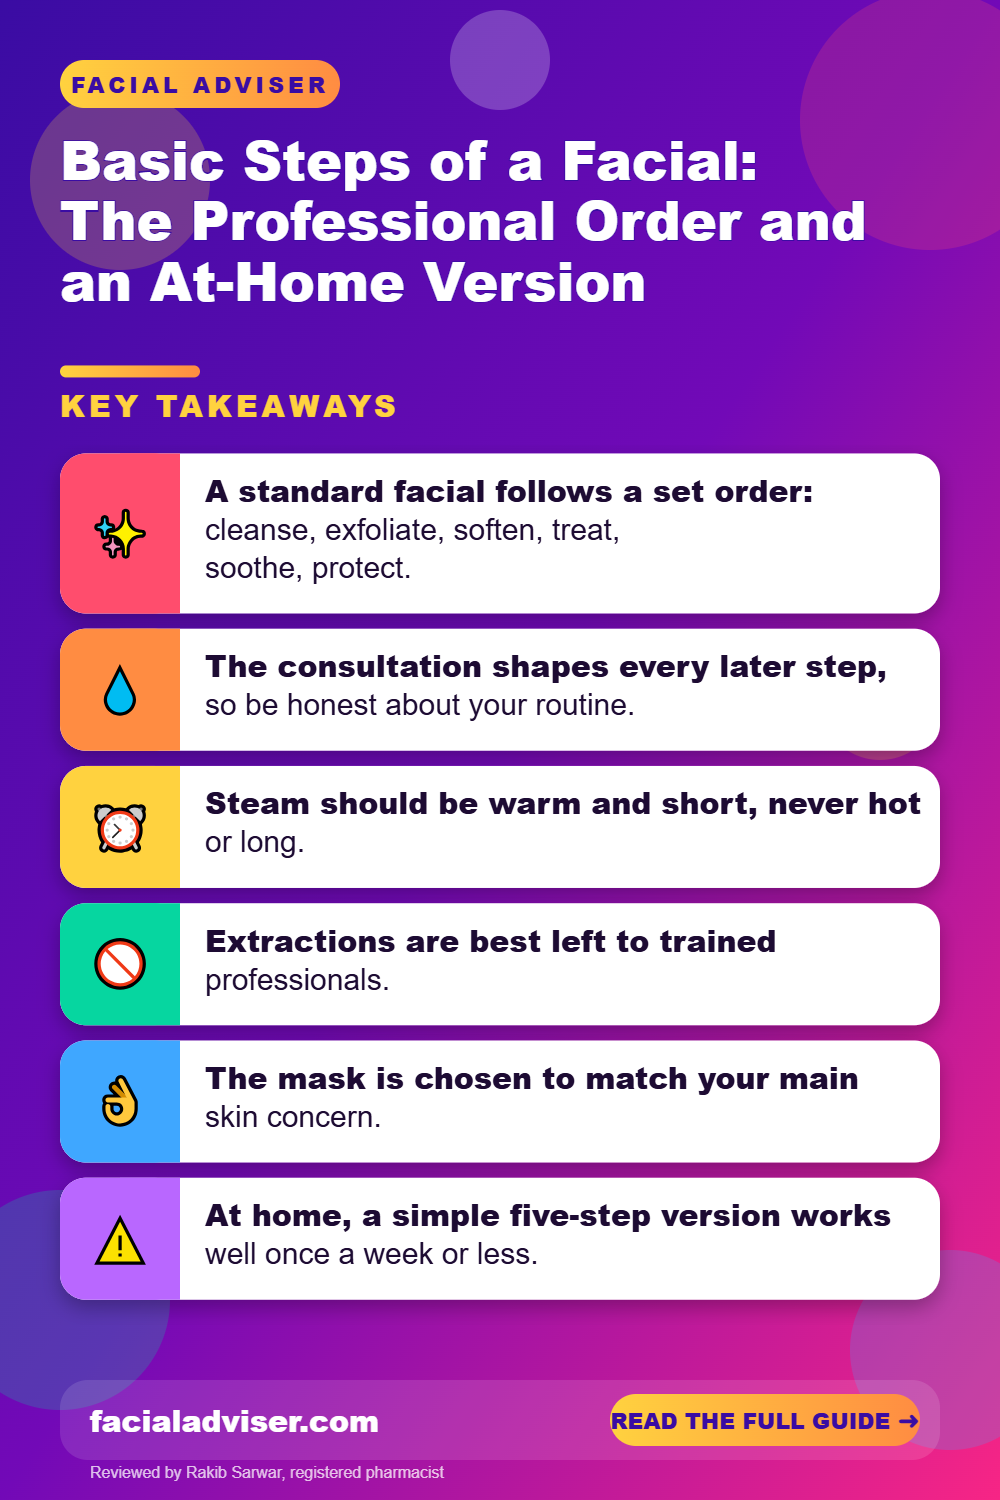
- A standard facial follows a set order: cleanse, exfoliate, soften, treat, soothe, protect.
- The consultation shapes every later step, so be honest about your routine.
- Steam should be warm and short, never hot or long.
- Extractions are best left to trained professionals.
- The mask is chosen to match your main skin concern.
- At home, a simple five-step version works well once a week or less.
- Finish with sunscreen if your facial is during the day.
The 10 Basic Steps of a Professional Facial
Most salon facials last 45 to 90 minutes. The exact products vary, but the order below is used almost everywhere because each step makes the next one work better.
| Step | What happens | Why it matters | Typical time |
|---|---|---|---|
| 1. Consultation | Questions about skin, routine, allergies and goals | Tailors the treatment and avoids reactions | 5 minutes |
| 2. Cleansing | Makeup removal and a double cleanse | Clears oil, SPF and dirt | 5 minutes |
| 3. Skin analysis | Close look under a magnifying lamp | Identifies skin type and concerns | 2 to 5 minutes |
| 4. Exfoliation | Enzyme, acid or gentle scrub | Lifts dead cells for smoother skin | 5 minutes |
| 5. Steaming | Warm steam or hot towels | Softens skin and pores | 5 to 10 minutes |
| 6. Extractions | Clearing blackheads and congestion | Reduces visible clogged pores | 5 to 15 minutes |
| 7. Mask | Clay, hydrating or calming mask | Targets the main concern | 10 to 15 minutes |
| 8. Massage | Face, neck and shoulder massage | Relaxation and short-term glow | 5 to 15 minutes |
| 9. Serum and moisturiser | Targeted serum then cream | Hydrates and supports the barrier | 2 minutes |
| 10. SPF | Broad-spectrum sunscreen | Protects freshly treated skin | 1 minute |
Some facials add extras, such as LED light, high-frequency or peel boosters, but these slot in around the same core sequence rather than replacing it. A shorter express facial may drop steaming, extractions or massage, while a longer treatment spends more time on the mask and massage.
Steps 1 to 3: Consultation, Cleansing and Skin Analysis
The consultation is the step people rush, but it matters most for safety. A good therapist asks about your current products, especially retinoids, acids and acne medicines, any allergies, recent waxing or treatments, and what you want to improve.
Cleansing is usually done twice. The first cleanse, often an oil or balm, dissolves makeup and sunscreen; the second, a gentle gel or cream cleanser, cleans the skin itself. Then the therapist examines your skin under a magnifying lamp, looking at oiliness, dryness, congestion, sensitivity and pigmentation to choose the right exfoliant and mask.
Tell your therapist if you use prescription retinoids, isotretinoin or strong acids. These make skin more fragile, and exfoliation, waxing or extractions may need to be skipped or softened.
Our guide on how to prepare for a facial covers what to stop using beforehand and what to tell your therapist.
Steps 4 and 5: Exfoliation and Steaming
Exfoliation removes the build-up of dead cells so the skin looks brighter and later products absorb better. Professionals choose between three main types depending on your skin.
- Enzyme exfoliants: fruit enzymes that gently dissolve dead cells; good for sensitive skin.
- Chemical exfoliants: acids such as lactic, glycolic or salicylic acid; tailored to skin type.
- Physical exfoliants: fine scrubs or brushes; used lightly, and avoided on inflamed or acne-prone skin.
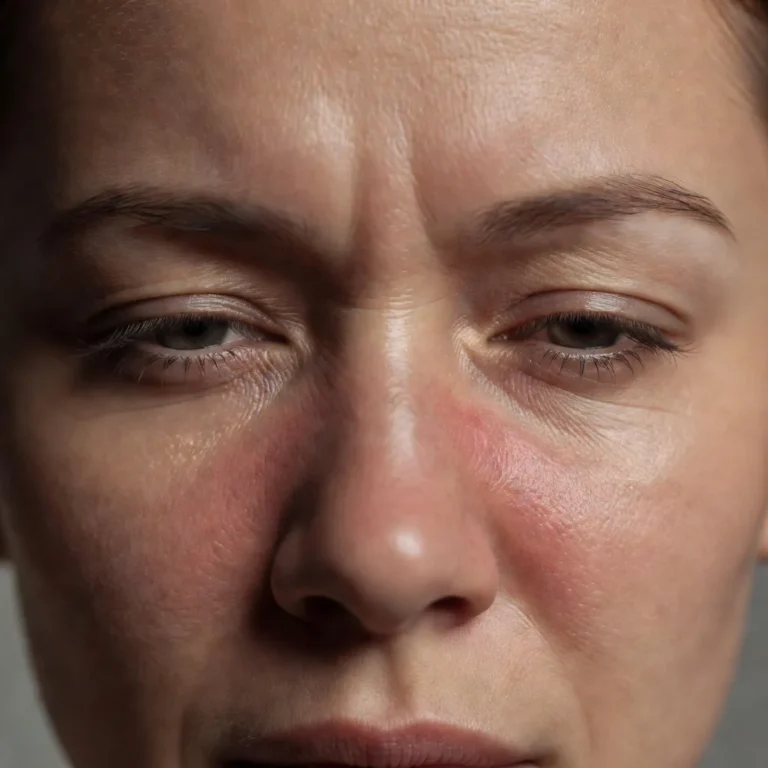
Steam comes next. Warm, moist air softens the outer layer of skin and loosens the contents of clogged pores, which makes extractions easier and more comfortable. It does not open pores like doors, despite the common myth, and too much heat can trigger redness in sensitive or rosacea-prone skin. Our article on whether steaming is good for your skin explains who should skip it.
Step 6: Extractions
Extractions clear blackheads and some whiteheads by applying controlled pressure with gloved fingers wrapped in tissue or with a sterile extraction tool. A trained therapist knows which spots are ready, how much pressure is safe and when to stop.
Not every facial includes extractions. Deep, painful spots, cysts and inflamed pimples should not be squeezed at all, as pressure can push bacteria deeper and lead to scarring. Mild redness after extractions is normal and usually settles within a few hours.
Do not do extractions at home with fingers, pins or metal tools. Squeezing spots can cause infection, dark marks and scarring. The AAD’s acne skin care tips advise against popping, picking or squeezing acne. See a dermatologist or trained aesthetician for congestion that will not clear.
Steps 7 and 8: Mask and Massage
The mask is where the facial is tailored to you. After exfoliation and extractions, the skin is clean and ready to take in a treatment matched to the main concern found during analysis.
| Skin concern | Typical mask | What it does |
|---|---|---|
| Oily or congested | Clay or charcoal | Absorbs excess oil and calms shine |
| Dry or dehydrated | Cream or gel with humectants | Adds moisture and plumps |
| Sensitive or red | Calming mask with soothing ingredients | Reduces redness and discomfort |
| Dull | Gentle brightening mask | Improves radiance |
| After extractions | Cooling or calming mask | Settles redness |
While the mask works, or just after it is removed, most therapists give a face, neck and shoulder massage. Massage feels relaxing and boosts circulation for a short time, giving a temporary glow, but its effects on skin structure are small.
Steps 9 and 10: Serum, Moisturiser and SPF
The final steps lock in the benefits. A serum chosen for your skin, such as a hydrating or soothing formula, is pressed in first, followed by a moisturiser to support the skin barrier.
During the day, a broad-spectrum sunscreen is essential, because freshly exfoliated skin burns more easily. Plan your facial so you can avoid long sun exposure for a day or two afterwards, and avoid heavy makeup, saunas and strong actives for about 24 to 48 hours. Our guide on what not to do after a facial lists the main things to avoid.
How to Do a Basic Facial at Home
An at-home facial follows the same logic but in a gentler, shorter form. Once a week is plenty for most people, and sensitive skin may prefer every two weeks.
Cleanse twice
Remove makeup with a cleansing oil or balm, then wash with a gentle cleanser and pat dry.
Exfoliate gently
Use a mild enzyme or lactic acid exfoliant for the time on the label; skip it if your skin is irritated.
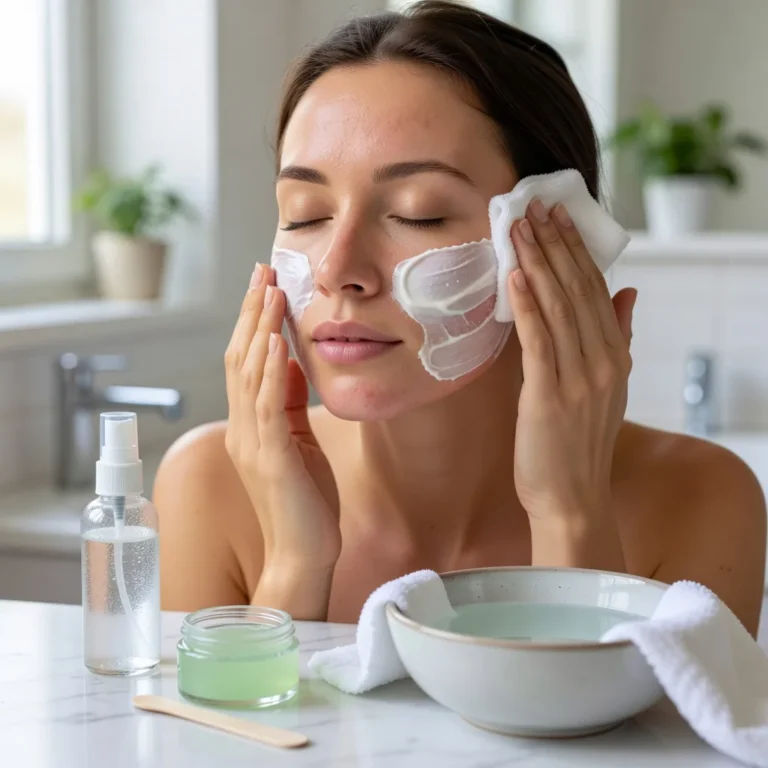
Soften with warm steam or a towel
Hold a warm, damp towel over your face or lean over a bowl of warm water for up to five minutes, keeping a safe distance.
Apply a mask
Use a clay mask for oily areas and a hydrating mask for dry areas, then rinse with lukewarm water.
Massage lightly
Using a few drops of oil or moisturiser, massage upwards and outwards for two to three minutes.
Apply serum and moisturiser
Press in a hydrating serum, then seal with moisturiser.
Protect in the morning
If you do your facial in the daytime, finish with broad-spectrum SPF 30 or higher.
Do your at-home facial in the evening. It gives your skin the night to settle, avoids sun exposure straight after exfoliation and makes it easy to skip makeup until the next day.
Adapting the Facial Steps to Your Skin Type
The order stays the same for everyone, but the products and intensity at each step should change with your skin. Adjusting them is what separates a helpful facial from one that leaves you red or congested.
- Oily or acne-prone skin: a gel cleanser, a salicylic or lactic exfoliant, a clay mask and a light, non-comedogenic moisturiser.
- Dry skin: a cream cleanser, an enzyme or low-strength lactic exfoliant, a hydrating mask and a richer moisturiser.
- Combination skin: multi-mask with clay on the T-zone and a hydrating mask on the cheeks.
- Sensitive or rosacea-prone skin: skip steam and scrubs, use a very gentle enzyme exfoliant or none, and choose a calming mask.
- Mature skin: gentle exfoliation, a hydrating mask and a longer massage for relaxation and glow.
If you are unsure of your skin type, watch how your face feels an hour after washing with a gentle cleanser and applying nothing else. Tight and flaky suggests dry skin, shiny all over suggests oily skin, and shine only on the forehead, nose and chin suggests combination skin. When in doubt, choose the gentler option at every step.
Professional vs At-Home Facial: Key Differences
A home facial is a useful routine, but it is not a copy of a salon treatment. These are the main differences to keep in mind.
- Professionals can assess your skin up close and adjust products in real time.
- Salon exfoliants and peels are often stronger and used under supervision.
- Extractions are only safe in trained hands.
- Professional massage is longer and more skilled.
- At home, you control cost and frequency and can keep things very gentle.
For most people, a monthly or occasional professional facial combined with a simple weekly home version is a sensible balance.
Dos and Don’ts for Facials
Helps
- Follow the cleanse, treat, protect order
- Patch test new masks and exfoliants
- Keep steam warm and brief
- Tell your therapist about all your products
- Wear sunscreen afterwards
Backfires
- Squeeze spots at home
- Exfoliate more than once in the same facial
- Use hot steam on rosacea or broken skin
- Book a facial right before a big event
- Apply retinoids or strong acids the same night
Honest Limits of Facials
A facial can leave skin cleaner, softer and brighter for a few days, and regular gentle exfoliation helps texture over time. It will not cure acne, erase deep wrinkles, remove scars or permanently shrink pores. Some people also break out for a few days after a facial, especially after extractions or rich products.
The AAD’s guide on how to safely exfoliate at home is a good reminder that more is not better. For lasting change, a consistent daily routine with a gentle cleanser, moisturiser and sunscreen matters far more than any single treatment.
When to See a Dermatologist
- You have painful, deep or cystic acne.
- Your skin burns, blisters or stays red for days after a facial.
- You have rosacea, eczema or very sensitive skin and want to try treatments.
- You notice a changing mole or a sore that will not heal.
This article is for general information and does not replace professional medical advice. See a board-certified dermatologist for skin conditions, persistent reactions or before strong treatments.
Frequently Asked Questions
What are the basic steps of a facial?
Consultation, cleansing, analysis, exfoliation, steam, extractions, mask, massage, serum and SPF.
What is the correct order of a facial at home?
Cleanse, exfoliate, steam, mask, massage, serum and moisturiser.
How long does a professional facial take?
Usually 45 to 90 minutes.
Is steaming necessary in a facial?
No, it is optional and best skipped for sensitive skin.
Should I do extractions at home?
No, leave extractions to trained professionals.
How often should I do a facial at home?
Once a week or less.
Do facials include massage?
Most professional facials do.
Can I wear makeup after a facial?
It is best to wait until the next day.
Is it normal to break out after a facial?
Mild breakouts for a few days can happen.
Do I need sunscreen after a facial?
Yes, exfoliated skin burns more easily.
Summing Up
The basic steps of a facial follow a clear order: consult, cleanse, analyse, exfoliate, steam, extract, mask, massage, then serum, moisturiser and SPF.
At home, keep the same order but make it gentler, skip extractions and finish with sunscreen, and see a professional or dermatologist for anything more intensive.

Written by
Registered pharmacist and founder of Facial Adviser. Rakib's pharmacy training covers how skincare actives work and interact; a later course in cosmetology turned that into a focus on facial treatments and skincare products. He plans, researches and edits every guide on the site and checks health claims against sources such as the American Academy of Dermatology, the FDA and the NIH. He is not a dermatologist; see the Editorial Policy and Medical Disclaimer.
About · Editorial policy · How we choose products · Medical disclaimer · Contact
Keep reading: Facials: what to expect