
How to Fix Broken Lipstick: Re-Set It, Melt It or Make a Lip Palette
A lipstick snapping off at the base is one of the most annoying makeup mishaps, especially with a favourite shade. The good news is that the colour itself is fine. Because lipstick is mostly wax and oil, it can be softened, re-joined or re-set with a little care.
Part of our guide to makeup how-to. Start with: How to Choose Lipstick Shade: Undertone, Skin Tone and Testing Tips
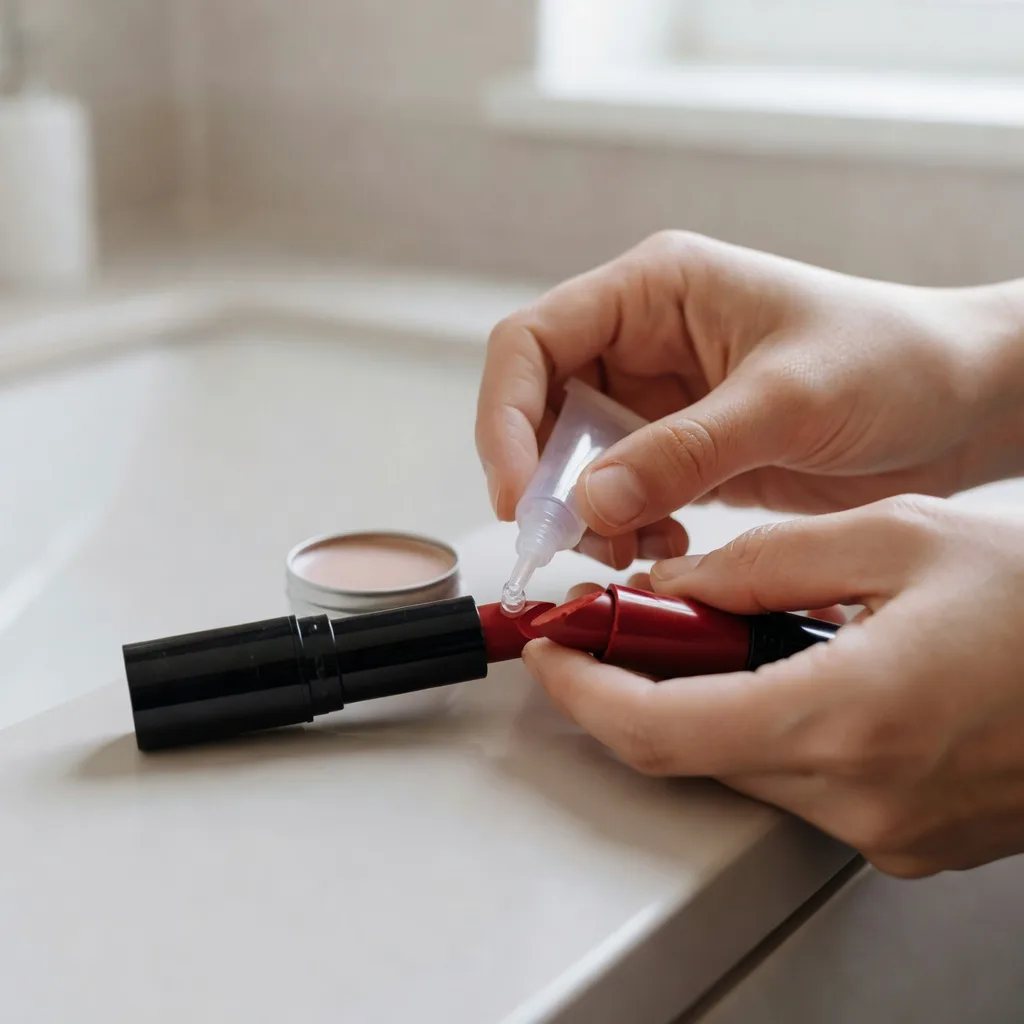
To fix broken lipstick, gently warm the broken ends until they just start to soften, press the top piece back onto the base in the tube, smooth the seam with a clean tool and put the lipstick in the freezer for 15 to 30 minutes to harden. If the piece is crumbled or too damaged to re-join, scrape it into a small heat-safe dish, melt it in short bursts or over warm water, then pour it into a clean empty lipstick tube or a small lip palette and let it set in the fridge or freezer. A palette is the easiest option, since you simply apply the colour with a lip brush.
In short: warm, press and chill for a clean break; melt and re-set for a messy one.
Lipstick is made only with ingredients approved for use on the lips, and the US Food and Drug Administration monitors lip products for contaminants, so repair it with clean tools and containers and never mix in non-cosmetic colours.
This guide covers three methods, the freezer trick, how to use a lip brush with a repaired shade, and how to stop lipstick breaking again.
Shopping these picks?
Amazon Prime members get fast, free shipping on eligible items, plus Prime Video, Amazon Music and member deals. New members can start with a free trial.
Start a free Prime trialAged 18 to 24? Prime for Young Adults comes with a longer free trial and a lower price after it.
Affiliate link: we may earn a commission at no extra cost to you.
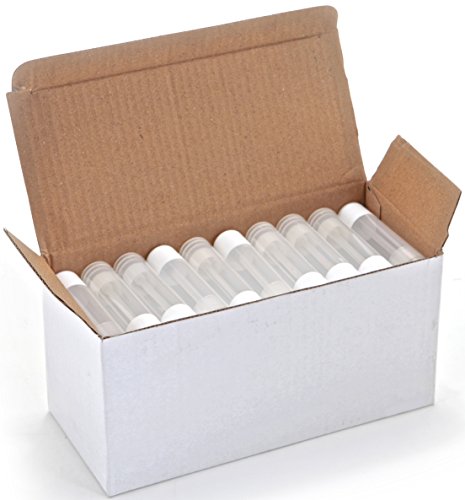
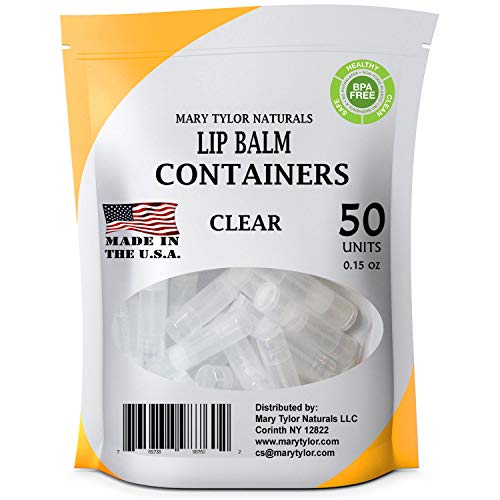
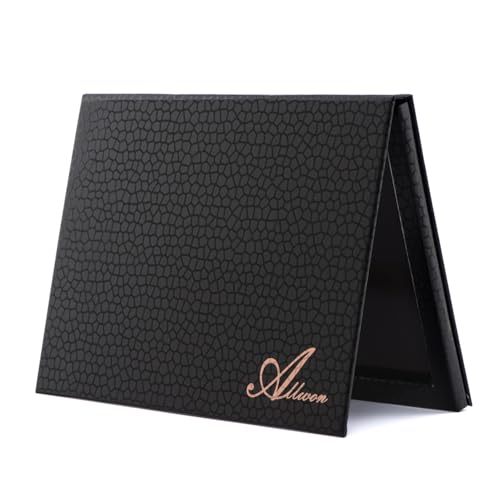
Recommended Lipstick Repair Supplies




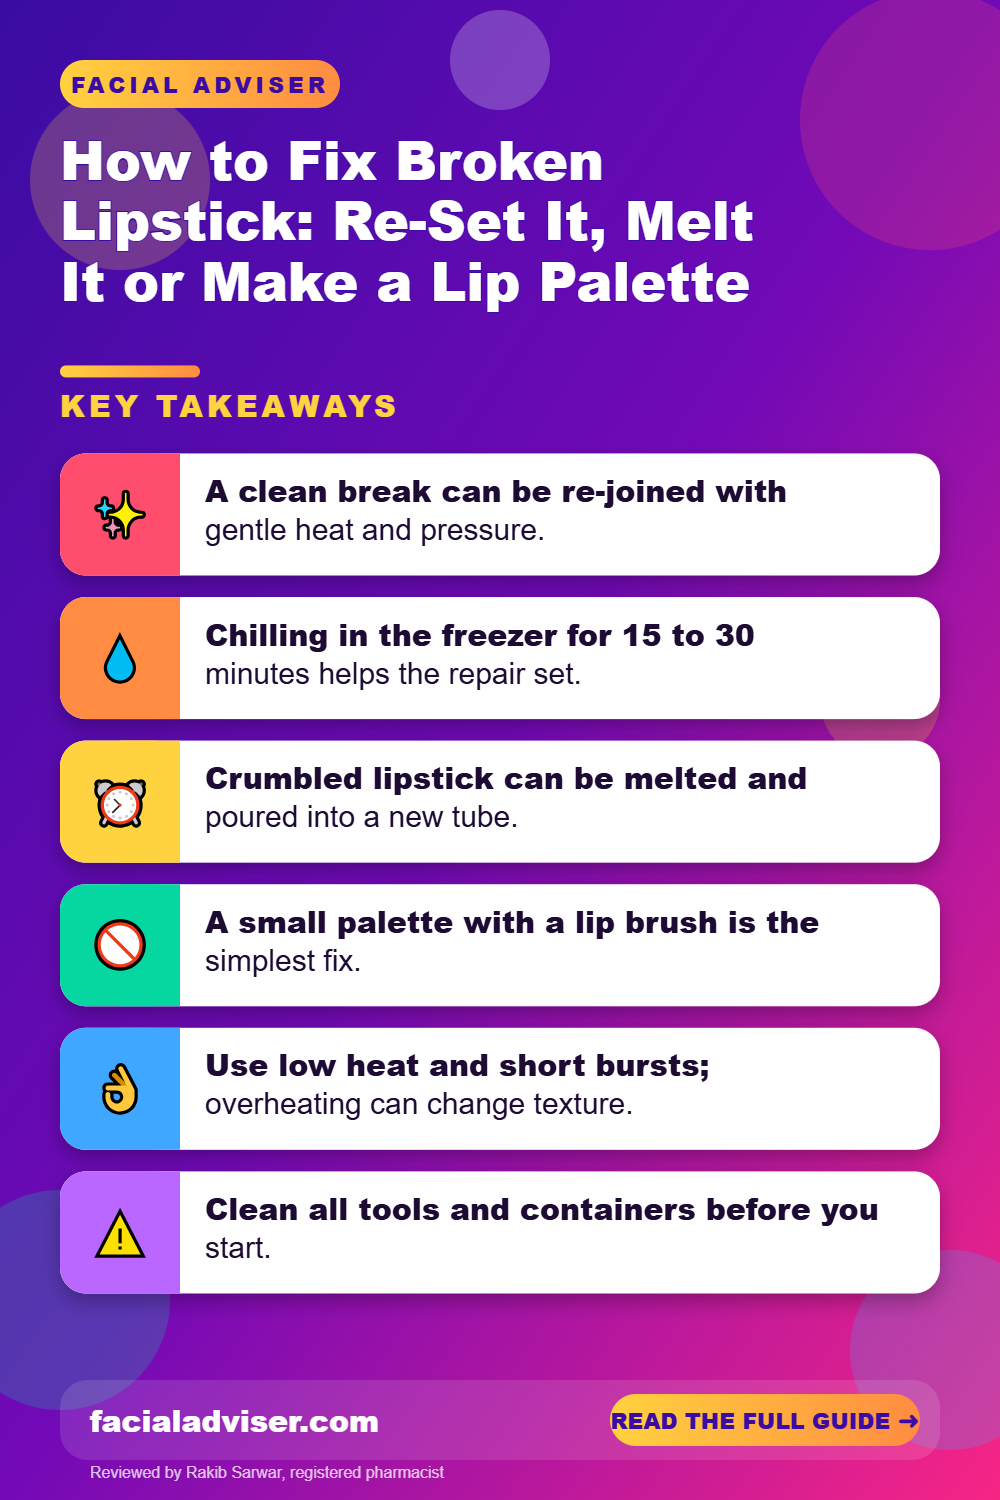
Key Takeaways
- A clean break can be re-joined with gentle heat and pressure.
- Chilling in the freezer for 15 to 30 minutes helps the repair set.
- Crumbled lipstick can be melted and poured into a new tube.
- A small palette with a lip brush is the simplest fix.
- Use low heat and short bursts; overheating can change texture.
- Clean all tools and containers before you start.
- Heat, twisting too far and pressing too hard cause most breaks.
Contents
- Why Lipstick Breaks
- Which Fix Should You Choose?
- Before You Start: Clean Tools and Workspace
- How to Fix Broken Lipstick by Re-Joining the Pieces
- How to Melt and Re-Set Lipstick in a New Tube
- Making a Lip Palette From Broken Lipstick
- How to Apply Lipstick With a Lip Brush
- Troubleshooting Common Repair Problems
- How to Stop Lipstick Breaking Again
- Dos and Don’ts
- Honest Limits
- When to See a Dermatologist
- Your Questions, Answered
- Final Word
Why Lipstick Breaks
Lipstick is a solid made of waxes, oils and pigments. It is firm enough to hold a shape but soft enough to glide at body temperature, which also makes it fragile at the base where it sits in the cup.
- Heat: a warm car, bag or sunny windowsill softens the wax so the bullet bends and snaps.
- Twisting up too far: the unsupported part of the bullet is more likely to break when you press.
- Pressure: pressing hard, especially on a new, sharp tip.
- Cold shock: very cold lipstick can become brittle and crack.
- Soft formulas: creamy and moisturising lipsticks with more oil break more easily than firmer ones.
- Dropping: even a short fall can snap the bullet at the base.
Knowing the cause helps you choose the fix. A clean break from over-twisting is easy to re-join, while a lipstick that has melted and warped is often better re-set in a palette. Our guide on what lipstick is made of explains how the wax and oil balance affects firmness.
Which Fix Should You Choose?
There are three main ways to rescue a broken lipstick. The right one depends on how badly it has broken and how you like to apply colour.
| Method | Best for | Time | Difficulty | Result |
|---|---|---|---|---|
| Re-join and freeze | A clean break in one or two pieces | About 30 minutes | Easy | Looks close to the original bullet |
| Melt into a new tube | Crumbled, warped or several pieces | About 1 hour including setting | Moderate | New bullet, may be a slightly different shape |
| Lip palette or pot | Any damage, or several broken shades | About 30 to 60 minutes | Easy | Colour in a pan, applied with a lip brush |
| Use as is with a brush | Small broken pieces, quick use | Minutes | Very easy | Temporary, messy to store |
If you are not sure, start with re-joining. If it does not hold, you can still melt it into a palette later, so nothing is lost.
Before You Start: Clean Tools and Workspace
Repairing lipstick means handling the part that touches your lips, so hygiene matters as much as technique.
- Wash your hands and work on a clean surface or paper towel.
- Clean any knife, spatula or cotton bud you will use.
- Wipe the tube, cup and cap with 70% isopropyl alcohol and let them dry.
- Use a new or thoroughly cleaned empty tube or container.
- Keep water away from the lipstick; it does not mix and can encourage spoilage.
If the lipstick fell on the floor or has been shared, sanitise it first. Our guide on how to sanitize lipstick explains the alcohol method step by step. Do not add crayons, craft pigments or food colouring to change the shade; lip products are made with colours approved for the lips, and the FDA page on lead in cosmetics shows how closely lip products are monitored for contaminants.
How to Fix Broken Lipstick by Re-Joining the Pieces
This quick method works best when the lipstick has snapped cleanly and the base is still in the tube.
Twist the base up slightly
Raise the stub a little so there is a flat surface to attach to.
Warm the ends
Hold the broken end of the top piece and the stub near a hairdryer on a low setting, or pass them very briefly near a low flame, just until the surfaces look glossy.
Press together
Line up the top piece and press it gently but firmly onto the base.
Smooth the seam
Use a clean toothpick or spatula to smooth softened lipstick over the join.
Freeze to set
Stand the tube upright in the freezer for 15 to 30 minutes, uncapped.
Let it return to room temperature
Leave it out for a few minutes before use so it does not crack.
Test gently
Twist up only a little and apply with light pressure for the first few uses.
If the base stub is loose in the cup, warm the cup area slightly with a hairdryer and press the stub down so it grips again before you re-join the top piece.
How to Melt and Re-Set Lipstick in a New Tube
For crumbled, warped or multi-piece lipstick, melting gives you a smooth, even product again. Work slowly, since overheating can separate the oils or change the texture.
- Scrape all the lipstick into a small, clean, heat-safe dish or spoon.
- Melt it gently, either over a bowl of hot water or in the microwave in bursts of 5 to 10 seconds, stirring between each.
- Stop as soon as it is fully liquid; do not let it bubble or smoke.
- Pour into a clean empty lipstick tube or lip balm tube held upright, filling slowly to avoid air bubbles.
- Let it cool at room temperature for a few minutes, then chill in the fridge or freezer until firm.
- Trim any uneven top with a clean blade before first use.
Melted lipstick is hot enough to burn skin, and waxes and oils can catch fire if overheated. Never leave melting lipstick unattended, keep open flames away from hair and flammable items, and let it cool before touching it or applying it to your lips.
Making a Lip Palette From Broken Lipstick
A lip palette is often the neatest long-term solution, especially if you have several broken or nearly finished lipsticks. It also lets you mix shades to create your own colours.
- Use a small, clean, lidded container, empty pan palette or travel pot.
- Press the broken pieces in with a clean spatula, or melt them first and pour them in.
- Level the surface and let it set in the fridge for 20 to 30 minutes.
- Label each pan with the shade name so you can find it again.
- Keep the lid closed and store the palette somewhere cool.
Palette colour loses some of the protection that a closed tube gives, so it may pick up dust or dry out a little faster. Keep the lid on, use a clean lip brush, and replace the palette if the smell or texture changes.
Mixing works well when the formulas are similar. Combining a matte with a very glossy lipstick may give a patchy, separated result, so try a small amount first.
How to Apply Lipstick With a Lip Brush
A lip brush is the key tool for palette and repaired lipsticks, and it also gives a more precise finish than applying straight from the bullet.
- Press the brush into the colour and swirl lightly to load it.
- Outline the lips starting at the cupid’s bow and the outer corners.
- Fill in from the edges towards the centre with small strokes.
- Blot with a tissue and apply a second thin layer for more colour.
- Clean the brush after use with a tissue, and wash it weekly with gentle soap.
Using a brush also helps colour last, since it pushes pigment into the lips in thin layers. Our guide on how to make lipstick last longer has more tips for long wear.
Troubleshooting Common Repair Problems
Home repairs do not always go perfectly the first time. Most problems have a simple cause and an easy fix.
| Problem | Likely cause | What to do |
|---|---|---|
| Top piece falls off again | Surfaces were not warm enough or it was used too soon | Re-warm both ends, press firmly and freeze for longer |
| Visible crack along the seam | Seam was not smoothed | Smooth softened lipstick over the join and chill again |
| Grainy or beaded texture after melting | Overheated or cooled too slowly | Re-melt gently and chill quickly in the freezer |
| Air bubbles or holes in the new bullet | Poured too fast | Pour slowly and tap the tube to release bubbles |
| Oily layer on top | Oils separated from overheating | Stir well while liquid and use lower heat next time |
| Palette colour feels hard | Firm formula or too cold | Warm the brush on the back of your hand before loading |
If a repair fails twice, a palette is usually the most reliable way to keep using the shade.
How to Stop Lipstick Breaking Again
A few simple habits keep lipsticks intact for longer.
- Twist up only a few millimetres at a time.
- Apply with light pressure, especially on a new bullet.
- Keep lipstick out of hot cars, direct sun and bathroom steam.
- Carry lipstick in an inside pocket of your bag, not an outside one in the sun.
- Store bullets upright with the cap on.
- Let chilled lipstick warm up briefly before using it.
Storing lipstick in a cool, stable place makes the biggest difference. Keeping makeup in a very cold fridge is not necessary for most products, and extreme temperature swings can make lipstick sweat or crack.
Dos and Don’ts
Worth Doing
- Clean tools and containers first
- Use low heat and short bursts
- Chill the repair to set it
- Use a lip brush for palette colour
- Store lipstick away from heat
Skip It
- Leave melting lipstick unattended
- Add water, crayons or non-cosmetic colours
- Overheat until it bubbles or smokes
- Apply lipstick while it is still hot
- Twist the bullet up too far
Honest Limits
Not every broken lipstick can be made to look new. Re-joined bullets often keep a slightly weaker seam and may break again at the same point. Melting and re-setting can change the texture a little, especially for long-wear or very creamy formulas, and some shimmer or finish effects may look different.
Repairs also do not extend a lipstick’s life. If it already smells off, has visible spots or was used during a cold sore, fixing it is not worth it, and replacing it is the better choice. Liquid lipsticks and glosses cannot be repaired this way at all.
When to See a Dermatologist
- Your lips itch, peel or swell after using a repaired or old lipstick.
- You notice burns or blisters on your fingers or lips from hot wax that do not heal quickly.
- Lip dryness or cracking continues whatever product you use.
This article is for general information. Handle melted wax with care, patch test old or repaired products if you have sensitive lips, and see a doctor or board-certified dermatologist for burns or skin reactions.
Your Questions, Answered
How do you fix a broken lipstick?
Warm the ends, press them together and freeze for 15 to 30 minutes.
Can you melt lipstick and put it back in the tube?
Yes, melt it gently and pour it into a clean empty tube.
How long should lipstick stay in the freezer?
About 15 to 30 minutes is usually enough.
Can I use a lighter to fix lipstick?
Yes, very briefly and carefully, but a hairdryer is safer.
Can you microwave lipstick?
Yes, in short 5 to 10 second bursts in a heat-safe dish.
What can I put broken lipstick in?
An empty lipstick tube, lip balm tube or small lidded pot.
Is it safe to use broken lipstick?
Yes, if it is clean, not expired and was not used during an infection.
Can I mix broken lipsticks together?
Yes, similar formulas mix well into a custom shade.
Why does my lipstick keep breaking?
Heat, twisting too far and pressing too hard are common causes.
Does freezing lipstick ruin it?
Brief freezing is fine; let it warm up a little before use.
Final Word
To fix broken lipstick, warm the broken ends, press them back together and chill the tube in the freezer; for crumbled lipstick, melt it gently and re-set it in a clean tube or a small palette.
Work with clean tools, use low heat, apply palette colour with a lip brush, and store lipstick away from heat so they are less likely to break again.

Written by
Registered pharmacist and founder of Facial Adviser. Rakib's pharmacy training covers how skincare actives work and interact; a later course in cosmetology turned that into a focus on facial treatments and skincare products. He plans, researches and edits every guide on the site and checks health claims against sources such as the American Academy of Dermatology, the FDA and the NIH. He is not a dermatologist; see the Editorial Policy and Medical Disclaimer.
About · Editorial policy · How we choose products · Medical disclaimer · Contact
Keep reading: Lipstick
- When Can You Wear Lipstick After Lip Blushing? Healing Timeline and Aftercare
- How to Choose Lipstick Shade: Undertone, Skin Tone and Testing Tips
- How to Keep Lipstick Off Teeth: Finger Trick, Blotting, Liner and More
- Best Lip Plumping Device: Suction Plumpers, Glosses and Honest Limits
- How to Make Lipstick Last Longer Chemically: Formulas, Stains and Setting
- Best Way to Use Makeup Remover: Micellar Water, Balms, Oils and Eye Removers
- How to Properly Put On Face Makeup: The Right Order, Step by Step
One Comment