How to Keep Lipstick Off Teeth: Finger Trick, Blotting, Liner and More
Few makeup moments are as awkward as smiling in a photo and spotting a streak of colour on your front teeth. It happens to beginners and professionals alike, and it has less to do with the shade you choose than with where the product sits on your lips.
Part of our guide to makeup how-to. Start with: How to Choose Lipstick Shade: Undertone, Skin Tone and Testing Tips
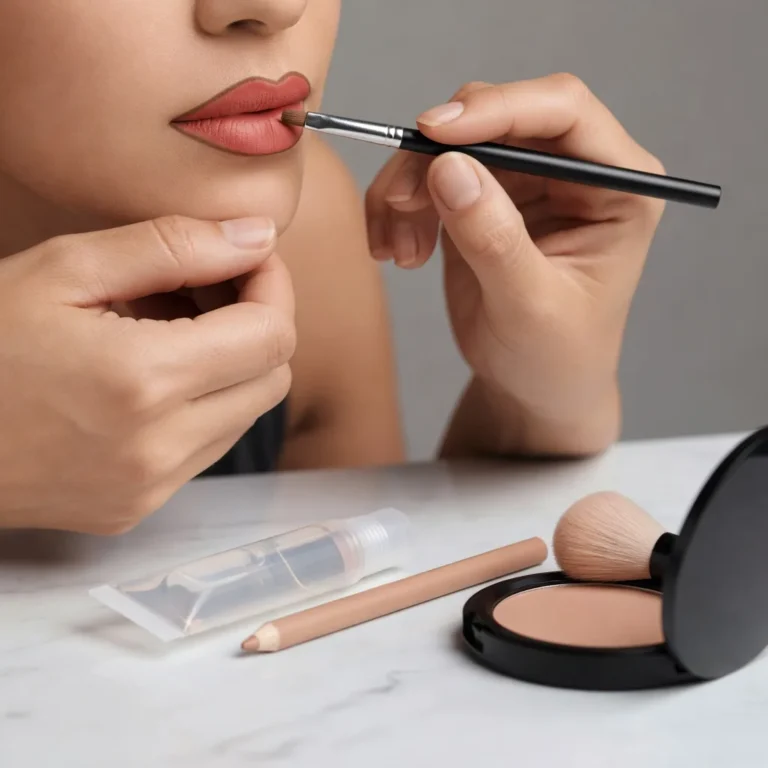
To keep lipstick off your teeth, stop colour from building up on the inner edge of your lips, which is the part your teeth touch. After applying, put a clean finger in your mouth, close your lips around it and slowly pull it out; the excess comes off on your finger instead of your teeth. Blot with a tissue to remove the slippery top layer, line and fill your lips first so the colour grips, and keep product away from the wet inner rim. Matte and long-wear formulas transfer least because they set dry, while glossy, creamy textures move most. Check your teeth once before leaving and after eating.
In short: remove excess from the inner lip, blot, use liner as a base and choose formulas that set.
Lip products sit on a sensitive area, so it is worth knowing how to spot a reaction. The US Food and Drug Administration explains on its page about allergens in cosmetics that ingredients which are harmless to most people can still trigger allergies in some.
This guide covers why lipstick transfers, the finger trick, blotting methods, liner, the best formulas and quick fixes when it happens anyway.
Shopping these picks?
Amazon Prime members get fast, free shipping on eligible items, plus Prime Video, Amazon Music and member deals. New members can start with a free trial.
Start a free Prime trialAged 18 to 24? Prime for Young Adults comes with a longer free trial and a lower price after it.
Affiliate link: we may earn a commission at no extra cost to you.
Recommended Lipsticks, Liners and Blotting Papers


Quick Answer
- Lipstick reaches your teeth from the inner edge of your lips.
- The finger trick removes that inner layer in seconds.
- Blotting takes off the slippery excess that transfers first.
- Lip liner gives colour something to grip and keeps edges neat.
- Matte and long-wear formulas transfer far less than glosses and creams.
- Keep colour off the wet inner rim of your lips.
- A quick check after eating and drinking catches any smudges.
What This Covers
- Why Lipstick Ends Up on Your Teeth
- The Finger Trick: The Fastest Fix
- How to Keep Lipstick Off Your Teeth Step by Step
- Blotting: Tissue, Papers and Powder
- Using Lip Liner as a Base
- Which Lipstick Formulas Transfer Least
- Quick Fixes When It Happens Anyway
- Dos and Don’ts
- Dryness and Reactions to Long-Wear Formulas
- Honest Limits
- When to See a Dermatologist
- FAQ
- Where This Leaves You
Why Lipstick Ends Up on Your Teeth
Lipstick does not jump onto your teeth at random. It usually comes from a few predictable habits, and fixing them solves most of the problem before you need any special product.
- Applying colour right into the inner, wet part of the lips, where it rubs against the teeth every time you talk.
- Using too much product, so a soft top layer sits on the lips and moves easily.
- Glossy or very creamy formulas that never fully set.
- Pressing the lips together hard after application, which pushes colour inwards.
- Dry or flaky lips that make lipstick patchy and prone to clumping.
- Lips that curl slightly inwards when you smile, which is common and entirely normal.
Once you know that the inner edge is the source, every trick in this guide makes sense. Each one either removes colour from that area, stops it moving there or helps the lipstick grip the outer lip instead.
The Finger Trick: The Fastest Fix
The finger trick is the best-known method for a reason: it takes about three seconds and removes exactly the colour that would otherwise land on your teeth. Makeup artists use it before photos and on set.
- Wash your hands or use a clean finger, ideally your index finger.
- Put the finger straight into your mouth, as if you are about to suck it.
- Close your lips gently around it, forming an O shape.
- Slowly pull the finger out without twisting it.
- Look at your finger: the ring of colour is what would have ended up on your teeth.
- Wipe your finger clean and check your lipstick in the mirror.
The finger trick removes colour only from the inner edge, so your outer lip colour stays intact. If you use a very full, glossy layer, you may need to repeat it once or blot first, then do the trick.
If you prefer not to put a finger in your mouth, a clean cotton bud run gently along the inner line of each lip does the same job. It is slightly slower but useful when your hands are not clean, such as when you are touching up on the go.
How to Keep Lipstick Off Your Teeth Step by Step
This routine combines the most effective techniques into one sequence. It takes a couple of minutes and works with most lipstick types.
Prep your lips
Smooth away flakes and apply a thin balm, then blot off the excess after a minute so the surface is not slippery.
Line your lips
Outline with a lip liner close to your natural shape, then lightly fill in the whole lip.
Apply lipstick in thin layers
Use a lip brush or the bullet to apply colour from the centre outwards, stopping short of the inner wet rim.
Blot
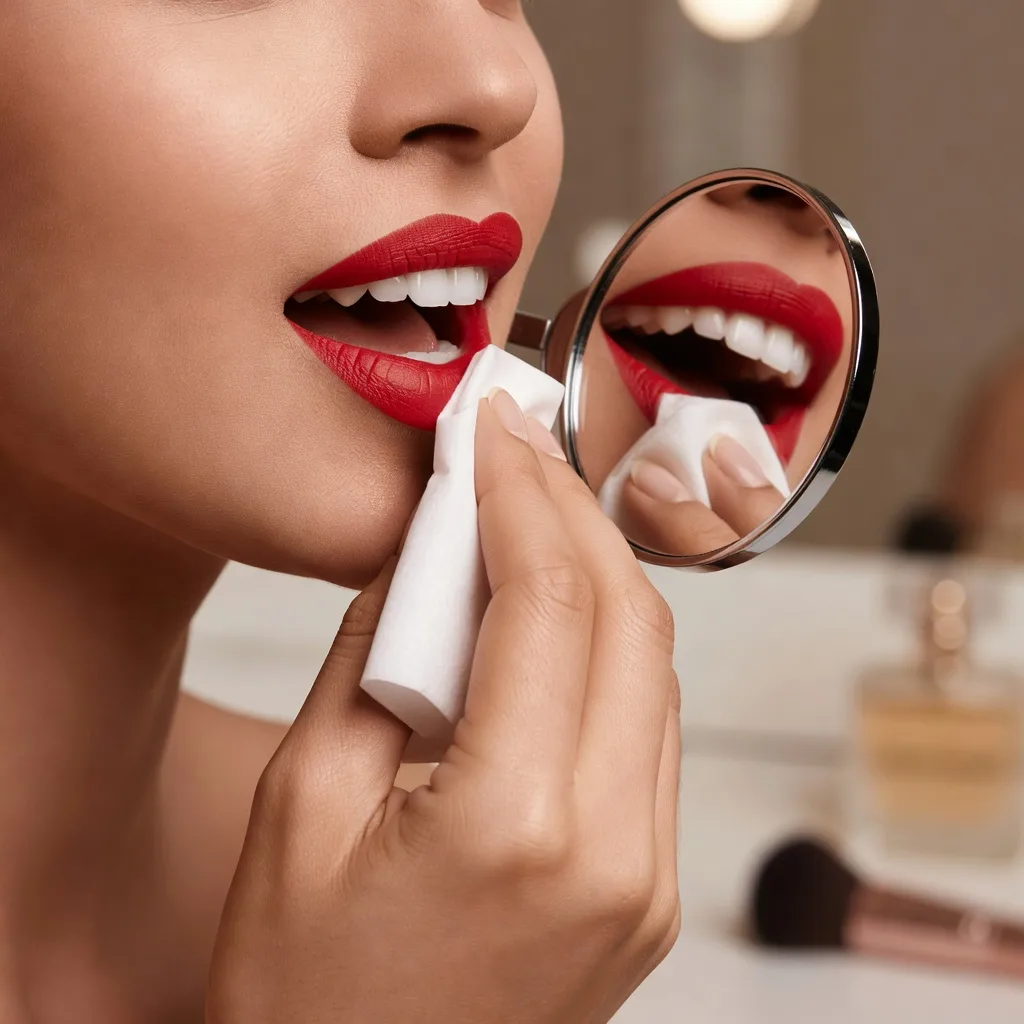
Press a tissue or blotting paper between your lips once to remove the slippery top layer.
Add a second thin layer
Reapply lightly if you want more intensity, then blot again.
Do the finger trick
Close your lips around a clean finger and pull it out slowly.
Check your smile
Smile widely in the mirror and wipe any stray colour off your teeth with a tissue.
Pressing a tissue over your lips and lightly dusting translucent powder through it, then applying a final thin layer, helps creamy lipsticks set more like a matte. Use only a small amount of powder, or lips can look dry.
Blotting: Tissue, Papers and Powder
Blotting removes the soft, oily top layer of lipstick that has not bonded to your lips. That layer is the part most likely to transfer to teeth, cups and cheeks, so taking it off makes the rest of the colour sit more firmly.
| Blotting method | How to do it | Best for |
|---|---|---|
| Single-ply tissue | Separate a tissue into one layer, place it between your lips and press gently | Everyday creamy and satin lipsticks |
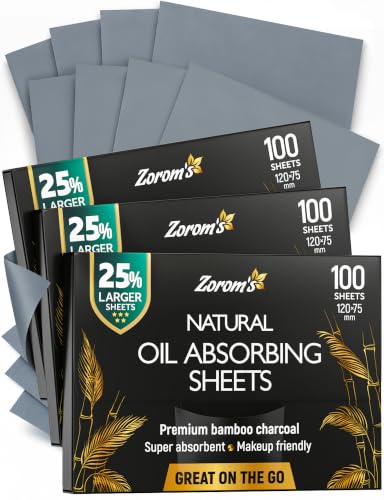
| Blotting paper | Press a sheet between the lips once without rubbing | Removing oil without lifting much colour |
| Tissue and powder | Hold a tissue over closed lips and dust translucent powder through it | Making creamy formulas last longer |
| Layer and blot | Apply, blot, reapply, blot again | Deep and bold shades that need staying power |
Do not rub the tissue across your lips or press too hard, as this removes colour unevenly and can drag it past the lip line. A gentle press is enough. With liquid lipsticks that dry completely, blotting is usually not needed once they have set, although a light blot before they dry can soften a heavy finish.
Using Lip Liner as a Base
Lip liner is usually thought of as a tool for shape, but it also helps keep colour where it belongs. Pencil formulas are drier and firmer than lipstick, so they create a base that the lipstick grips rather than slides over.
- Choose a liner that matches your lipstick or your natural lip colour.
- Line the outer edge first, then fill in the whole lip lightly.
- Stop the fill just before the inner wet rim of your lips.
- Apply lipstick on top of the liner, not the other way round.
- Sharpen the pencil regularly so it applies a clean, thin layer.
Filling in with liner also means that as your lipstick wears, a stain of colour remains instead of a bare ring. Our guide on how to keep lipstick from bleeding explains how liner stops colour feathering into lines around the mouth, which is a related problem with a similar fix.
Which Lipstick Formulas Transfer Least
The formula you choose makes a big difference. Products that set dry move very little, while products designed to stay wet and shiny move the most.
| Formula | Transfer to teeth | Comfort | Notes |
|---|---|---|---|
| Liquid matte or long-wear | Very low once dry | Can feel dry | Apply thinly and let it set fully |
| Matte bullet lipstick | Low | Moderate | Easy to control with a brush |
| Satin lipstick | Moderate | Comfortable | Blot and use the finger trick |
| Cream lipstick | High | Very comfortable | Needs liner and blotting |
| Lip gloss | Very high | Comfortable | Keep away from the inner lip |
| Lip stain or tint | Very low | Light | Sheer colour that sinks in |
If lipstick on your teeth is a constant problem, a matte or long-wear formula is the easiest single change you can make. Our guide on what matte lipstick is explains how these formulas dry down and how to keep them comfortable. For even more wear, our article on how to make lipstick last longer covers the ingredients behind long-wear colour.
Quick Fixes When It Happens Anyway
Even with good technique, eating, drinking and talking can move a little colour. These quick fixes help without redoing your whole look.
- Run your tongue across your front teeth before smiling for a photo.
- Wipe teeth with a tissue or napkin rather than your finger, which can spread colour.
- Repeat the finger trick after a meal or drink.
- Blot again if your lipstick feels slippery or has been touched up.
- Carry the same lipstick and a small brush to fill any patches neatly.
- Drink through a straw when wearing a creamy shade for a long event.
A quick look in a phone camera before an important moment is still the most reliable check. It only takes a second and catches the odd smudge that no technique completely prevents.
Dos and Don’ts
Try This
- Do the finger trick after every application
- Blot creamy and satin lipsticks
- Use liner as a base under colour
- Apply thin layers
- Check your teeth after eating
Avoid This
- Apply colour into the wet inner lip
- Pile on thick layers of creamy formula
- Rub the tissue across your lips
- Use a heavy, greasy balm right before lipstick
- Wipe your teeth with a lipstick-covered finger
Dryness and Reactions to Long-Wear Formulas
Long-wear and matte lipsticks solve the transfer problem well, but they can feel dry, especially if you wear them every day. A few simple habits keep your lips comfortable.
- Apply a thin balm at night and remove it in the morning before lipstick.
- Remove long-wear lipstick with an oil-based remover rather than scrubbing.
- Alternate long-wear days with softer satin formulas.
- Drink water regularly and avoid licking your lips, which dries them further.
Stop using any lip product that causes burning, swelling, blistering or persistent peeling. Lip reactions can be caused by fragrance, flavouring, some pigments or preservatives, and they often improve only after you stop the trigger.
If your lips always look patchy or flaky, gentle overnight care usually helps more than any lipstick trick, and switching between formulas gives your lips a break.
Honest Limits
No lipstick is completely transfer-proof in real life. Oily foods, hot drinks and long conversations can move even the best long-wear formula, so a quick check still matters on important days.
Some lip shapes and smiles also make contact with the teeth more likely, and that is not something technique can fully change. The goal is to reduce transfer to the point where it rarely happens and is easy to fix, rather than to find a product that never moves. Claims such as kiss-proof or 24-hour wear on packaging describe ideal conditions, not every meal or coffee.
When to See a Dermatologist
- Your lips swell, blister or burn after using a lip product.
- Peeling, cracking or soreness lasts more than two weeks.
- You notice a sore on the lip that does not heal.
- You react to many lip products and cannot find one that feels comfortable.
This article is for general information and does not replace professional medical advice. Patch test new lip products if you have sensitive skin or allergies, and see a board-certified dermatologist for persistent lip reactions.
FAQ
How do I keep lipstick off my teeth?
Do the finger trick, blot and keep colour off the inner lip.
What is the finger trick for lipstick?
Close your lips around a clean finger and pull it out to remove inner colour.
Does blotting stop lipstick getting on teeth?
Yes, it removes the slippery layer that transfers first.
Does lip liner help keep lipstick off teeth?
Yes, it gives colour a firm base to grip.
Which lipstick is least likely to get on teeth?
Matte and liquid long-wear formulas.
Why does my lipstick always end up on my teeth?
Usually too much product on the inner edge of the lips.
Does gloss get on teeth more than lipstick?
Yes, gloss stays wet and moves easily.
Should I use powder to set lipstick?
A light dusting through a tissue helps creamy formulas.
How do I remove lipstick from teeth quickly?
Wipe with a tissue, then repeat the finger trick.
Can petroleum jelly stop lipstick getting on teeth?
It is not a reliable method and can make lipstick slide.
Where This Leaves You
Lipstick ends up on your teeth mainly from colour on the inner edge of your lips, so the finger trick, blotting and keeping product off the wet rim solve most of the problem.
Add lip liner as a base, choose matte or long-wear formulas when you need reliability and take a quick look in a mirror after eating or before photos.

Written by
Registered pharmacist and founder of Facial Adviser. Rakib's pharmacy training covers how skincare actives work and interact; a later course in cosmetology turned that into a focus on facial treatments and skincare products. He plans, researches and edits every guide on the site and checks health claims against sources such as the American Academy of Dermatology, the FDA and the NIH. He is not a dermatologist; see the Editorial Policy and Medical Disclaimer.
About · Editorial policy · How we choose products · Medical disclaimer · Contact
Keep reading: Lipstick
- How to Choose Lipstick Shade: Undertone, Skin Tone and Testing Tips
- Best Lip Plumping Device: Suction Plumpers, Glosses and Honest Limits
- How to Make Lipstick Last Longer Chemically: Formulas, Stains and Setting
- How to Keep Lipstick Under a Mask: Transfer-Proof Tips That Work
- Balancing a Heavy Eye and a Light Lip: How to Get It Right
- When Can You Wear Makeup After Lip Filler?
- How to Get Started as a Freelance Makeup Artist: Training, Kit and Clients
- Best Way to Use Makeup Remover: Micellar Water, Balms, Oils and Eye Removers