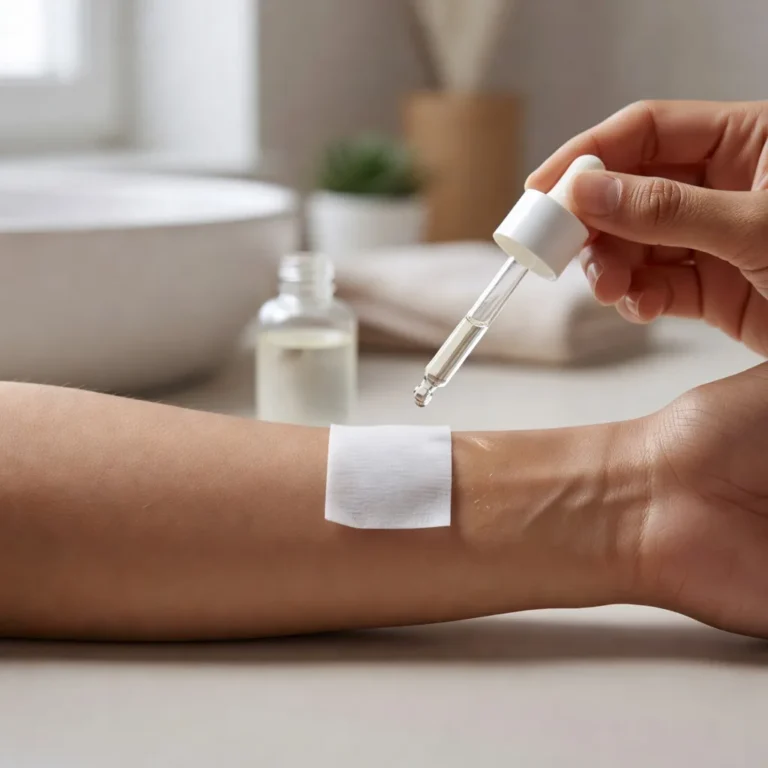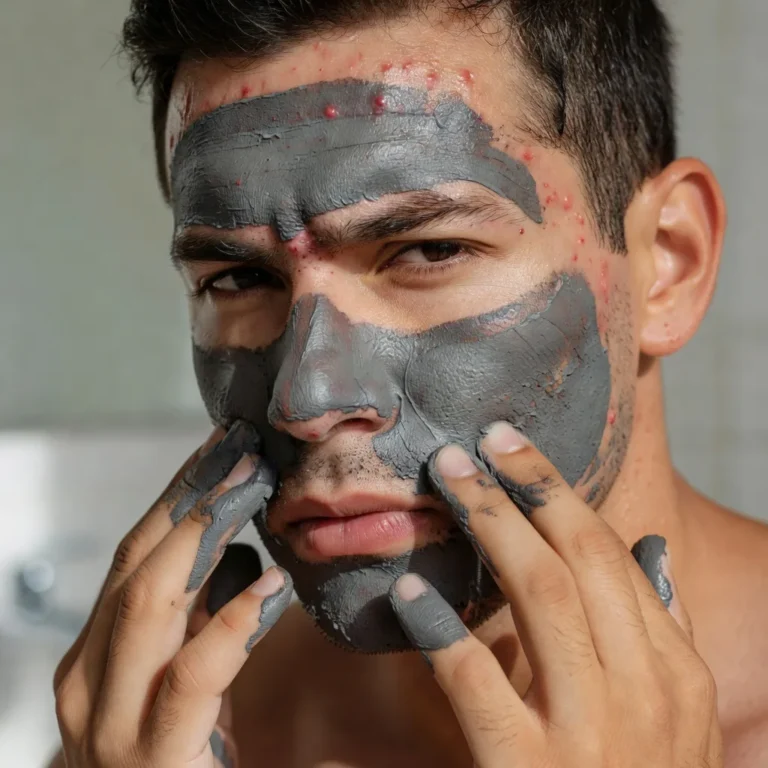
How to Remove Halloween Makeup Without Wrecking Your Skin
It is late, the party is over and your face is still green. The next ten minutes decide whether you wake up with clear skin or a red, bumpy mess.
Part of our guide to makeup how-to. Start with: How to Properly Put On Face Makeup: The Right Order, Step by Step
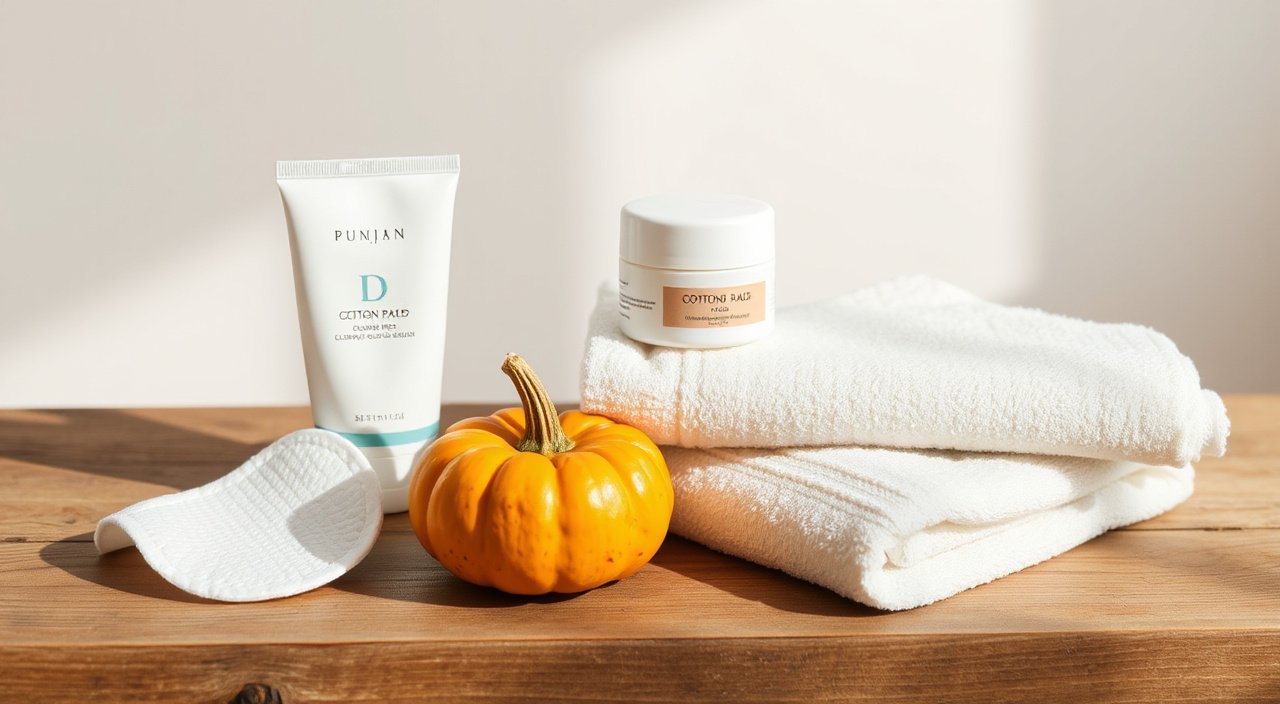
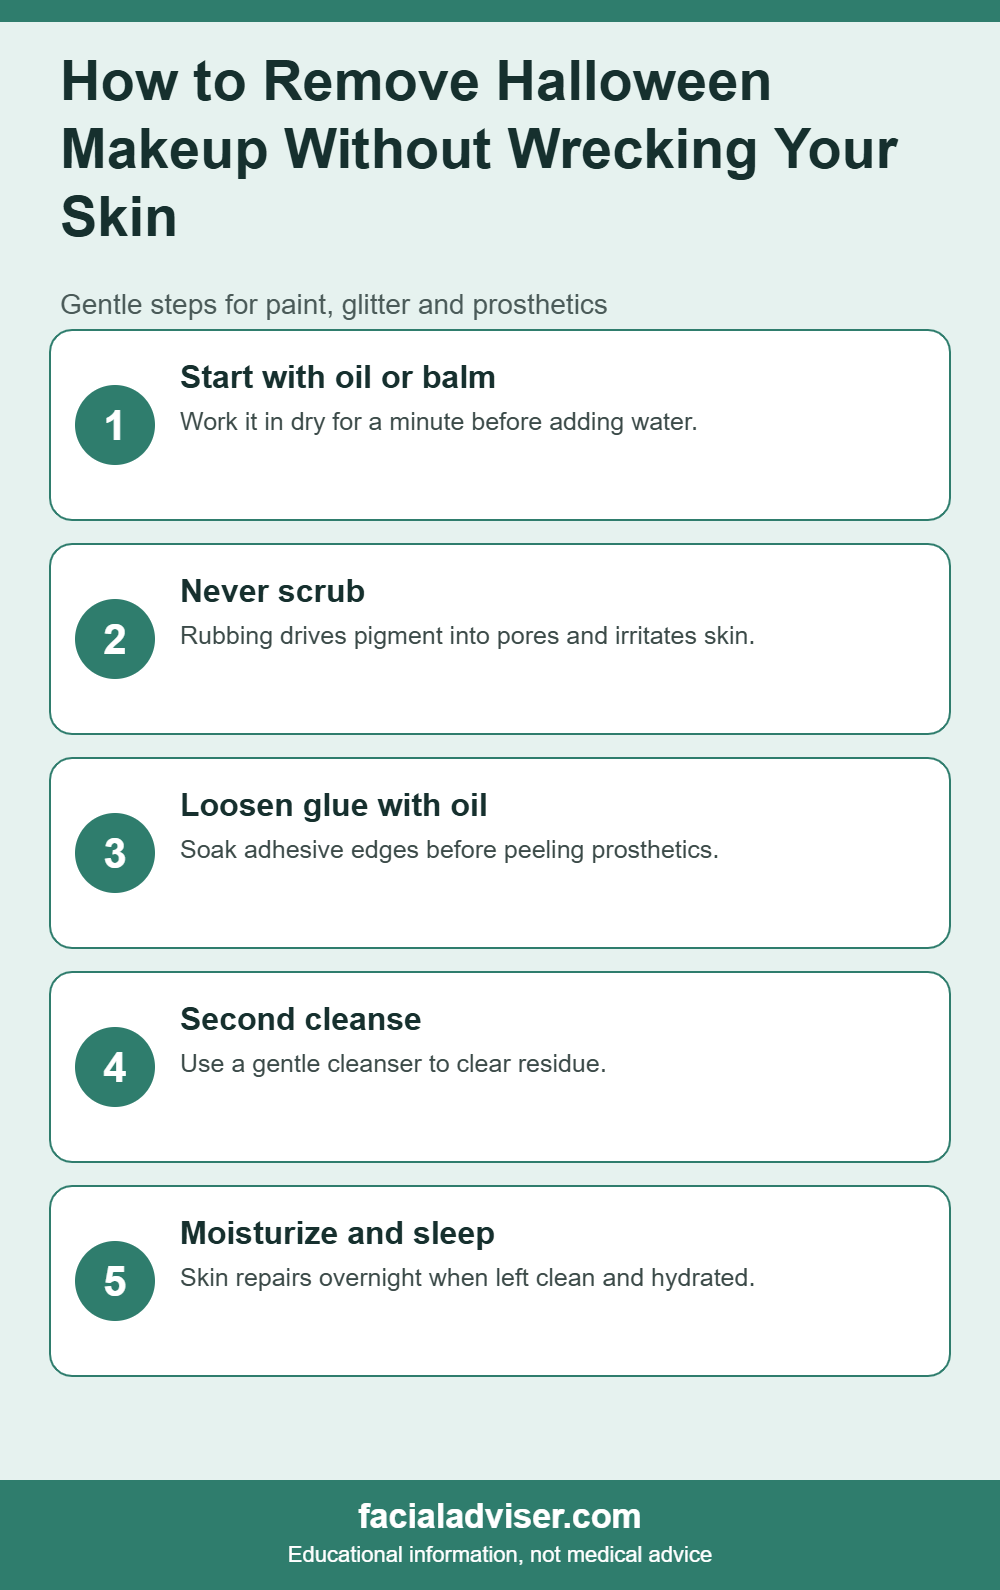
To remove Halloween makeup without damaging your skin, start with oil: massage a cleansing balm or cleansing oil into dry, painted skin for a minute, add water so it turns milky, then rinse with lukewarm water. Follow with a gentle cleanser, use a micellar-soaked pad held still on the eyes and hairline, soak prosthetic edges and lash glue in oil before lifting, and finish with a plain moisturizer.
In short: oil dissolves paint and glue, water does not. Scrubbing, wipes and hot water are what wreck skin, not the paint itself.
Black Friday is coming: shop the deals with Prime
The American Academy of Dermatology advises washing gently, avoiding scrubbing and removing makeup before sleep, since leftover products can clog pores and irritate skin.
Most people reach for the wrong tools because paint is not something they remove every day.
A small change in method, oil before water, solves nearly all of it.
Halloween paint is thicker, waxier and worn longer than everyday makeup. That is why the usual face wash leaves a tint behind and why people end up scrubbing.
This guide walks through each type of product you might be wearing, from cream paint to spirit gum, and what to do afterwards.
I am Rakib Sarwar, a registered pharmacist with a cosmetology course. If your skin swells, blisters or burns, stop and see a doctor.
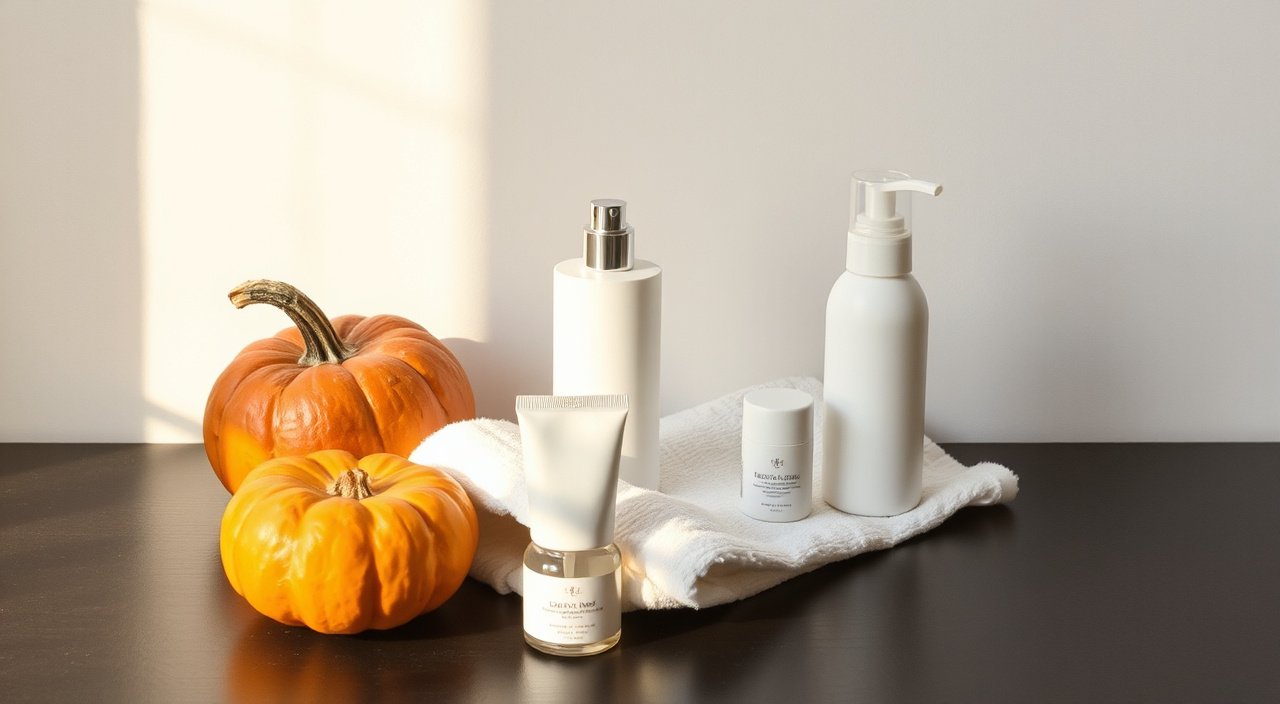
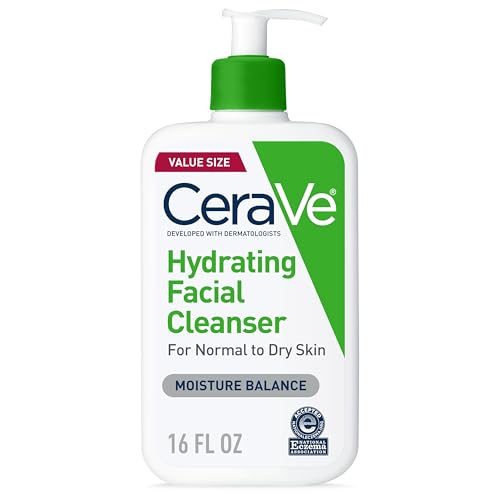
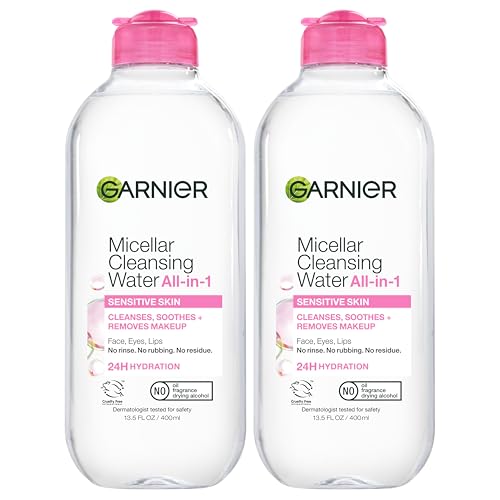
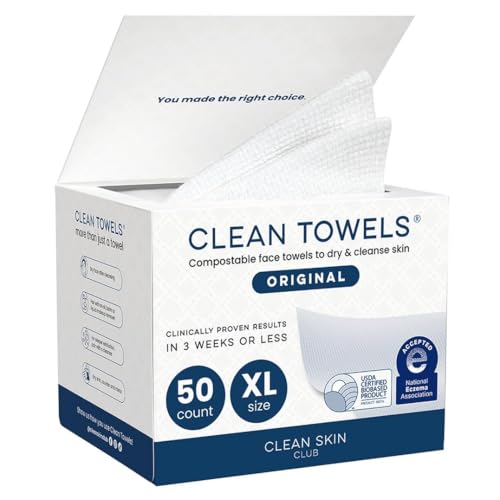
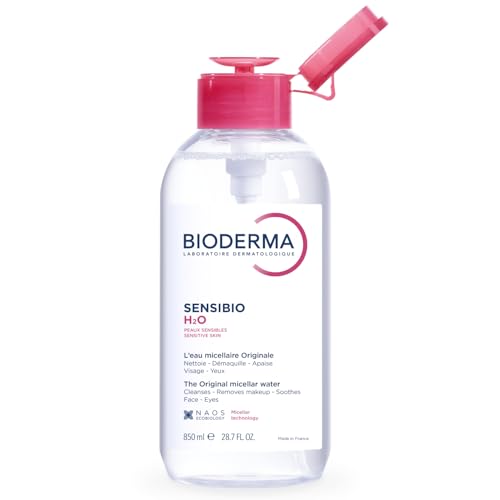
Products That Make Halloween Makeup Removal Easier



In Brief
- Oil or balm first, on dry skin.
- Never scrub, and never use hot water.
- Hold pads still on the eyes instead of wiping.
- Soak glue and prosthetics in oil before lifting.
- Second cleanse with a gentle wash.
- Moisturize and skip actives for two nights.
On This Page
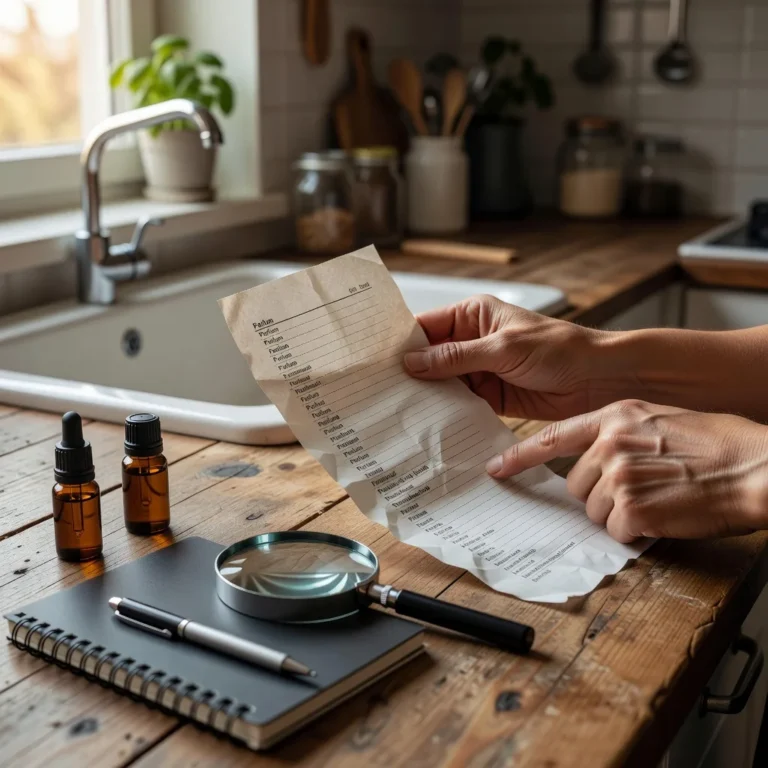
What You Need Before You Start
You need very little, but you need it ready before the paint goes on.
Cotton pads matter more than people think. Thin pads shred and leave fibers in oily paint. Thicker pads hold more liquid and let you press rather than rub.
If you have nothing else, a plain cooking oil such as olive or sunflower oil will dissolve paint. Rinse it well and follow with a cleanser, because it does not emulsify as cleanly as a formulated product.
Avoid using a flannel or washcloth for the first step. It encourages scrubbing and holds pigment, which you then rub back onto your face.
A soft, clean towel is better for drying than the one hanging in the bathroom all week. Paint and bacteria from the towel are not what tired skin needs.
A cleansing balm or cleansing oil does the main work. A gentle second cleanser clears residue.
Micellar water and cotton pads handle eyes, brows and the hairline. A soft, clean towel finishes.
A plain moisturizer goes on at the end. Keep everything by the sink so it happens even at 2 a.m.
| Item | Job | Alternative |
|---|---|---|
| Cleansing balm or oil | Dissolves paint and glue | Plain mineral oil in a pinch |
| Gentle cleanser | Second cleanse | Any fragrance-free wash |
| Micellar water | Eyes and touch-ups | Oil on a pad |
| Cotton pads | Holding product in place | Soft cloth |
| Moisturizer | Repair after | Petroleum jelly on dry patches |
Our top 10 removers for face paint compares specific products.
Step by Step: Removing Face Paint
The order matters more than the brand.
If you wore a base of moisturizer or primer under the paint, the oil step will go faster. The paint sits on that layer rather than in your skin.
How long should this take? About eight to ten minutes for a full face. If you are finishing in three, you are probably scrubbing.
Work in sections if the paint is thick: forehead, cheeks, then chin. It keeps the oil where it is needed.
For the neck and ears, use the same method. These areas are often forgotten and end up staining collars.
Rinse your hands between steps so you are not moving pigment back onto clean areas.
Apply oil to dry skin
Spread balm or oil over the paint. Do not wet your face first.
Massage for one minute
Small circles with fingertips. The paint will lift into the oil.
Emulsify
Add a little water and keep massaging until it turns milky.
Rinse lukewarm
Never hot. Hot water increases redness.
Second cleanse
A gentle cleanser removes the oily residue.
Micellar touch-ups
Hold a soaked pad on any remaining color for 10 seconds, then lift.
Pat dry and moisturize
Use a clean towel and a plain cream.
If paint remains after one round, repeat the oil step. Two gentle rounds beat one hard scrub.
Eyes, Lashes and Lash Glue
The eye area is the thinnest skin on your face. Wiping it hard is what leaves you puffy in the morning.
Mascara that has been set with spray can leave flecks on the lower lid. A dry cotton bud removes them once the pad has softened everything else.
If eyes sting at any point, rinse with cool clean water and stop. Do not try to push through it.
Waterproof liner may need a second pad. Hold, do not wipe, each time.
Take out contact lenses before you start. Oil on a lens is uncomfortable and hard to clear.
Soak a cotton pad in micellar water or oil. Close your eye and hold the pad against the lid for 20 to 30 seconds.
Then glide the pad down and away. Repeat with a fresh pad until it comes away clean.
For false lashes, hold the soaked pad on the lash line until the glue softens, then peel from the outer corner inward.
Never pull lashes off dry. You will take your own lashes with them.
Our eye area routine covers the next-day care.
Prosthetics, Spirit Gum and Latex
Prosthetic pieces are attached with spirit gum, liquid latex or silicone adhesive. Each softens with oil, but it takes patience.
Silicone adhesives are the most stubborn. They respond to oil but slowly, so give them a few minutes and keep the oil in contact with the edge.
If you used liquid latex over brows, soak it very well. Brow hairs come out easily when latex is pulled dry.
Afterwards, the skin under a prosthetic has been sealed for hours. Expect it to look pale and feel damp. Cleanse gently and moisturize; it recovers within a day.
Apply oil generously around the edges. Wait a full minute. Lift one edge slowly. If it resists, add more oil and wait again.
Spirit gum remover exists and works faster, but oil will do the job for most small pieces.
Latex peels more easily if you roll it rather than pull it.
Never force a prosthetic. Torn skin and lost brow hairs take weeks to recover. A stubborn edge takes two more minutes of soaking.
Our patch test guide is worth reading before next year, because adhesives are a common cause of allergic reactions.
Fake Blood, Glitter and Hair Color
Fake blood is usually corn syrup and food dye. The syrup washes off; the dye can tint the skin.
Dye around the nails and cuticles comes off with the same oil and a soft nail brush. Avoid harsh scrubbing there too.
Each of these products needs a slightly different approach, so here is a quick reference.
| Product | First step | Then |
|---|---|---|
| Cream or wax paint | Oil massage, 1 minute | Second cleanse |
| Glitter | Oil massage | Tape for stragglers |
| Fake blood | Oil massage | Second cleanse, moisturize |
| Lash glue | Soaked pad held 30 seconds | Peel from outer corner |
| Spirit gum or latex | Soak edges in oil | Lift slowly, repeat |
| Hair color at hairline | Oil on a pad | Shampoo |
Oil cleanse, second cleanse and a moisturizer usually clear it. A faint stain fades within a day or two.
Glitter clings because of the adhesive or primer under it. The oil step lifts most of it. Press tape lightly on the rest.
Temporary hair color at the hairline needs the same oil treatment. Shampoo alone leaves a tide mark.
Do not use rubbing alcohol or nail polish remover on your skin to shift dye. They cause more damage than the stain.
What to Do Afterwards
Skin that has been sealed under paint for hours is dehydrated and slightly inflamed.
Sunscreen the next morning is still important. Skin that has been irritated overnight is more sensitive to UV, and any marks from spots fade more evenly when protected.
Expect some tightness and perhaps a little redness that night. That is normal after hours under paint and should ease by morning.
Drink some water, sleep on a clean pillowcase and let your skin rest.
If redness, itching or bumps are still there after two days, something in the makeup may have disagreed with you. Note which products you used in case you need to tell a pharmacist.
Apply a fragrance-free moisturizer while skin is still damp. Skip acids, retinoids and scrubs for two nights.
If you see new spots the next morning, do not pick. Use a pimple patch and leave it alone.
Our guide on calming skin after Halloween makeup covers the next few days in detail.
Mistakes That Cause Damage
Almost every Halloween skin problem comes from removal, not from the paint.
Finally, rushing the second cleanse leaves an oily film that can clog pores overnight. Thirty seconds with a gentle cleanser is all it needs.
Another quiet mistake is using an exfoliating scrub to ‘get it all off’. Exfoliating painted, irritated skin is one of the fastest routes to a rash.
Leaving the hairline and jaw until last and then rushing them is also common. They need the same oil step as the rest of the face.
Wipes smear pigment and need scrubbing. Hot water opens the door to redness. Foaming washes used alone leave a film and encourage scrubbing.
Try This
- Oil first, on dry skin
- Hold pads still on eyes
- Moisturize straight after
Avoid This
- Use wipes or a rough cloth
- Peel glue or prosthetics dry
- Sleep in paint
Honest Limits
Theatrical and professional paints vary. Some need a dedicated remover from the same brand.
Removal time also depends on how much setting spray or powder was used. Heavily set looks take an extra round of oil.
If a product label gives its own removal instructions, follow those first. Some stage products are designed around a specific remover.
Allergic reactions can appear hours after removal. A clean removal does not prevent a reaction to the product itself.
The products above are widely reviewed examples, not medical recommendations.
When to See a Professional
See a pharmacist, doctor or dermatologist for swelling, blistering, a spreading rash, eye pain or vision changes.
Children’s skin reacts more readily than adult skin. If a child’s face is red or itchy after paint, cleanse gently, moisturize and ask a pharmacist if it does not settle.
Get help the same day if a reaction is getting worse rather than better.
This article is educational and is not medical advice. Product details come from public listings and may change.
Quick Reminders
Set everything out before the party. Removal at 2 a.m. only happens if it is easy.
Next year, patch test any new paint or adhesive a day or two before the party.
A thin layer of moisturizer under paint makes removal easier and protects the skin for the whole night.
Questions People Ask
What is the best way to remove Halloween face paint?
Massage an oil or balm into dry skin, add water, rinse and follow with a gentle cleanser.
Can I use makeup wipes?
They work poorly on paint and cause irritation. Use oil instead.
How do I remove lash glue?
Hold a micellar-soaked pad on the lash line for 20 to 30 seconds, then peel gently.
How do I remove spirit gum?
Soak with oil or spirit gum remover, wait, and lift slowly.
Will fake blood stain?
It may tint skin for a day or two. Oil cleansing reduces it.
Can I use coconut oil?
It can work, but it may clog pores for some people and rinses less cleanly.
Is hot water better?
No. Lukewarm water removes paint just as well and causes less redness.
What if paint is left after one wash?
Repeat the oil step. Never scrub.
Should I exfoliate afterwards?
Not for a couple of nights. Let the skin recover first.
When should I see a doctor?
For swelling, blistering, a spreading rash or eye pain.
Summing Up
Halloween makeup comes off safely when you let oil do the work: balm or oil first, gentle cleanse second, micellar for the eyes, moisturizer last.
Give your skin two quiet nights afterwards. If anything swells, blisters or spreads, see a professional.

Written by
Registered pharmacist and founder of Facial Adviser. Rakib's pharmacy training covers how skincare actives work and interact; a later course in cosmetology turned that into a focus on facial treatments and skincare products. He plans, researches and edits every guide on the site and checks health claims against sources such as the American Academy of Dermatology, the FDA and the NIH. He is not a dermatologist; see the Editorial Policy and Medical Disclaimer.
About · Editorial policy · How we choose products · Medical disclaimer · Contact
Keep reading: Makeup basics and skin
- How to Properly Put On Face Makeup: The Right Order, Step by Step
- How to Calm Your Skin After Halloween Makeup
- Makeup or Hair First? The Real Chemistry Behind It
- Makeup vs No Makeup: Does Wearing It Damage Skin?
- Why Can't I Wear Makeup After Botox?
- How to Fix Makeup on Dry Skin
- What Can You Use to Make Your Makeup Stay On All Day? 9 Products and Tricks
- How to Get Started as a Freelance Makeup Artist: Training, Kit and Clients
Build a spa-like routine with ad-free music