
To make anti-aging face serum at home, combine essential oils with a carrier oil. Mix and store in a dark bottle.
Creating your own anti-aging face serum is both cost-effective and customizable. You can tailor the ingredients to suit your skin type and specific needs. Essential oils like rosehip, lavender, and frankincense are known for their anti-aging properties. A carrier oil, such as jojoba or sweet almond oil, provides a base and helps in diluting the essential oils.
This DIY approach not only saves money but also allows you to avoid harmful chemicals often found in commercial products. With a few simple steps, you can enjoy a natural, effective solution for youthful, glowing skin.
Benefits Of Homemade Anti-aging Serum
Creating your own anti-aging face serum at home offers numerous benefits. These DIY serums can be tailored to your specific skin needs. They often contain natural and effective ingredients. Below, we explore the benefits of homemade anti-aging serum and how you can enjoy better skin health.
Natural Ingredients
Homemade serums use ingredients that are safe and natural. You avoid harsh chemicals found in commercial products. Natural ingredients like aloe vera, vitamin E, and essential oils nourish your skin. They provide antioxidants that help fight free radicals.
- Aloe Vera: Soothes and moisturizes the skin.
- Vitamin E: Repairs damaged skin and promotes healing.
- Essential Oils: Offer various benefits like hydration and anti-inflammatory properties.
Cost-effective Solutions
Making your own serum is budget-friendly. You save money by using simple kitchen ingredients. Store-bought serums can be expensive. Homemade options cost a fraction of the price. Here’s a comparison:
| Commercial Serum | Homemade Serum |
|---|---|
| $50-$150 per bottle | $10-$20 for ingredients |
This shows how cost-effective making your own serum can be.
Additionally, you control the amount you make. You can make a small batch to test first. If it works, you can make more. No need to buy large quantities.
In summary, creating your own anti-aging serum at home has many benefits. It uses natural ingredients and saves you money. Your skin will thank you!

Credit: www.pinterest.com
Essential Ingredients
Creating your own anti-aging face serum at home is easy. The key lies in using the right essential ingredients. These ingredients are natural and packed with benefits. Let’s explore the main components you will need.
Carrier Oils
Carrier oils form the base of your serum. They hydrate and nourish the skin. Here are some popular options:
| Carrier Oil | Benefits |
|---|---|
| Jojoba Oil | Moisturizes and balances oil production. |
| Argan Oil | Rich in Vitamin E, it reduces fine lines. |
| Rosehip Oil | Promotes collagen production and heals scars. |
Essential Oils
Essential oils add powerful benefits to your serum. They target specific skin concerns. Here are some you can use:
- Frankincense Oil – Reduces wrinkles and tightens skin.
- Lavender Oil – Soothes and heals irritated skin.
- Geranium Oil – Balances skin tone and reduces aging spots.
Using these essential ingredients, you can create a potent anti-aging serum. Mix and match according to your skin needs.
Tools You Will Need
Creating your own anti-aging face serum at home is simple. You’ll need specific tools to ensure your serum is effective. These tools are essential for the proper mixing, measuring, and storage of your homemade serum.
Measuring Tools
Accurate measurements are crucial for your serum. Here are the measuring tools you will need:
- Measuring Spoons: Use these to measure oils and other ingredients.
- Measuring Cups: Ideal for larger quantities of ingredients.
- Dropper: Perfect for precise drops of essential oils.
- Digital Scale: Use this for measuring solid ingredients.
Storage Containers
Proper storage is key to maintaining the serum’s effectiveness. Use the following storage containers:
- Glass Bottles: Use dark-colored glass bottles to store the serum. They protect the serum from light.
- Dropper Bottles: These are perfect for easy application and precise usage.
- Labels: Always label your containers with the date and ingredients.
With these tools, you are ready to make your own anti-aging face serum at home.
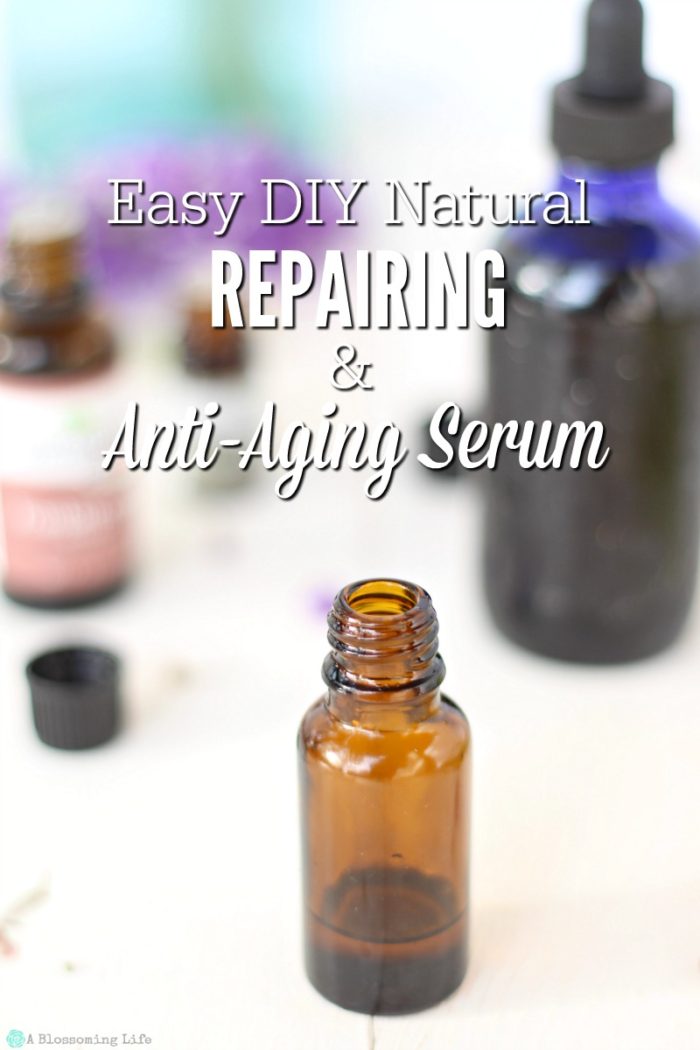
Credit: ablossominglife.com
Step-by-step Preparation
Creating an anti-aging face serum at home is simple and cost-effective. Follow this step-by-step guide to mix and store your very own serum. You’ll need a few key ingredients and some basic tools.
Mixing Ingredients
Gather your ingredients and tools before you start. You’ll need:
- 1 tablespoon of argan oil
- 1 tablespoon of jojoba oil
- 1 tablespoon of rosehip oil
- 10 drops of vitamin E oil
- 5 drops of frankincense essential oil
- A small mixing bowl
- A small whisk or spoon
Follow these steps to mix the ingredients:
- Pour the argan oil, jojoba oil, and rosehip oil into the mixing bowl.
- Add the vitamin E oil and frankincense essential oil.
- Whisk or stir the mixture until well combined.
Storing The Serum
Proper storage is key to maintaining the serum’s effectiveness. Follow these tips:
- Use a dark glass bottle to store the serum. This protects it from light.
- Ensure the bottle has a dropper for easy application.
- Label the bottle with the date you made the serum.
- Store the serum in a cool, dark place to keep it fresh.
Here’s a simple table summarizing the ingredients and their benefits:
| Ingredient | Benefit |
|---|---|
| Argan Oil | Moisturizes and nourishes the skin |
| Jojoba Oil | Balances oil production |
| Rosehip Oil | Reduces fine lines and wrinkles |
| Vitamin E Oil | Acts as an antioxidant |
| Frankincense Essential Oil | Improves skin tone |
Now you have your homemade anti-aging face serum. Enjoy the benefits of natural skincare!
Application Tips
Applying your homemade anti-aging face serum correctly is crucial. It ensures maximum benefits for your skin. Here are some key tips on how to apply it effectively.
Best Time To Apply
The best time to apply your serum is at night. Your skin repairs itself while you sleep. Cleanse your face first. Remove all makeup and impurities. Pat your skin dry with a soft towel.
Apply the serum to slightly damp skin. This helps with absorption. Use a gentle, upward motion. Avoid rubbing or pulling your skin.
How Much To Use
Using the right amount of serum is essential. Too much can overwhelm your skin. Too little may not be effective.
- For your face, use 2-3 drops of serum.
- For your neck, use 1-2 drops.
Dispense the serum onto your fingertips. Spread it evenly across your face and neck.
Additional Tips
Here are a few more tips to enhance your serum application:
- Always apply to clean, dry skin.
- Follow with a moisturizer to lock in the serum.
- Store your serum in a cool, dark place.
Consistency is key. Use your serum regularly for the best results. Keep your skin hydrated and protected from the sun during the day.
Customizing Your Serum
Creating your own anti-aging face serum at home allows you to control the ingredients. This ensures your serum is tailored to your skin’s unique needs. Customizing your serum can make all the difference in achieving glowing, youthful skin.
Adding Vitamins
Vitamins are crucial for skin health. They help to nourish and protect the skin.
- Vitamin C: Brightens the skin and reduces wrinkles.
- Vitamin E: Protects against sun damage and moisturizes.
- Vitamin A (Retinol): Boosts collagen and speeds up cell turnover.
Mix these vitamins into your serum for maximum benefits. Use only a few drops to avoid irritation.
Adjusting For Skin Types
Different skin types need different ingredients. Tailoring your serum ensures the best results.
| Skin Type | Recommended Ingredients |
|---|---|
| Oily Skin | Tea tree oil, Witch hazel, Aloe vera |
| Dry Skin | Hyaluronic acid, Jojoba oil, Glycerin |
| Sensitive Skin | Chamomile, Calendula, Rosehip oil |
Choose the right ingredients to match your skin type. This prevents irritation and enhances effectiveness.
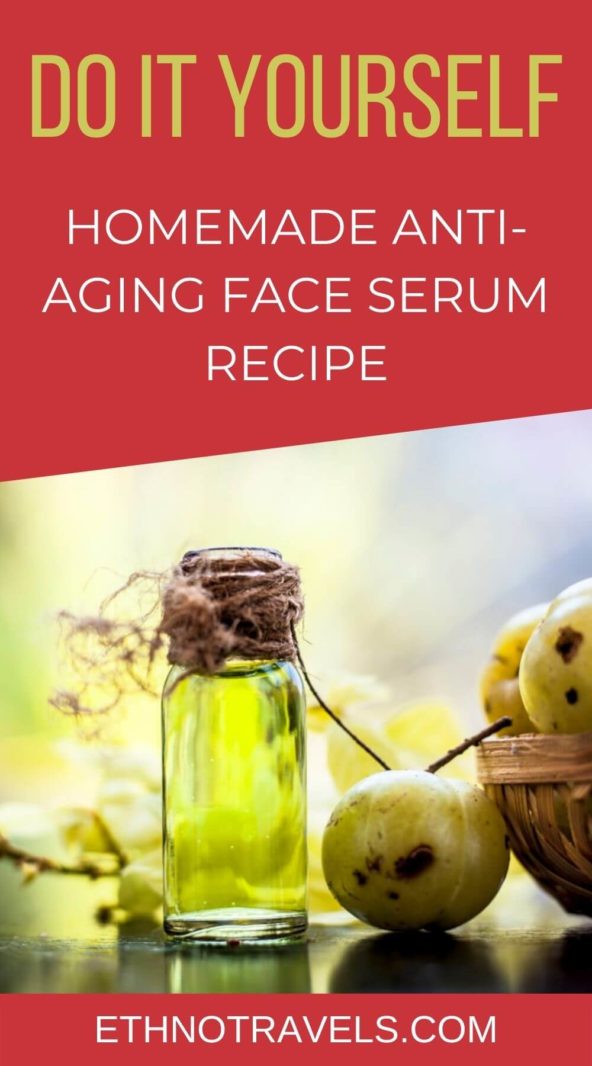
Credit: ethnotravels.com
Frequently Asked Questions
What Ingredients Are Needed For Anti-aging Serum?
To make an anti-aging serum, you’ll need essential oils, carrier oils, and vitamins. Common ingredients include rosehip oil, vitamin E, and frankincense oil. These ingredients help nourish and rejuvenate the skin.
How Do I Apply Homemade Anti-aging Serum?
Apply the serum to clean, dry skin. Use a few drops and gently massage it into your face. Focus on areas prone to wrinkles. Use it daily for best results.
Can I Store Homemade Face Serum?
Yes, you can store homemade face serum. Keep it in a dark, glass bottle. Store in a cool, dry place. It typically lasts for a few months.
Are Homemade Serums Effective For Aging Skin?
Homemade serums can be effective for aging skin. They contain natural, potent ingredients that hydrate and rejuvenate. Consistent use can improve skin texture and reduce fine lines.
Conclusion
Creating an anti-aging face serum at home is simple and rewarding. Natural ingredients offer effective and gentle care for your skin. By following this guide, you can enjoy youthful, glowing skin without harsh chemicals. Start today and see the difference homemade skincare can make.
Your skin will thank you!